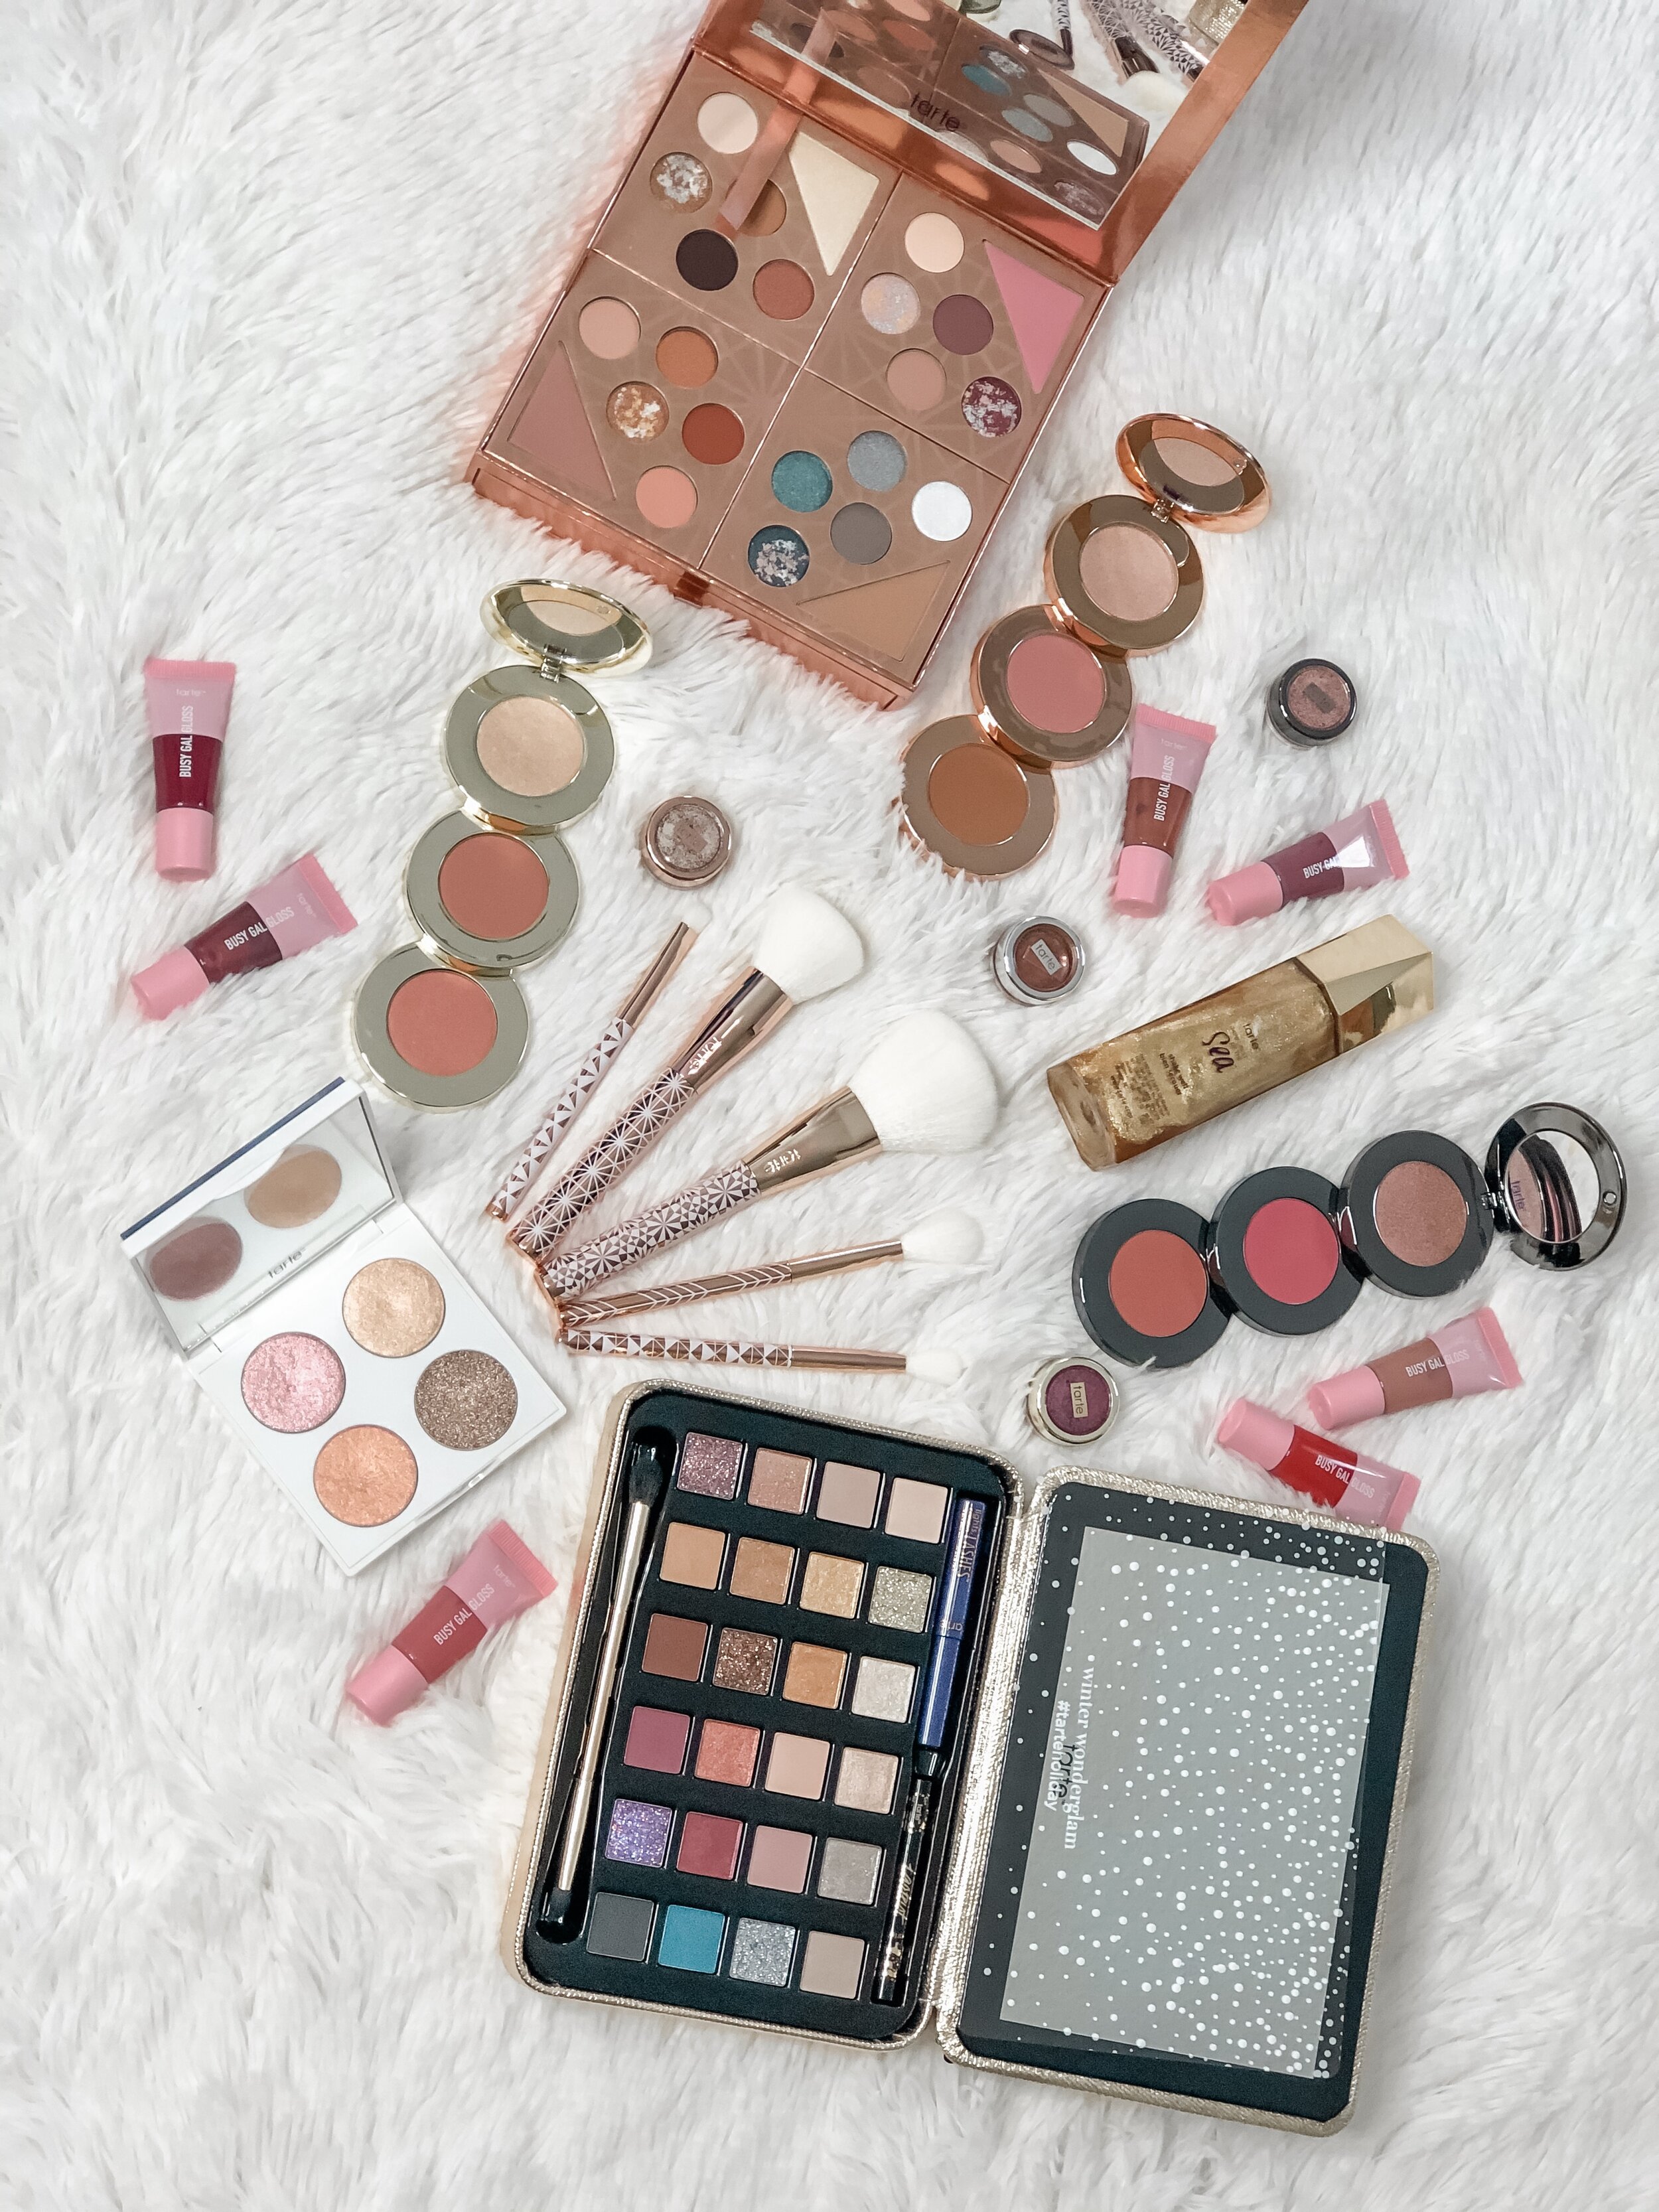
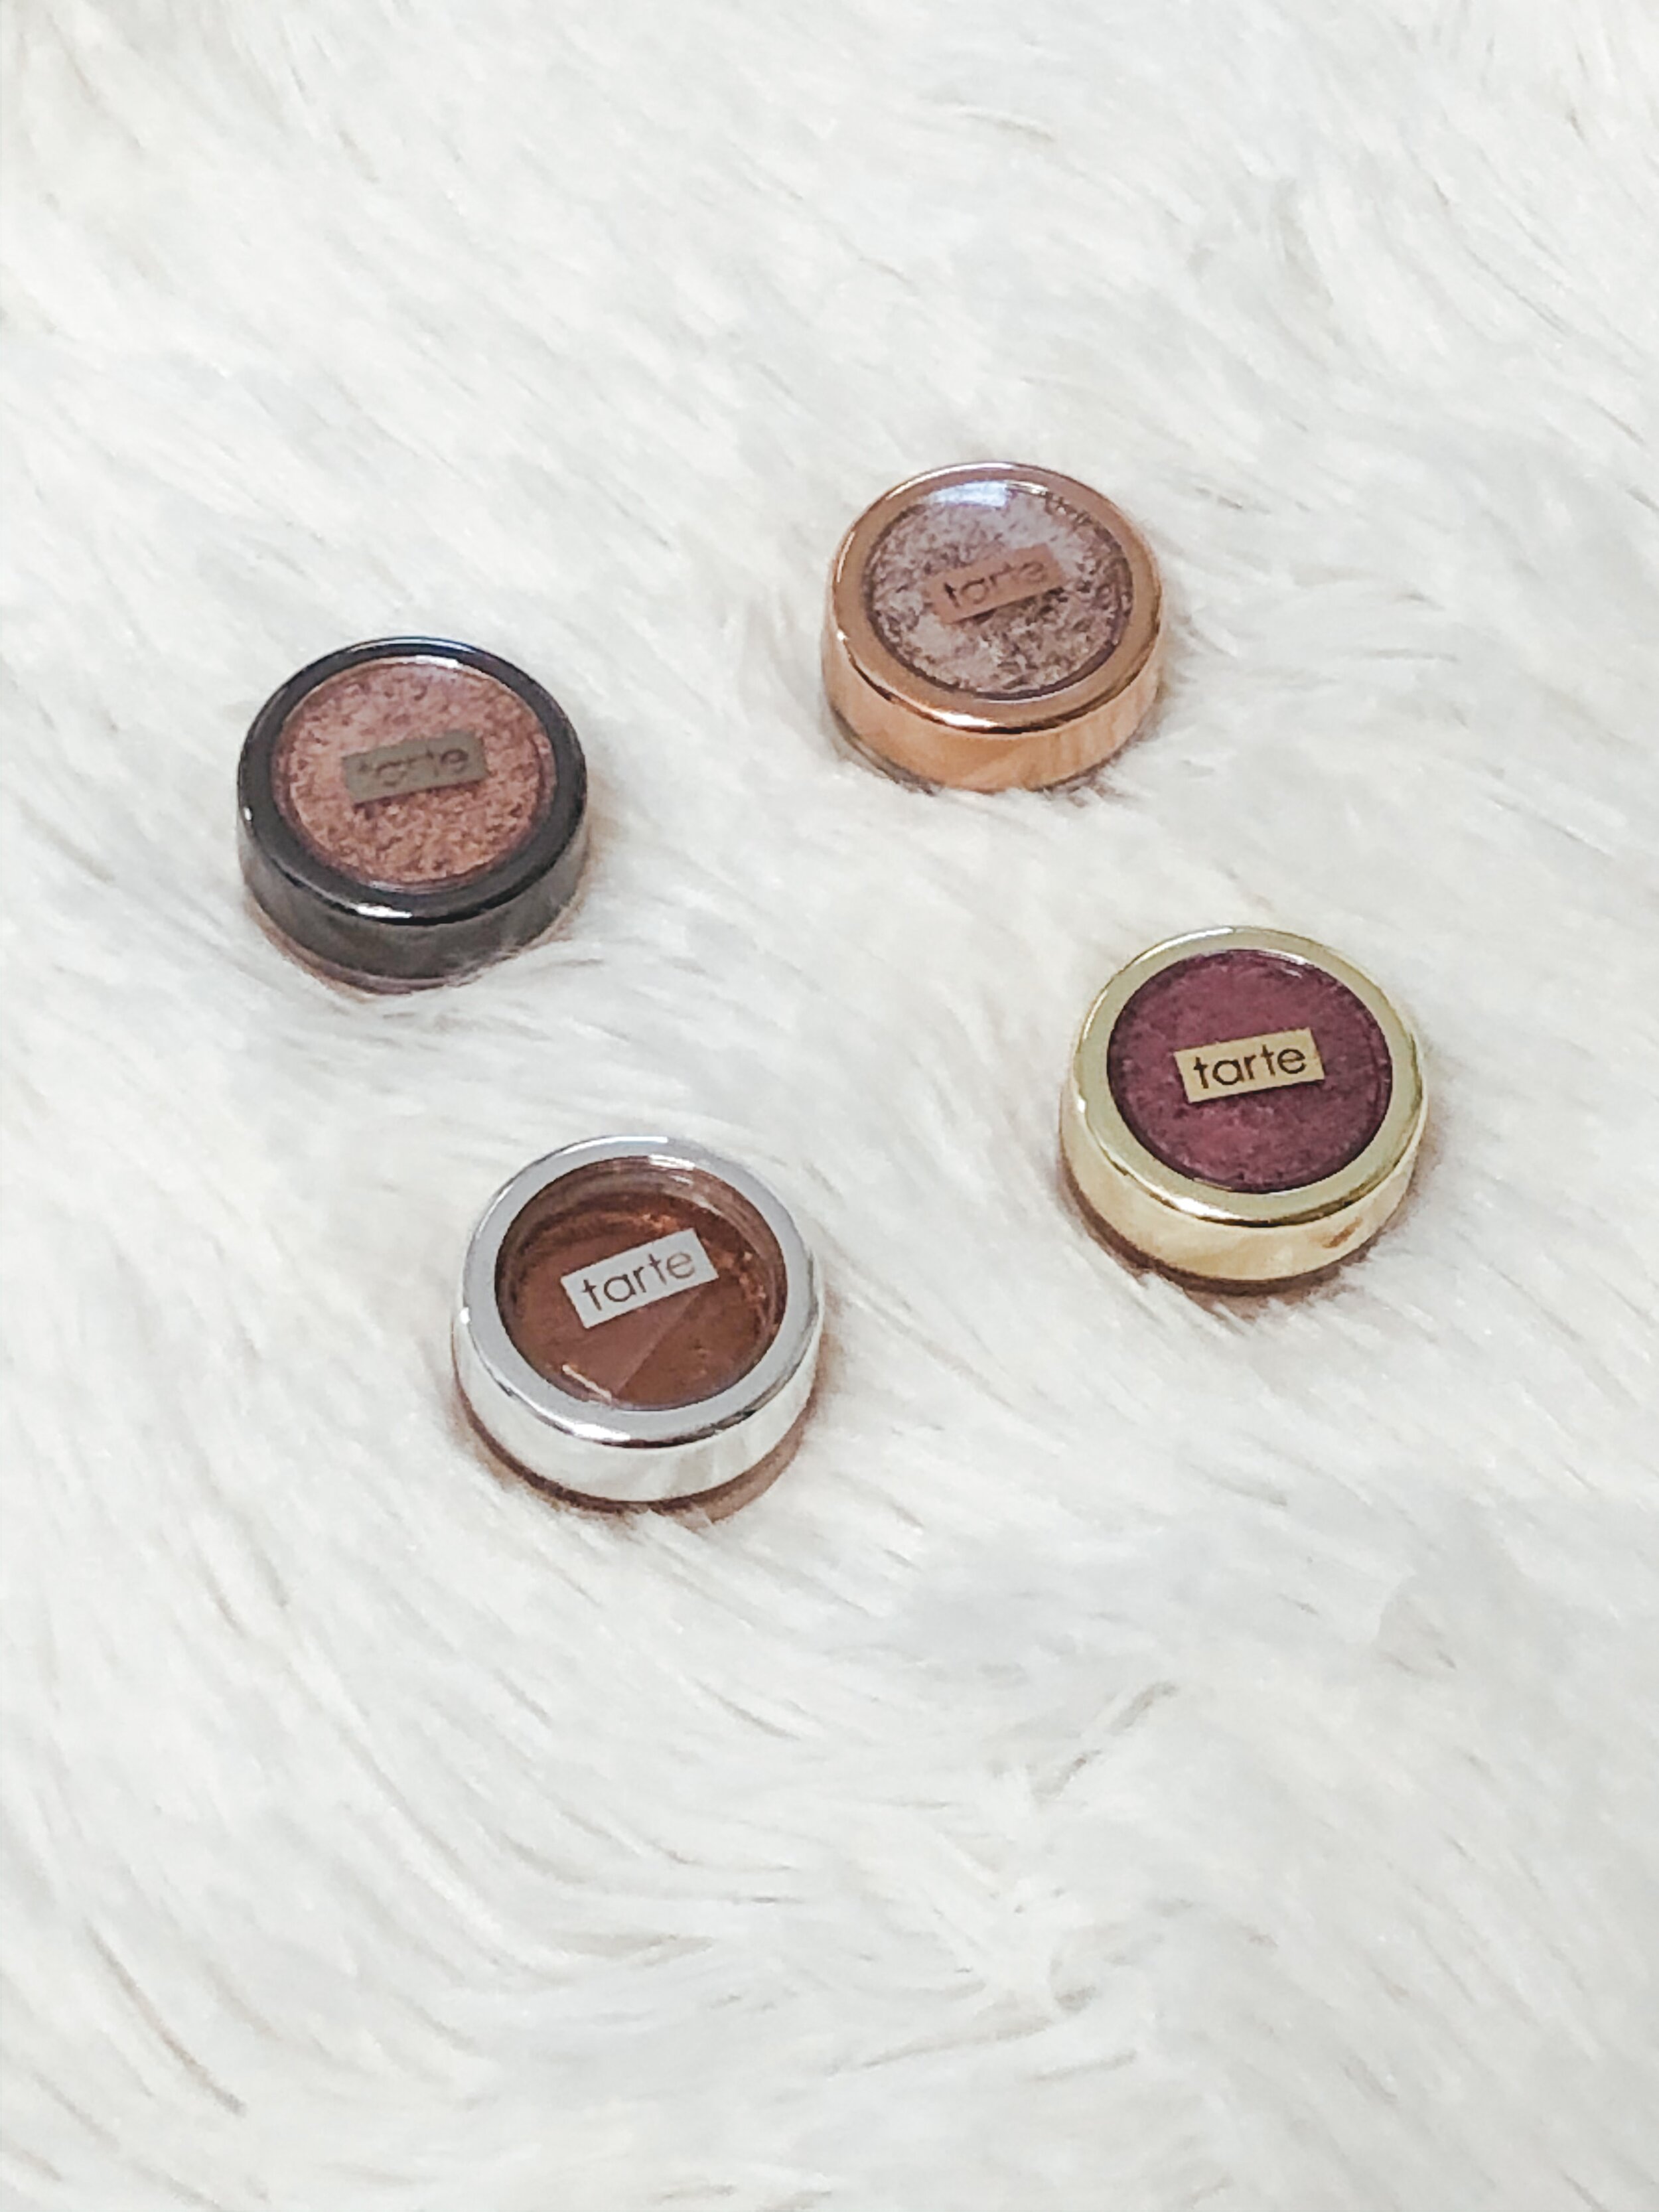
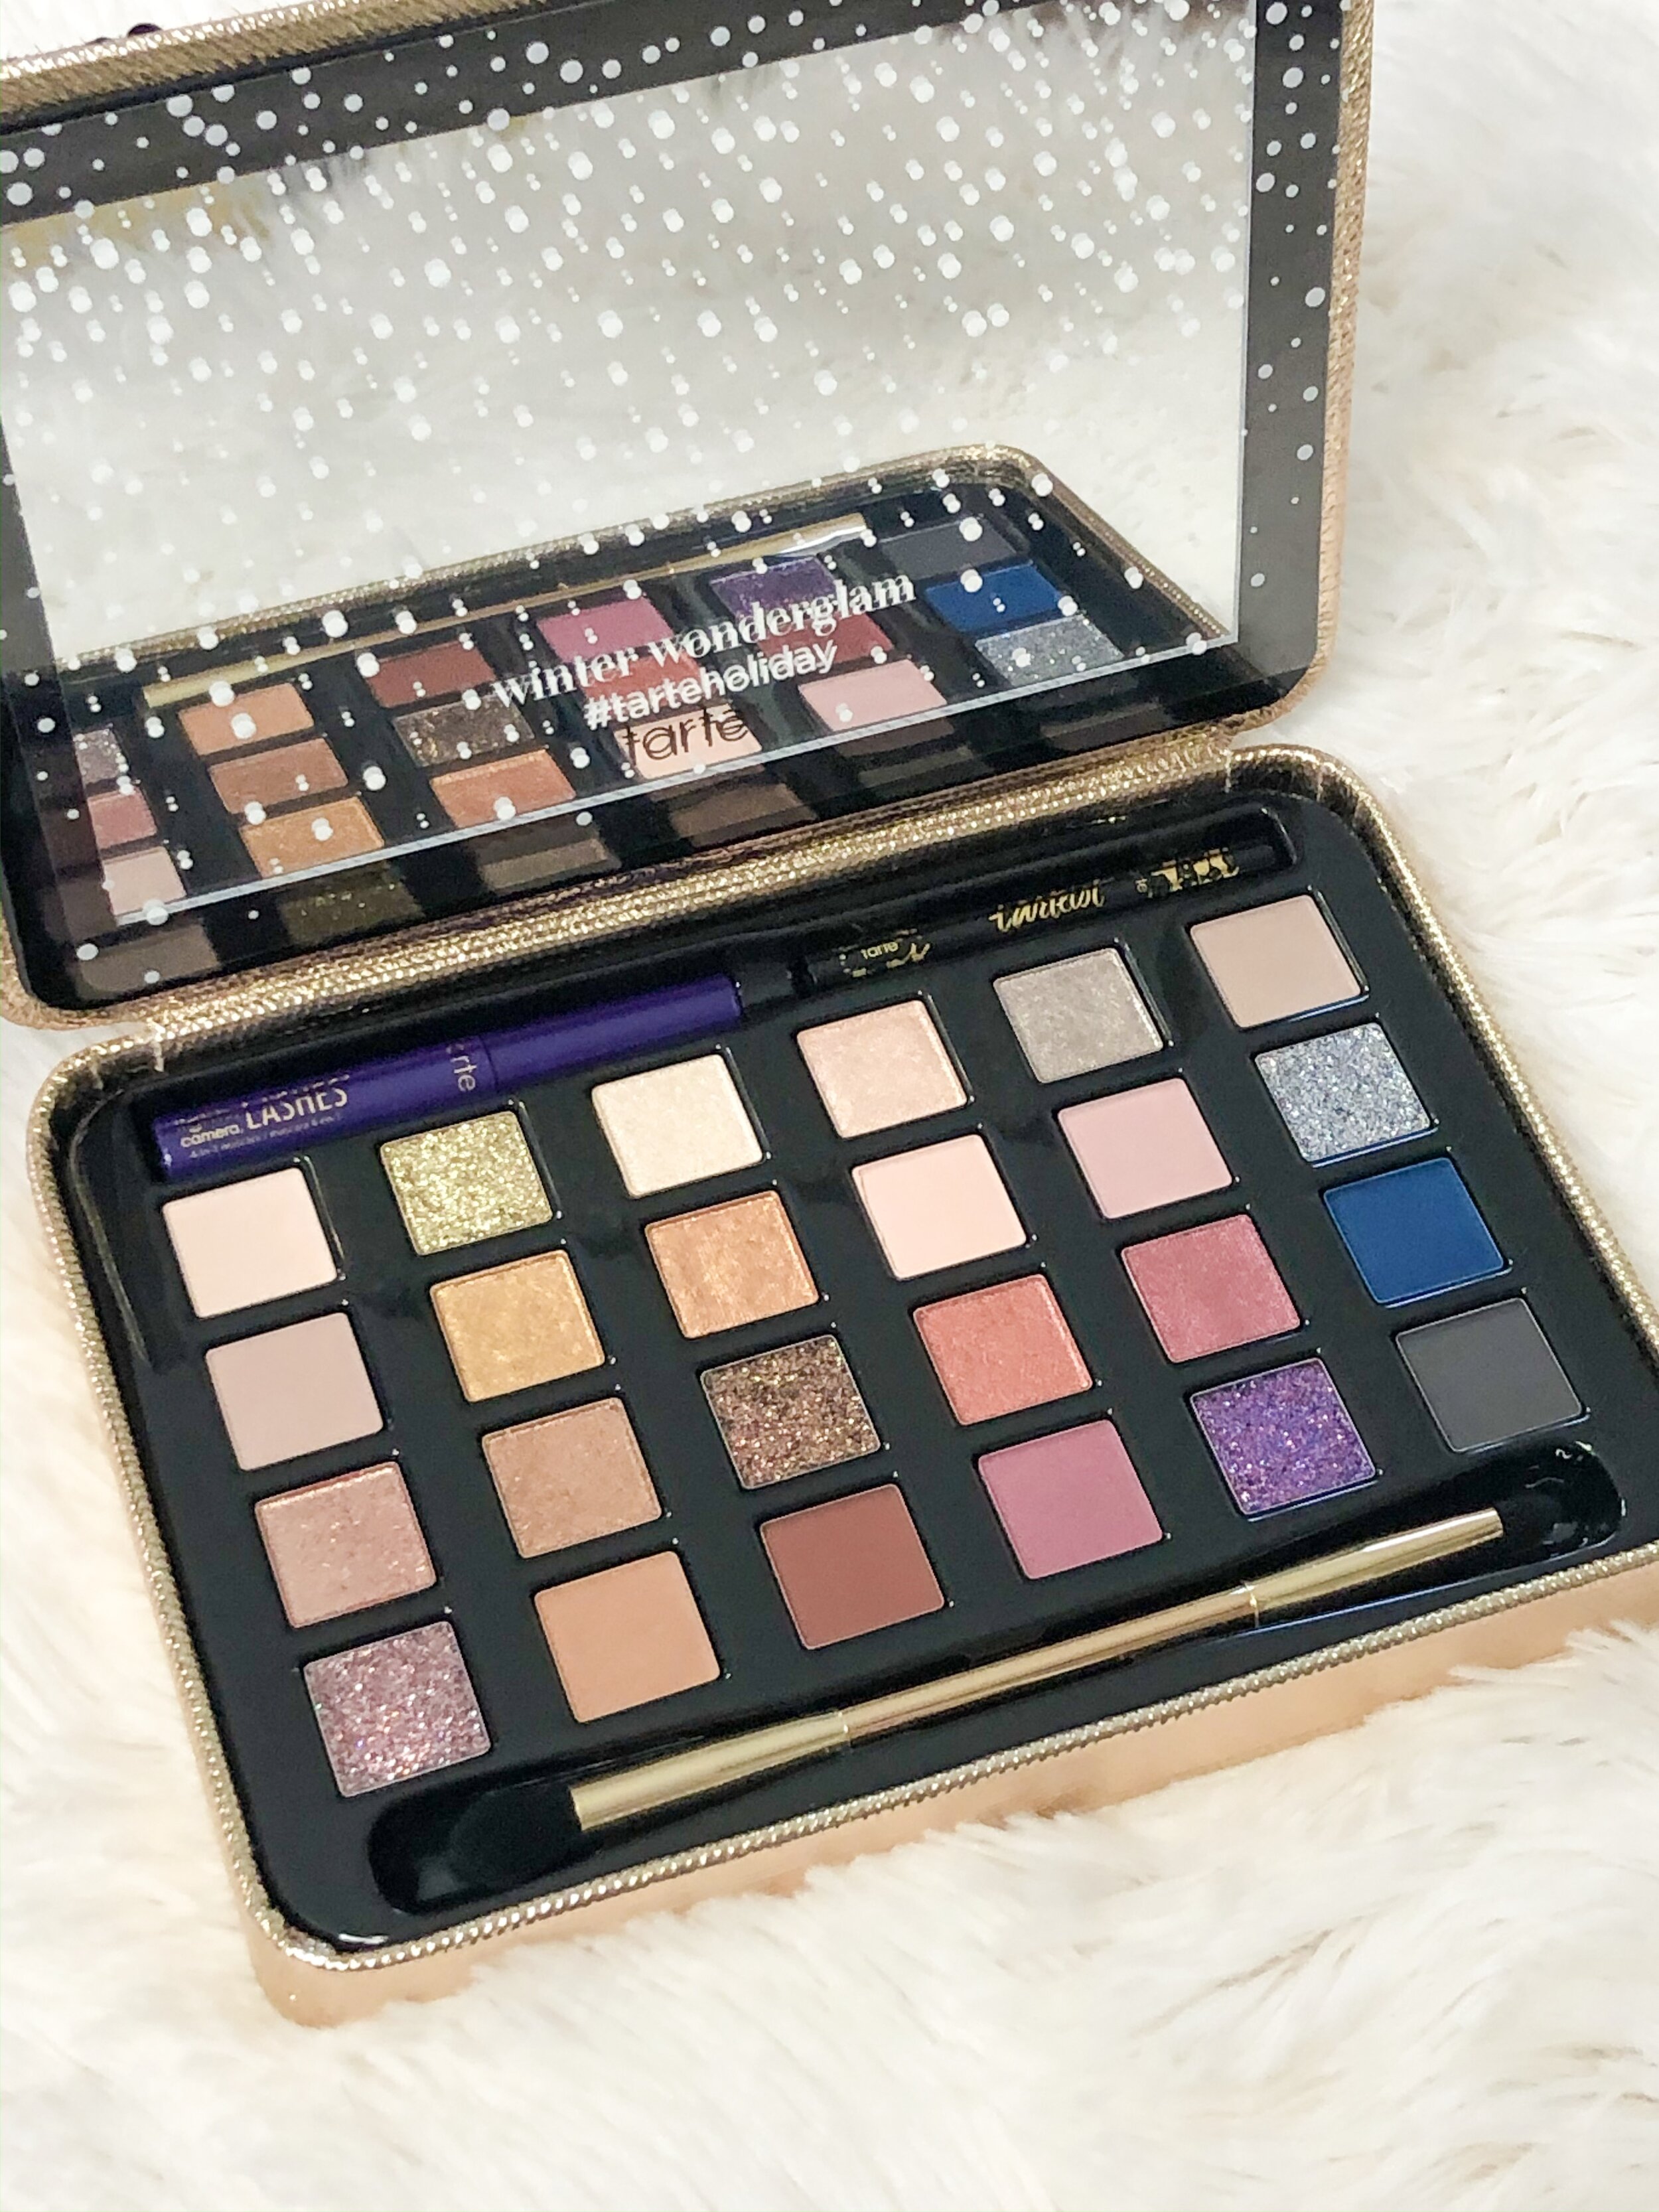
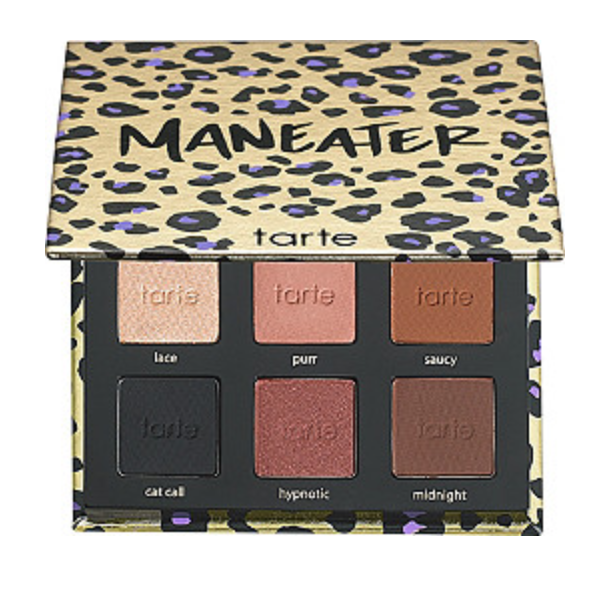
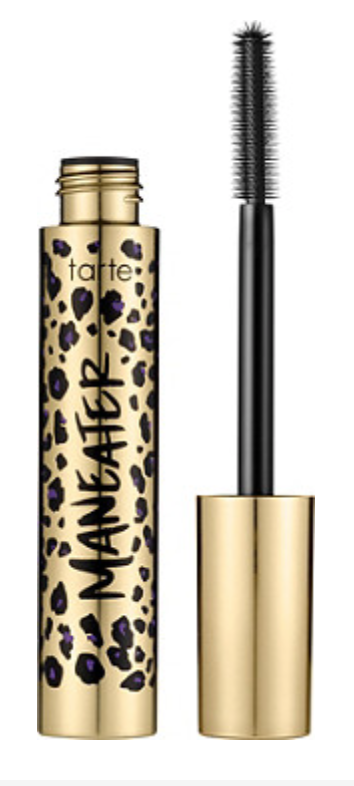
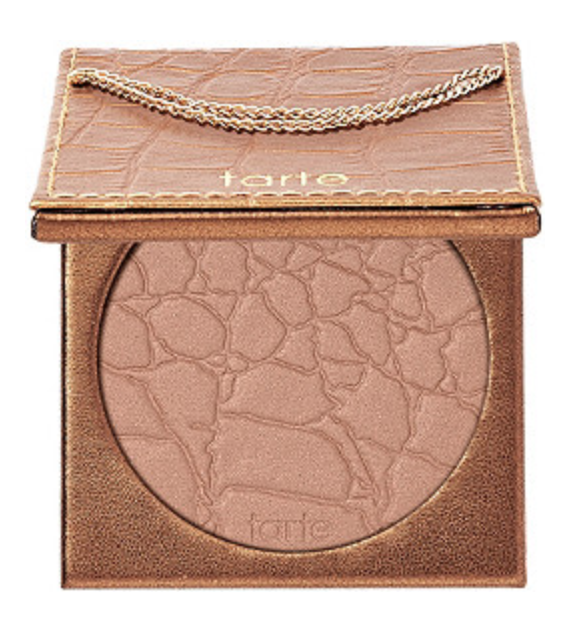
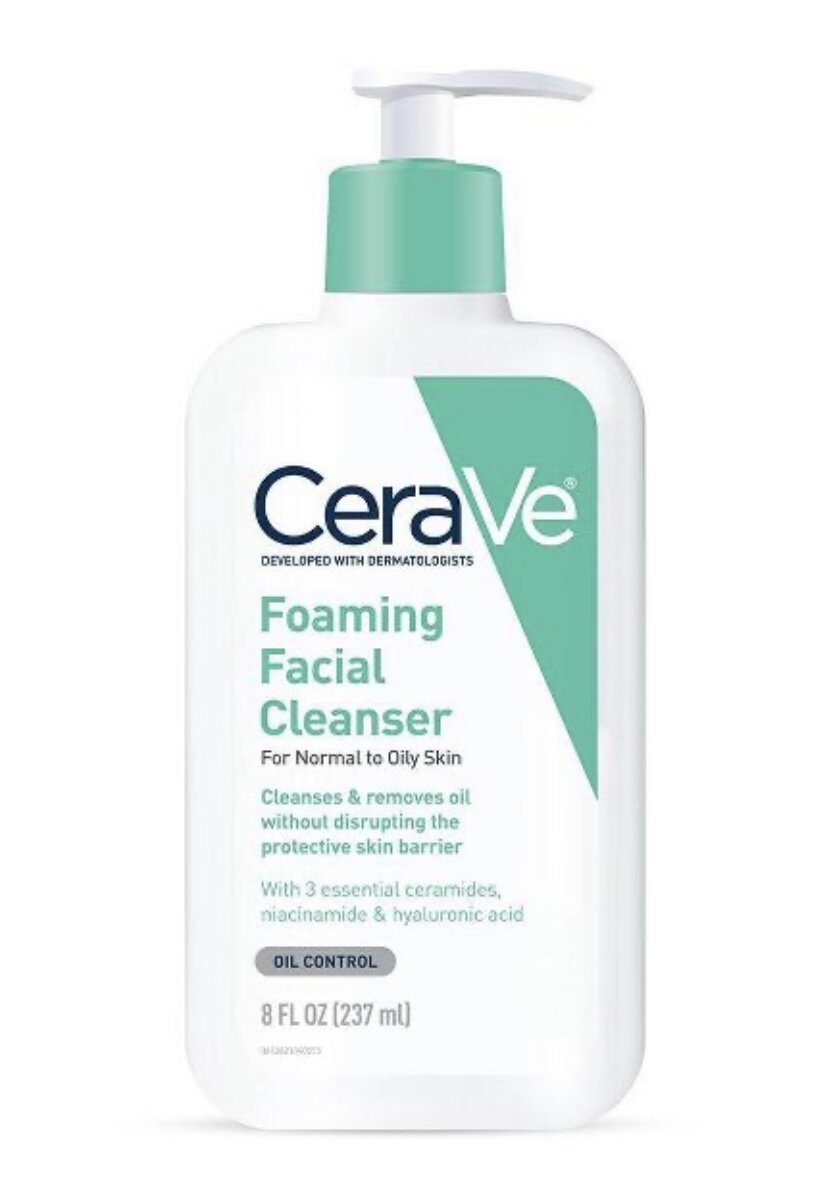
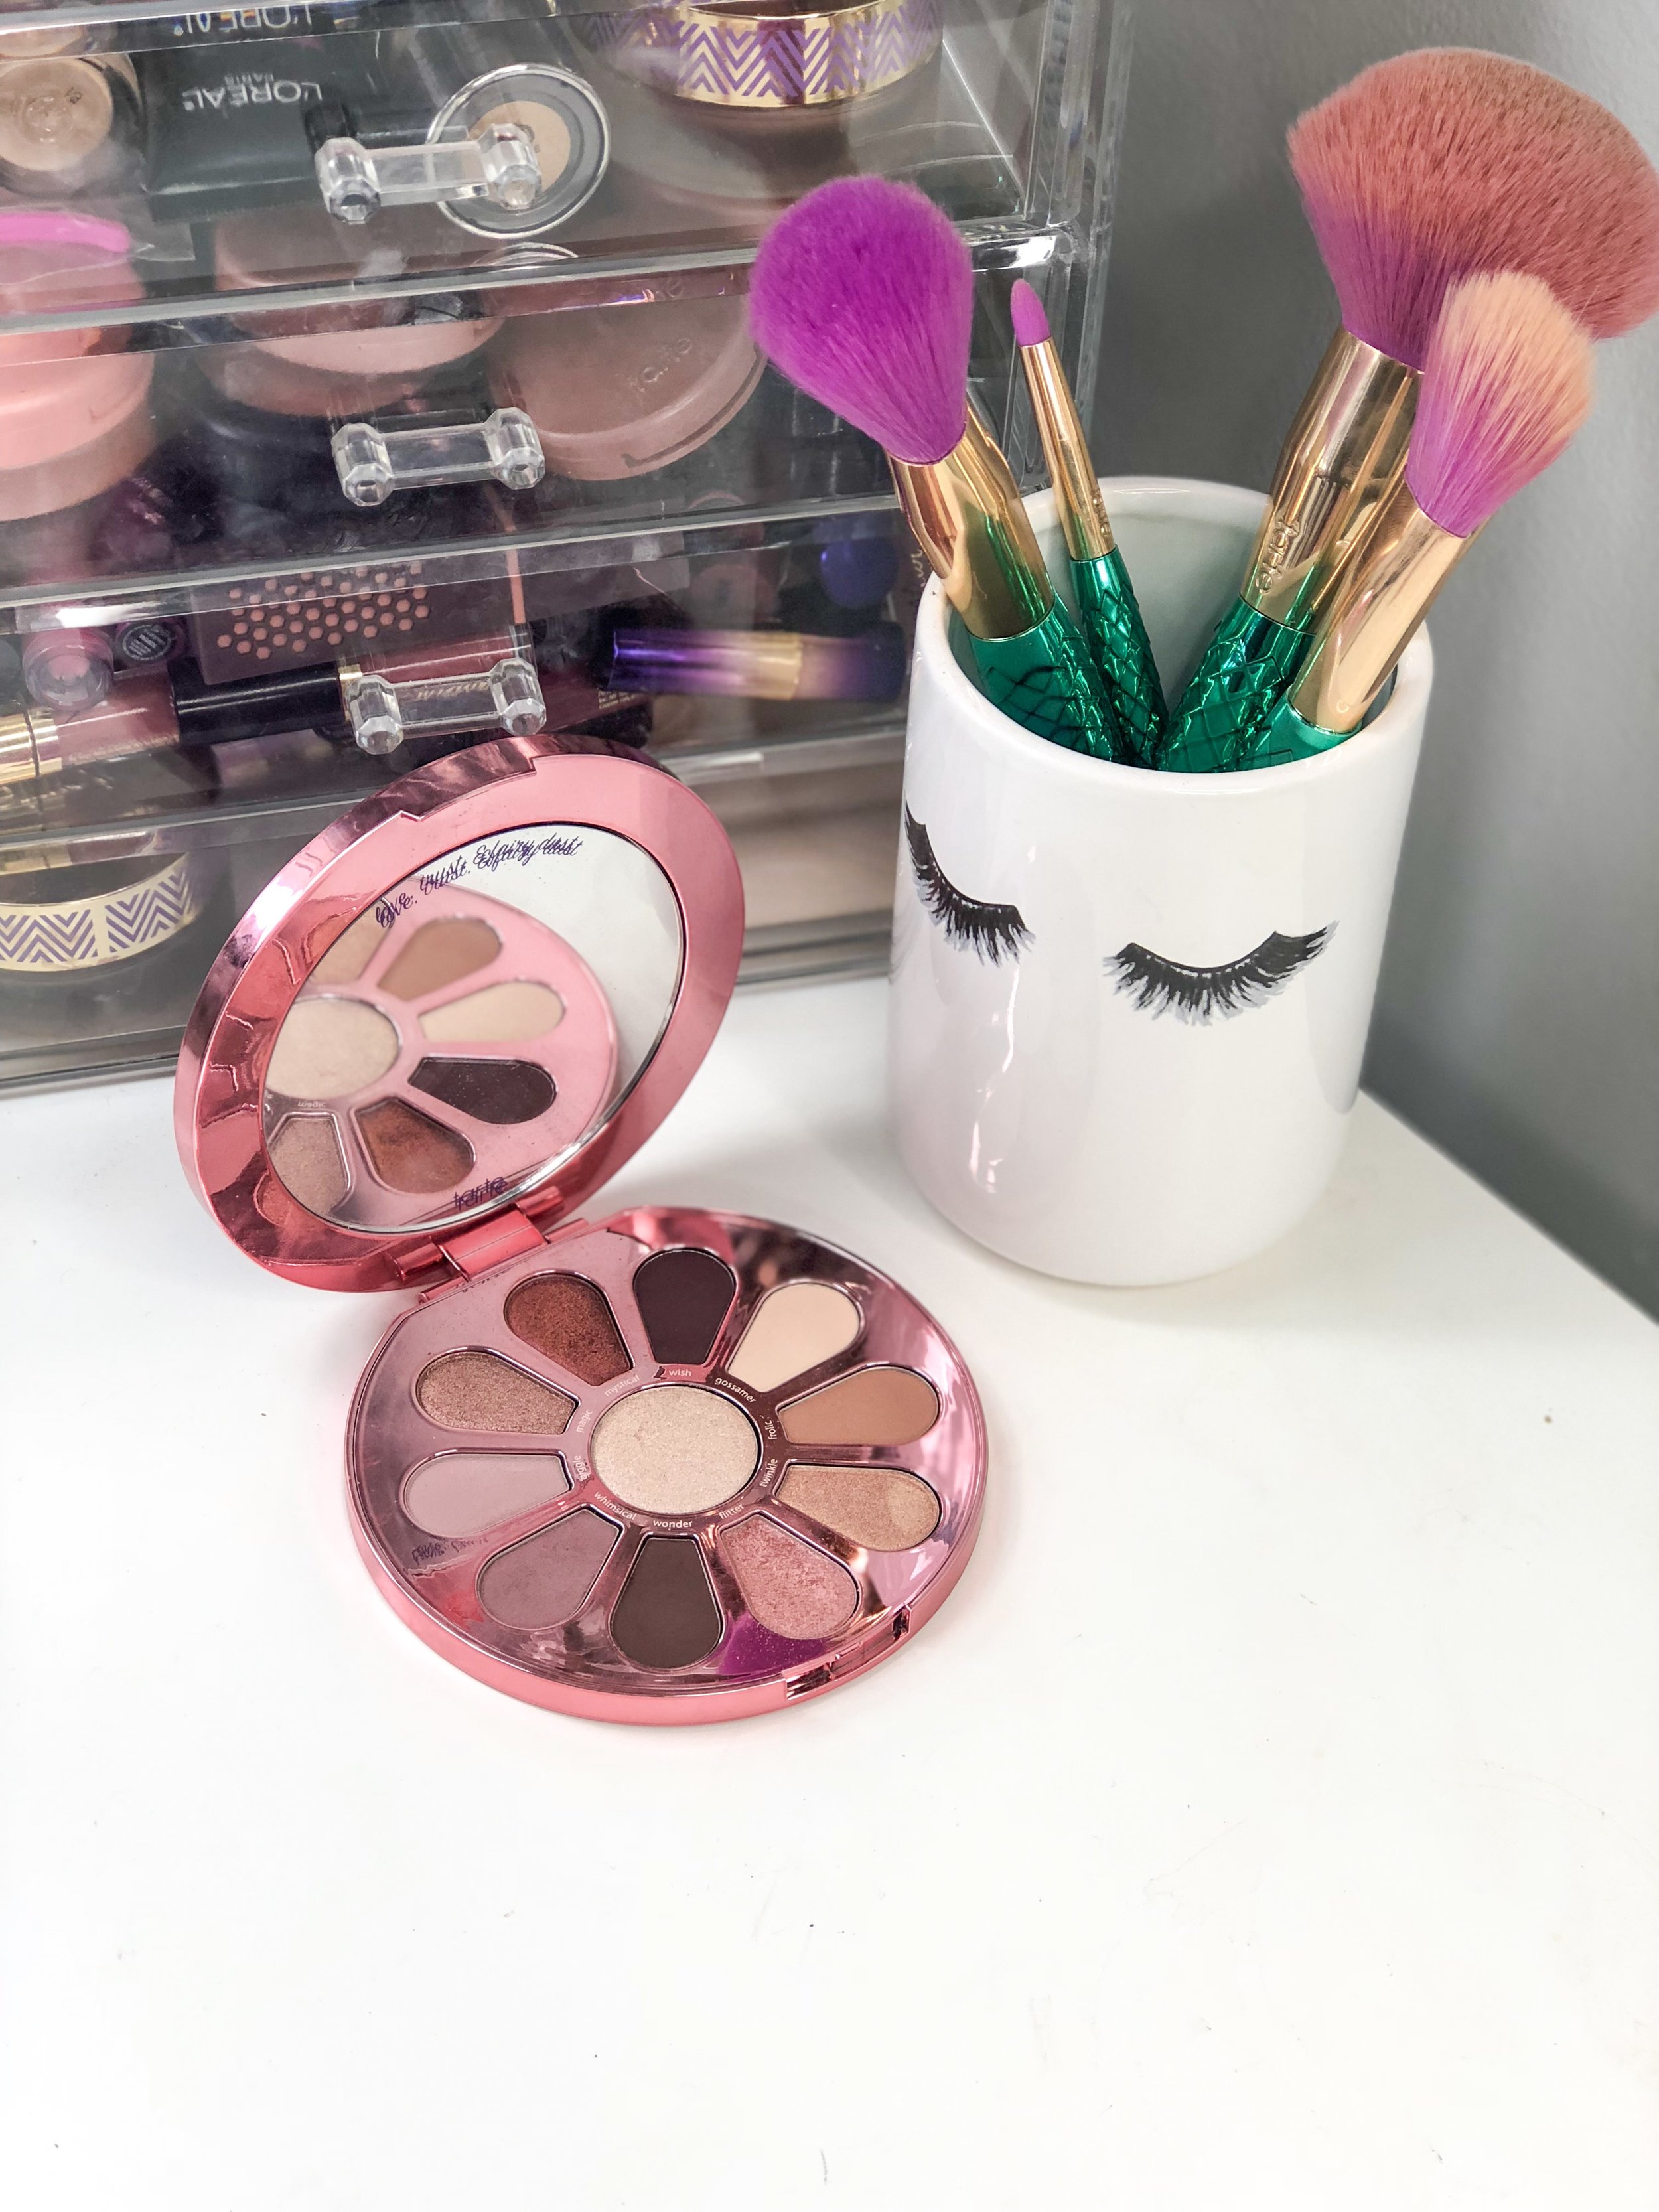
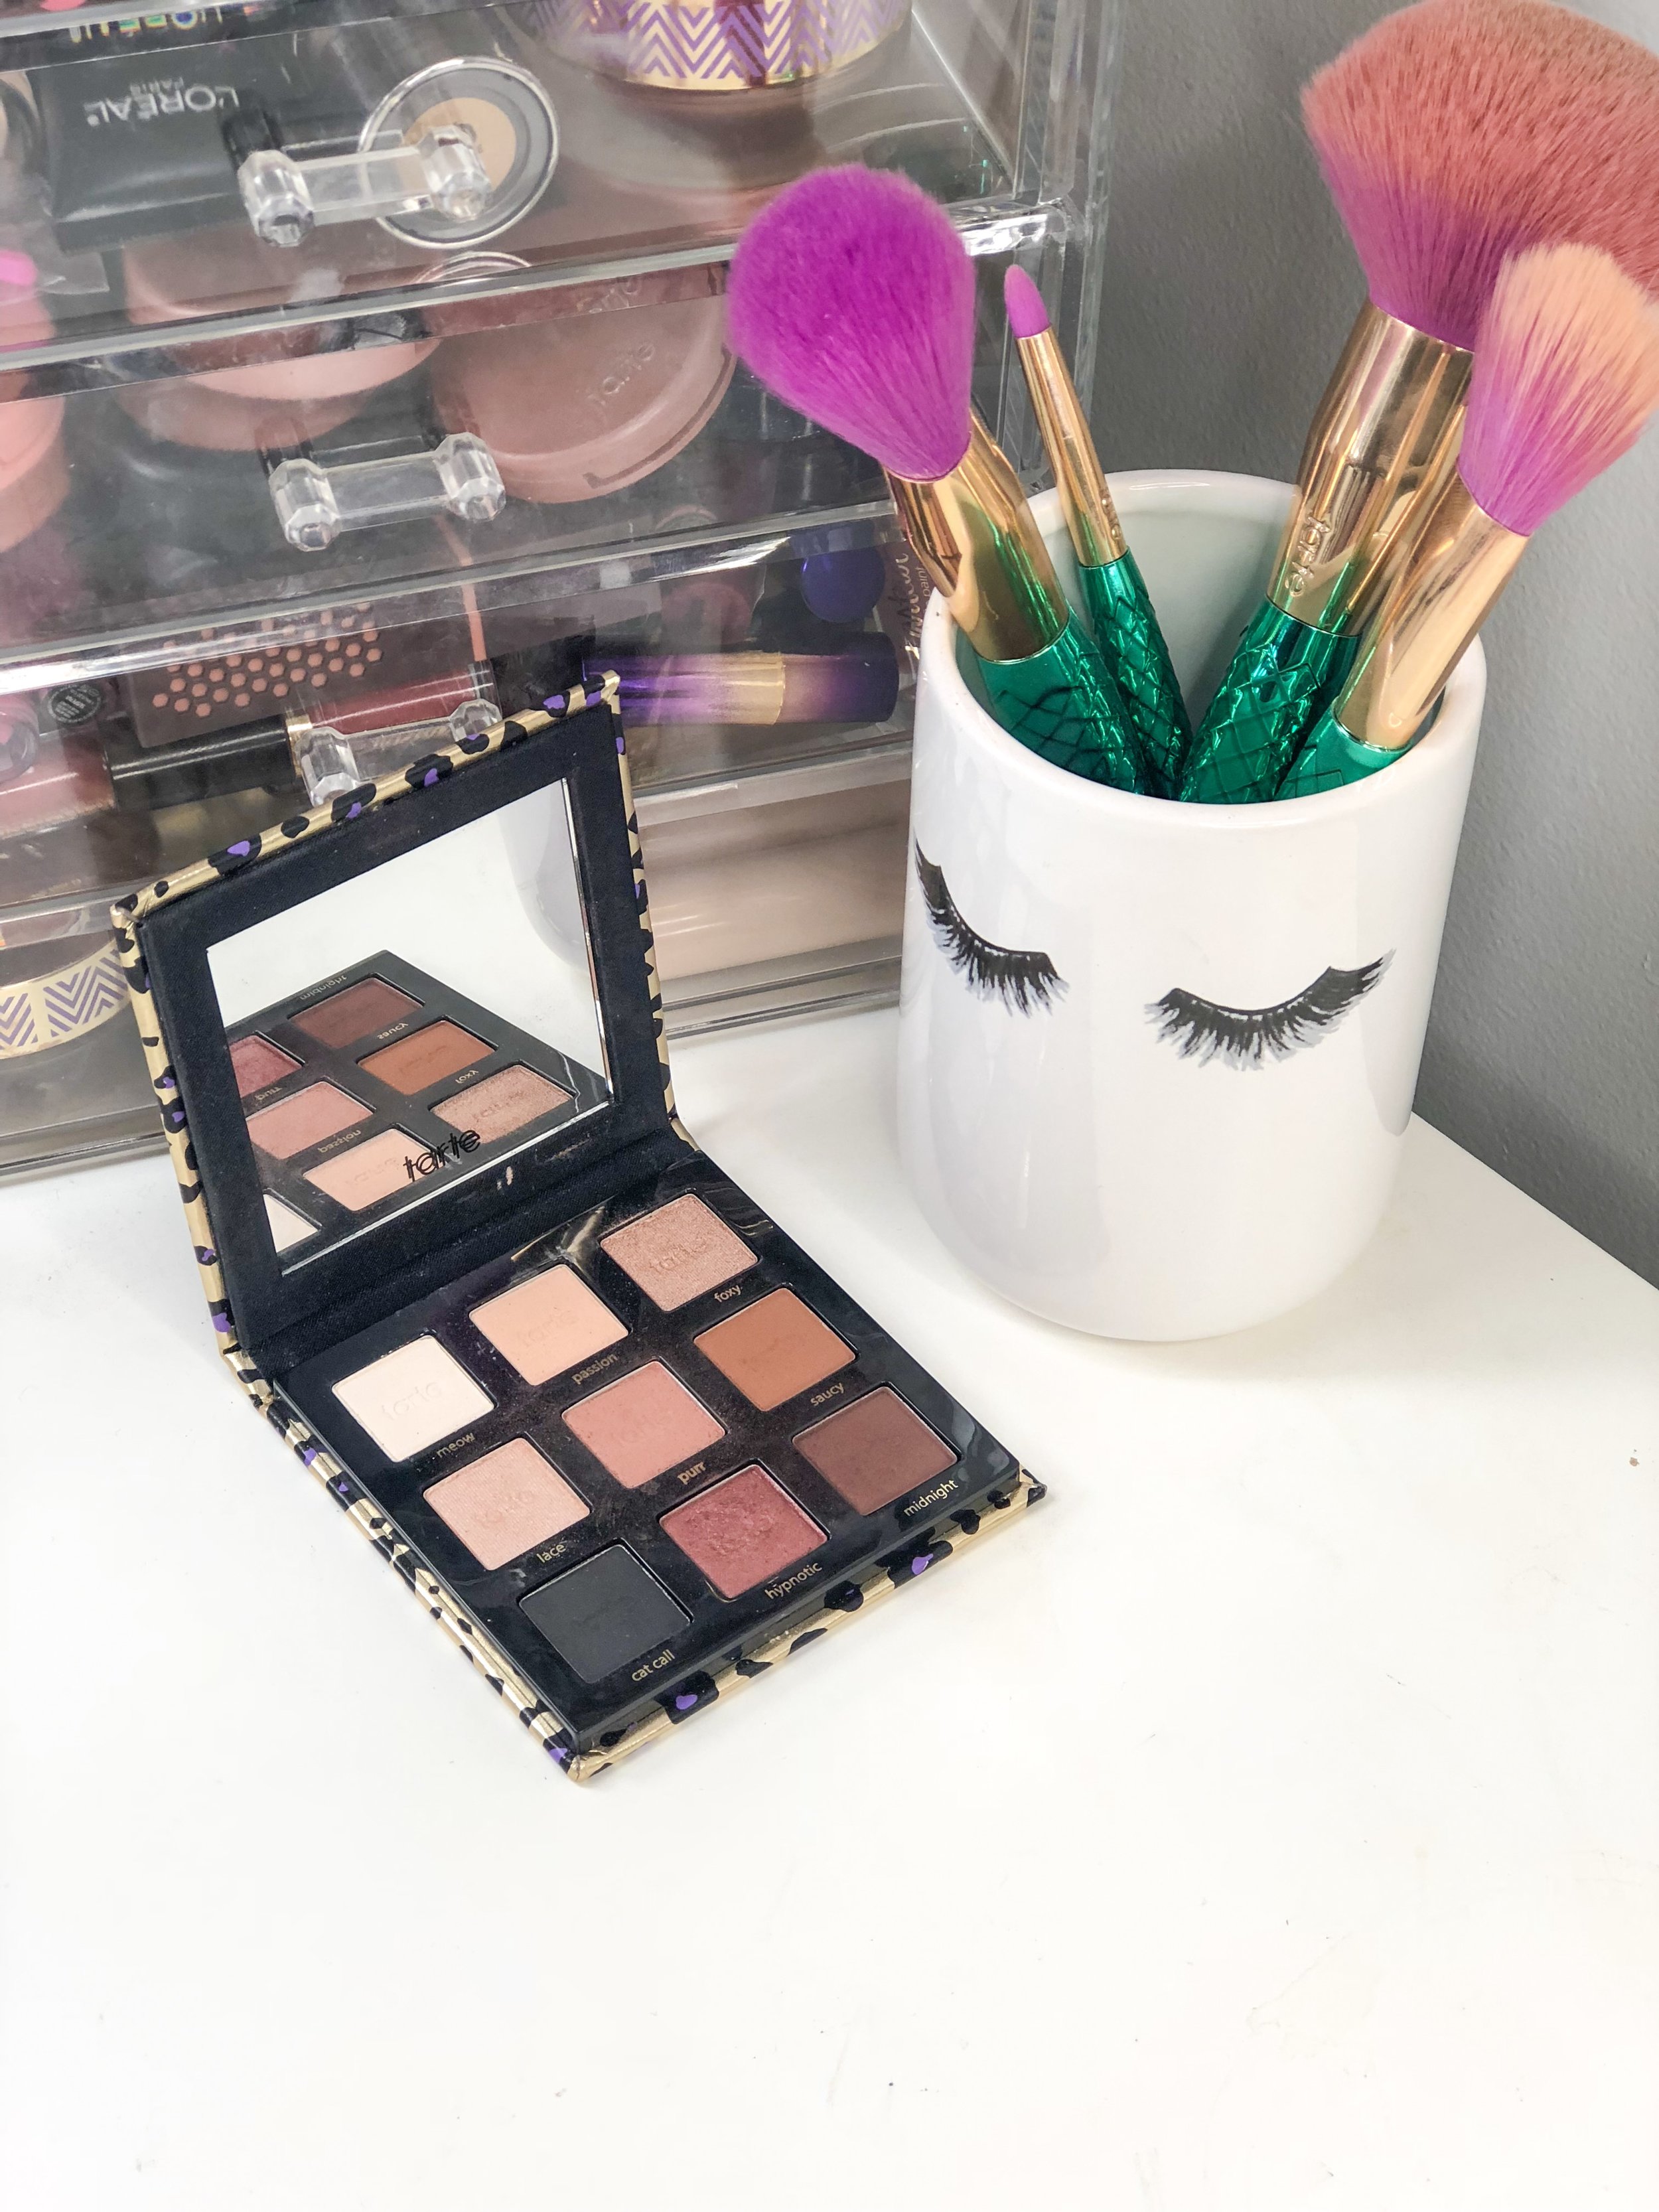
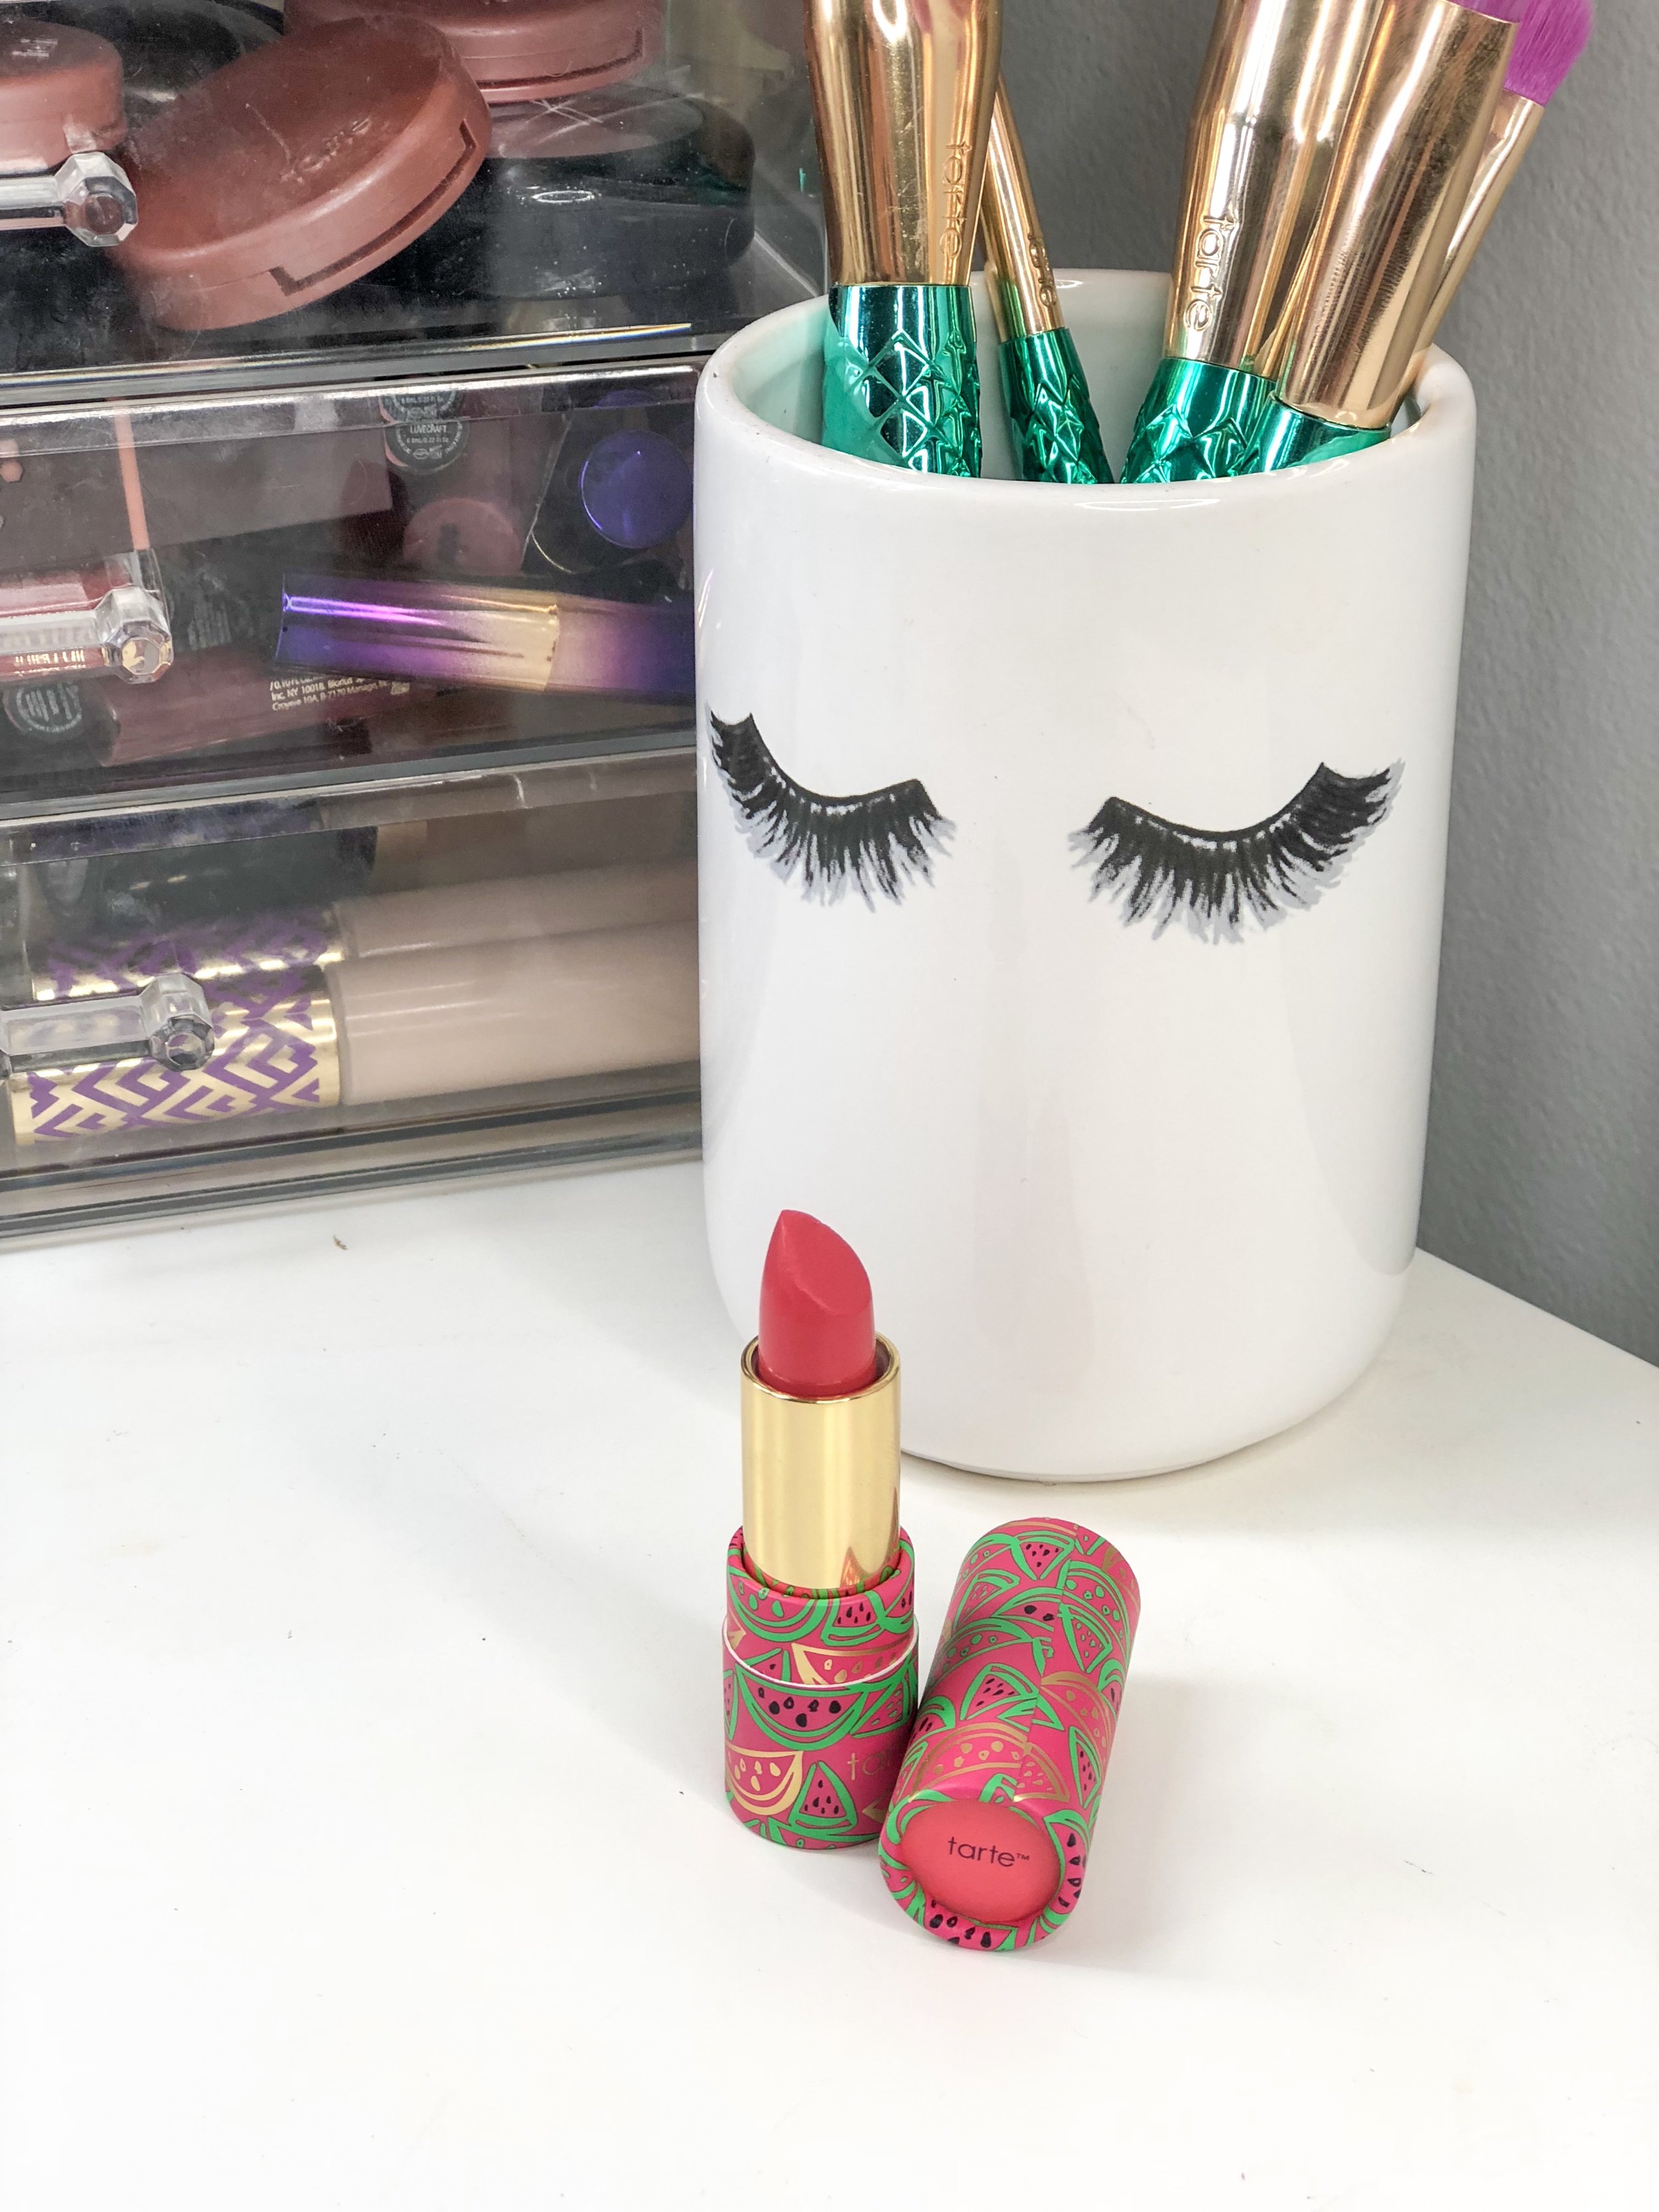
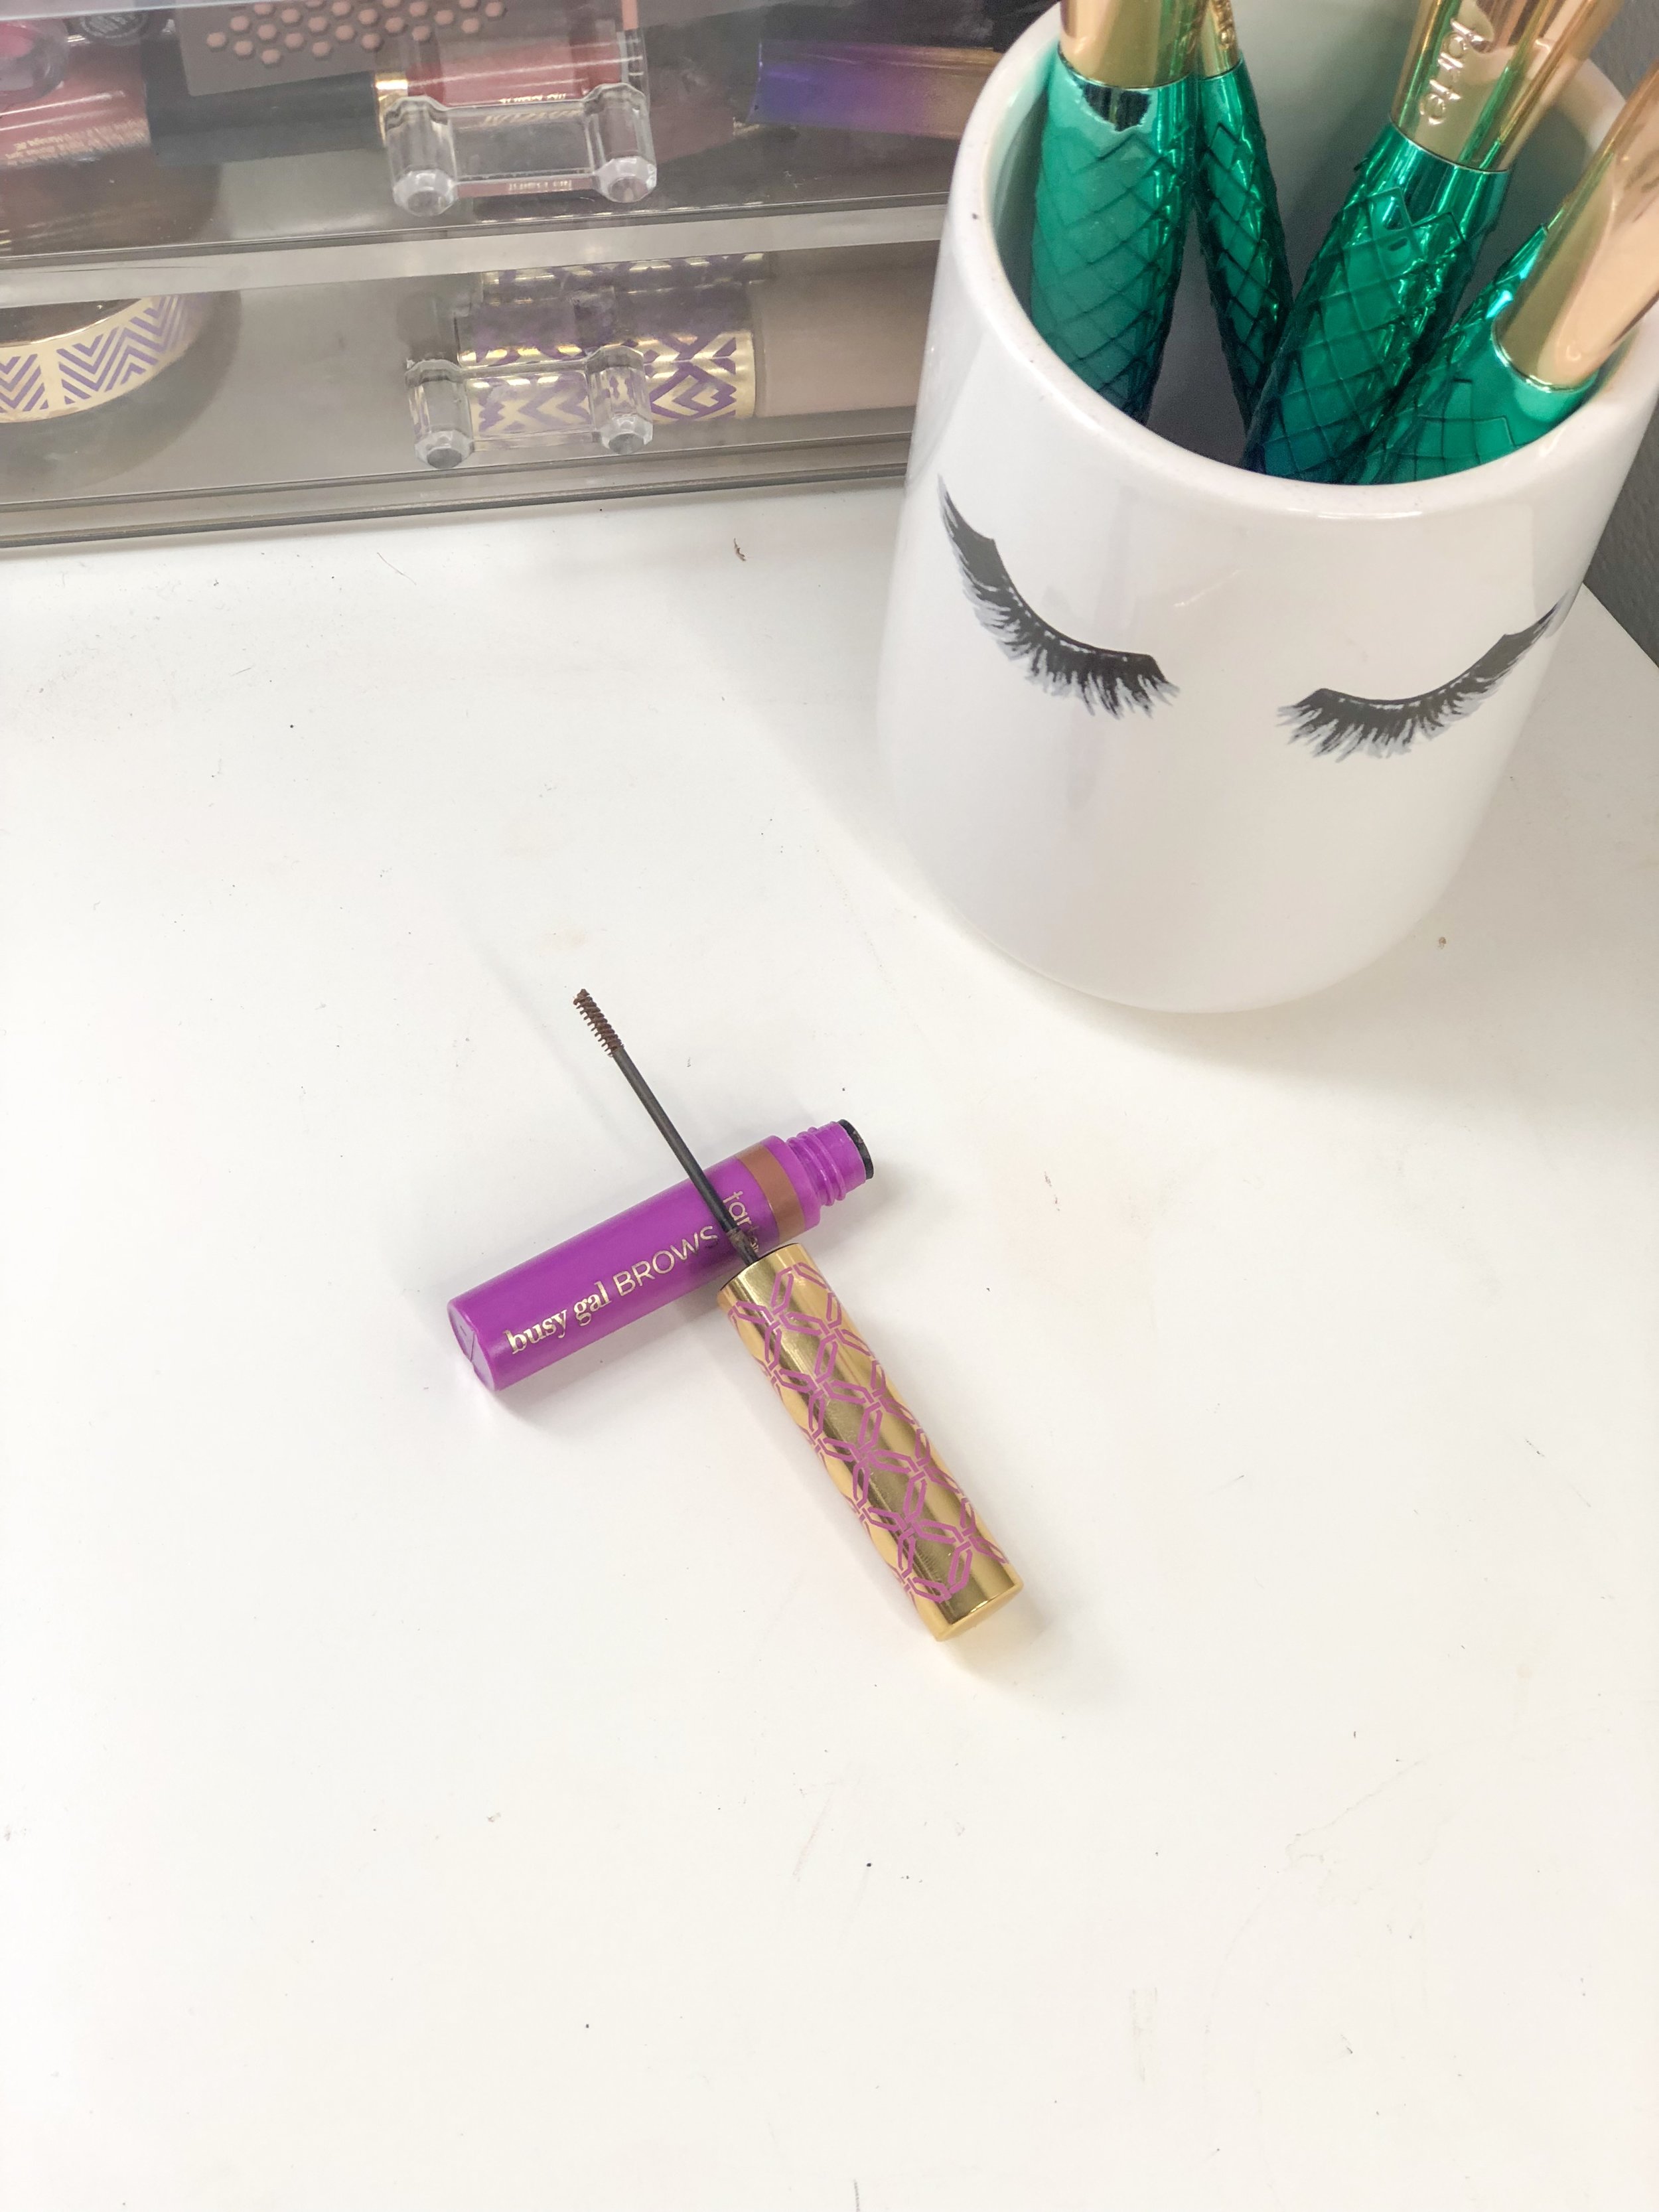
I thought I would do a quick post sharing my top picks for the Tarte 48hr sale going on right now!
Target Try-On | Vlogmas Day 1
CommentHey y’all! If you watched my Vlogmas Day 1 I did an in store try-on at Target and shared some of my favorite jackets and cardigans. I thought I would do a blog post too showing y’all each item I tried on. I will link my vlogmas down below if you want to watch it!
Wild Fable Sherpa Jacket Pink- wearing a small | Kendra Scott Miley Necklace | Loopy Case discount code “aliciabice” for 10% off
Wild Fable Sherpa Jacket Black- wearing a small
Wild Fable Fuzzy Cardigan Pink- wearing a small
Wild Fable Fuzzy Cardigan Rose -wearing a small | Guns N Roses Graphic Tee- wearing a medium | Jeans are Old Navy
Wild Fable Sherpa Sweatshirt- wearing a large but need a medium, TTS
A New Day Blanket Scarf
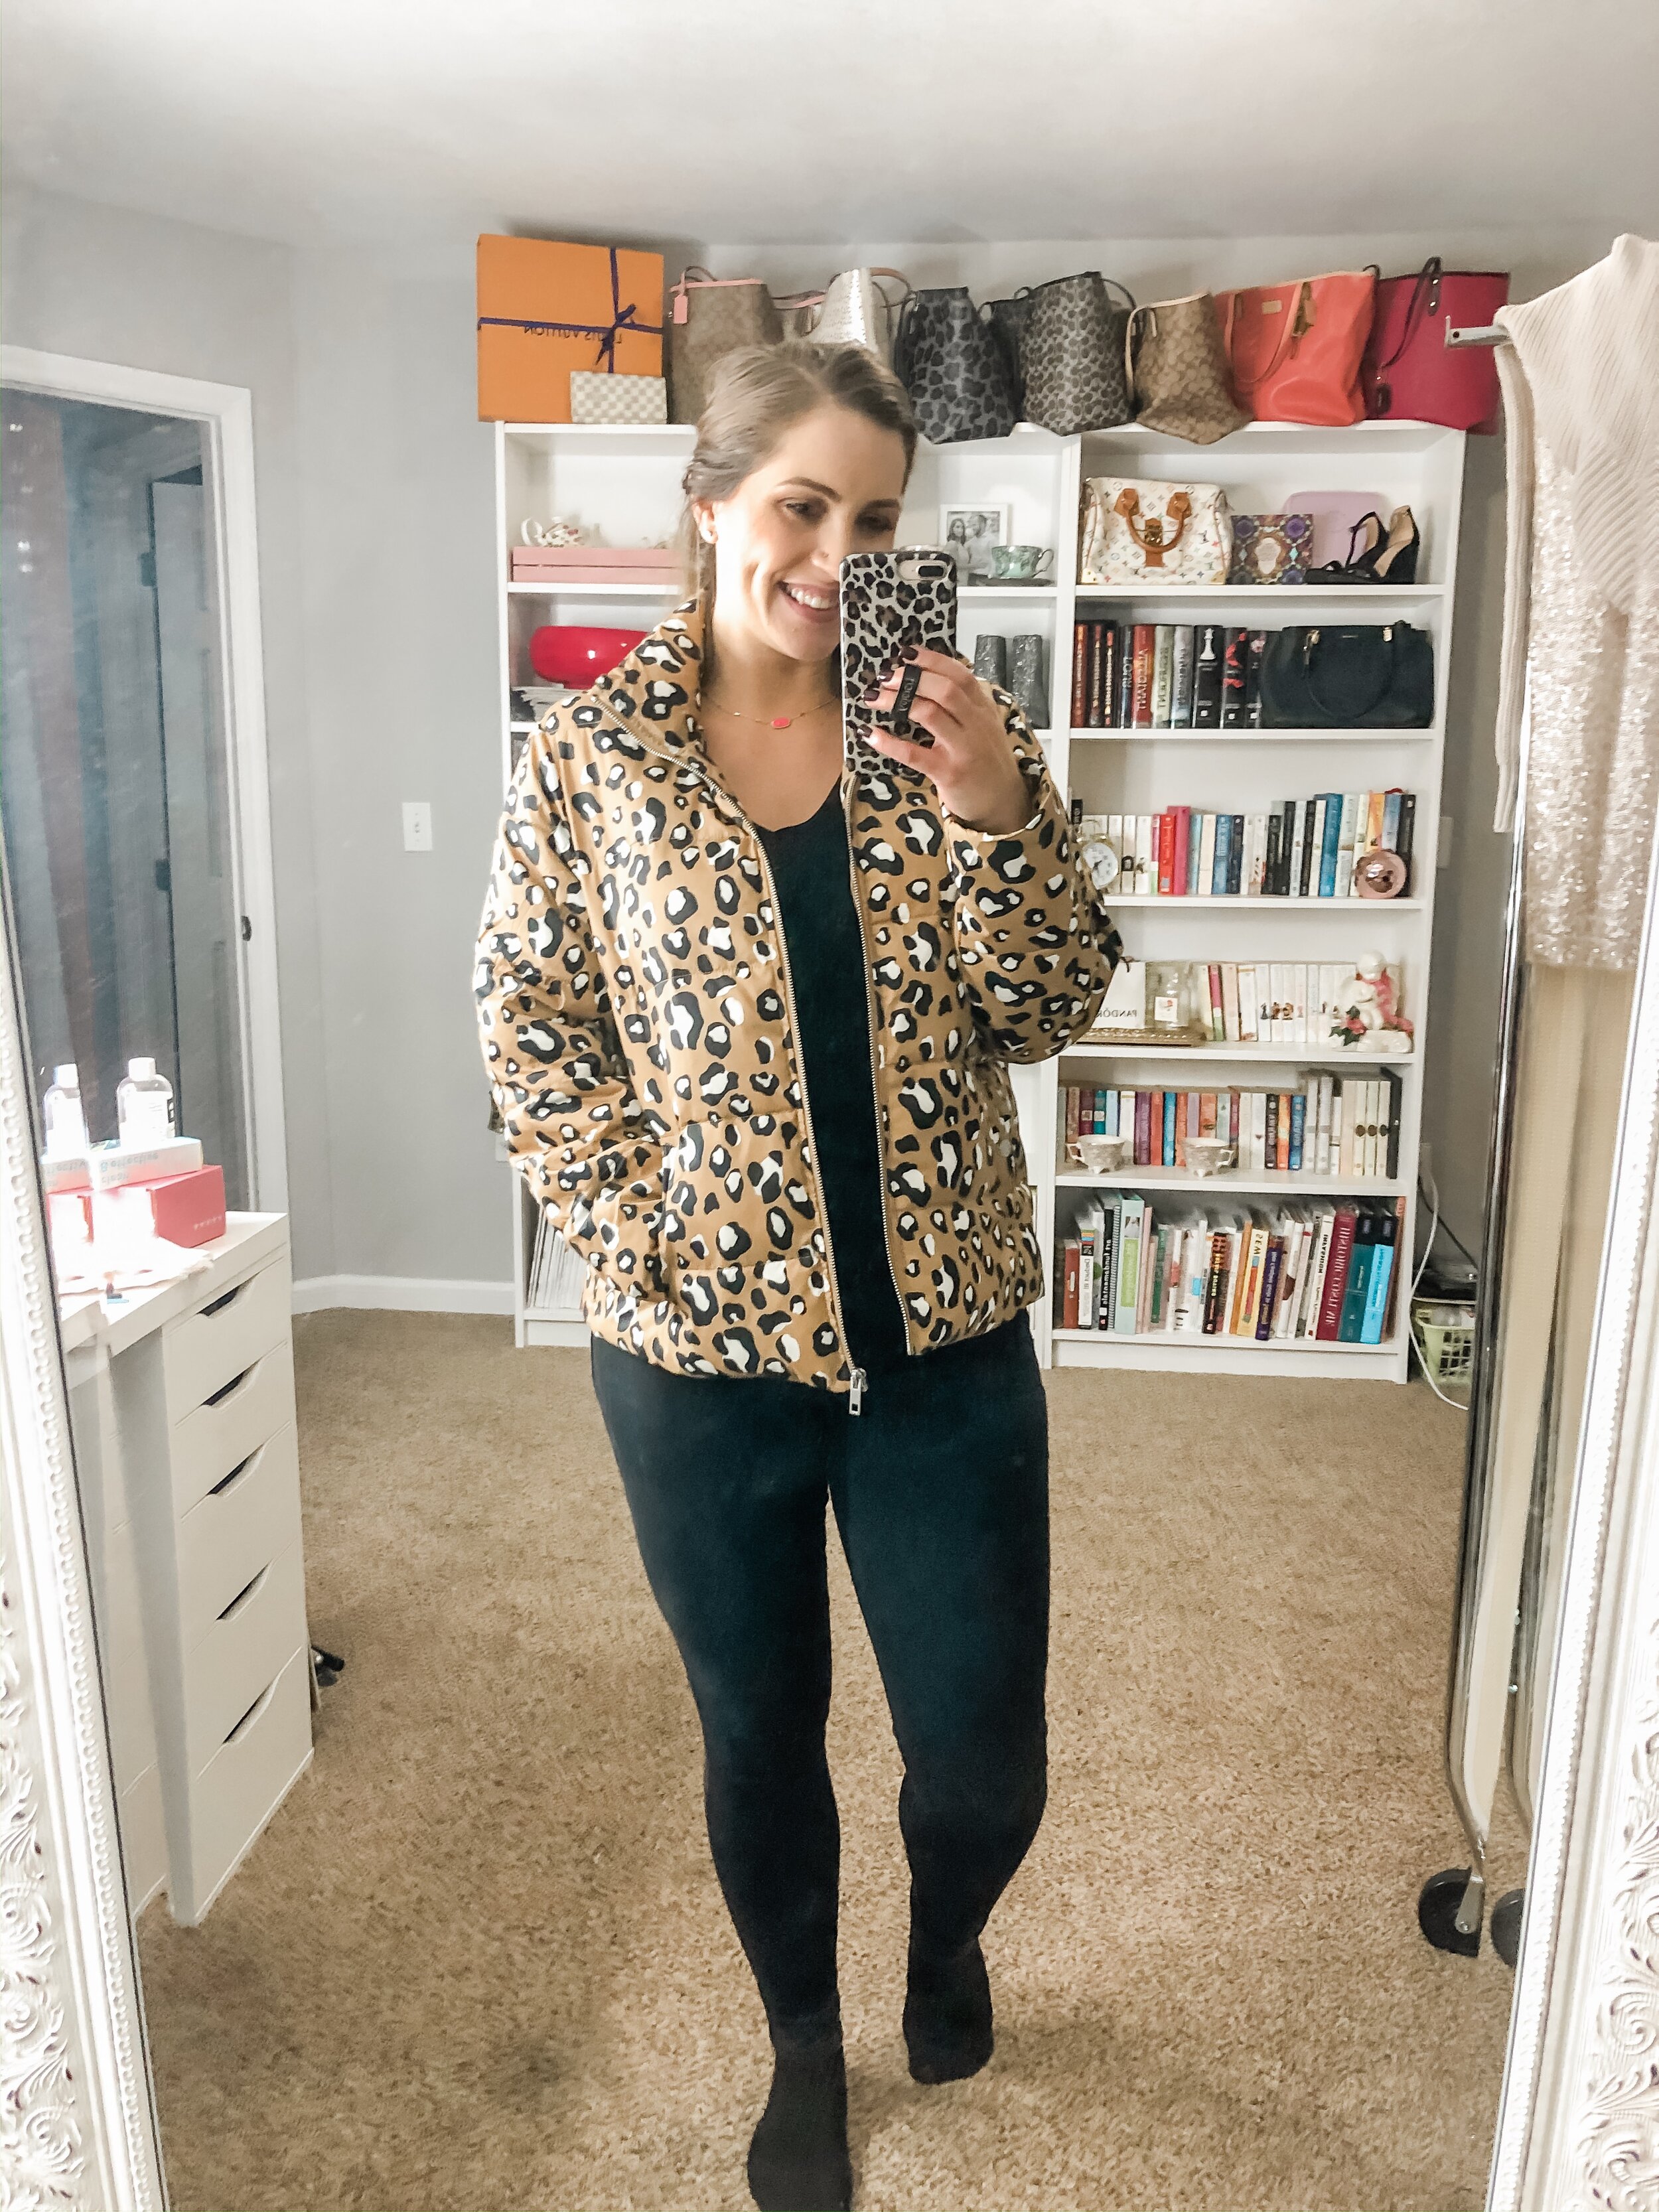
Who What Wear Leopard Puffer Jacket- wearing a medium | Jean are Old Navy | Kendra Scott Miley Necklace | Loopy Case discount code “aliciabice” 10% off
Tarte Holiday Collection
CommentI know it’s a little early to be talking about holiday products, but you can already buy all these cute products online and in store. Everything I’m sharing with y’all will make great gifts if you are already starting your Christmas shopping. I should start early, but I’m a procrastinator in all aspects of life, haha. I usually don’t start Christmas shopping until December. Anyways, I also did a Youtube video unboxing all these products that I will link for y’all if you want to check it out. If you want to shop any of the products, all you have to do is click the picture and it will take you straight to the website to purchase. You can always go to the shop tab above as well.
I think Tarte always has some of the cutest packaging year round, but during the holidays it’s even cuter. This year everything is rose gold, and rose gold is my favorite so y’all know I’m obsessed!
Here is a close up of all the products, along with pricing.
I really hope that y’all enjoyed seeing everything! There are still a few holiday items that I didn’t show, so y’all can always check them out on Tarte’s website. Let me know in the comments what your favorite product is or what you want to add to your wish list!
2018 Beauty Favorites
CommentWhile I was putting items together for this post I noticed that I didn’t really try a lot of new makeup this year, so that is something I want to do different this year. I feel like I wasn’t as excited about buying new makeup as I was clothes and shoes in 2018 since I started my blog. I kind of felt like I “needed” new clothes so I could post them. Since I bought so many last year, I am going to try my best to not get as many clothes and shoes this year. I really would like to try and save more, but I am terrible at saving. Let’s see how long that lasts, haha. One of my goals for 2019 is to pay off my makeup school loans, so maybe that will encourage me to save. I want to try and incorporate more drugstore makeup into my content as well, because I hardly ever use any. I know not everyone likes to spend a lot of money on makeup and y’all know I like to give y’all affordable content, so I want to be able to give you more budget friendly options on makeup too.
Anyways, let’s talk about some makeup. It is probably no surprise that almost every favorite for the year is Tarte. I’m only going to do my top 10 favorites. I am always open and honest with y’all so I am not just picking Tarte products because I work for tarte, they are my favorite products for a reason. Tarte has always been one of my favorite brands even before I started working for them. With that being said, let’s get started. I will share my non tarte item first.
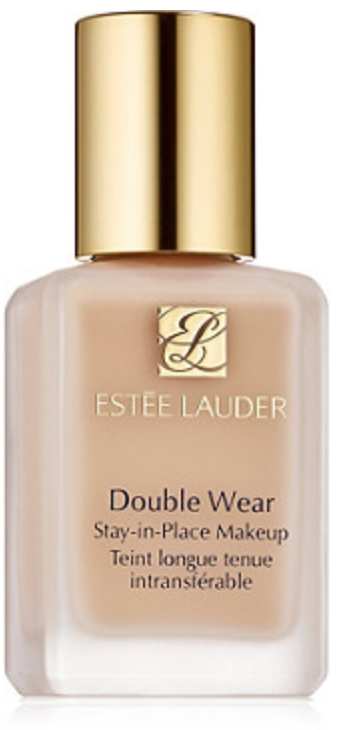
Estee Lauder- Double wear foundation. This is one of my favorite foundations and I usually am not a fan of matte, but this one is more of a natural matte. It lasts all day and has a big shade range. For a dewy foundation, I love the tarte shape tape hydrating formula.
Tarte- Shape tape concealer. I have talked about this for years, but it is still hands down my favorite concealer ever! There are a couple drugstore ones I want to try for a cheaper price point, but in my opinion shape tape is worth the $27.
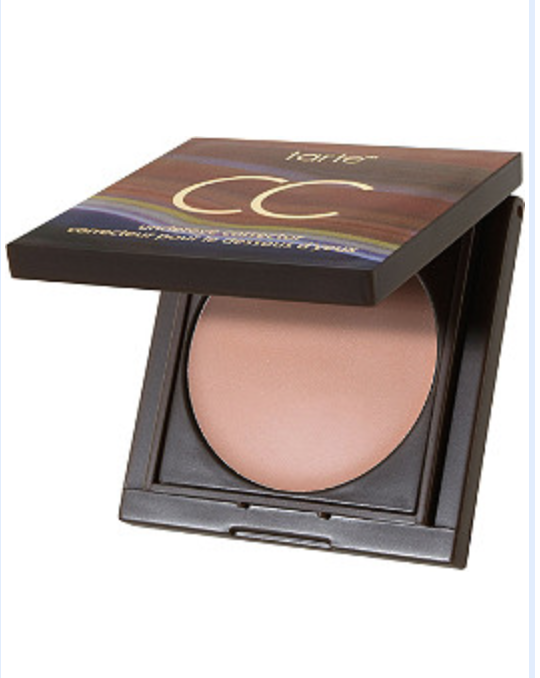
Tarte- CC undereye corrector. I have terrible dark circles, so I do not do my makeup without this product. It corrects the darkness and instantly brightens. Sometimes I will even wear just this by itself under my eyes if I am going for a more natural look.
Tarte- Park Ave Princess bronzer. As I have gotten older I wasn’t too crazy about shimmer bronzers until I started using this one. It also comes in matte and I like both, but the shimmer one gives you more of a glow, and I am all about that life. It is more of a sheen though, not glitter. It gives a really pretty sun kissed looked. I wear it year round, because I love to look warm and sun kissed all year.
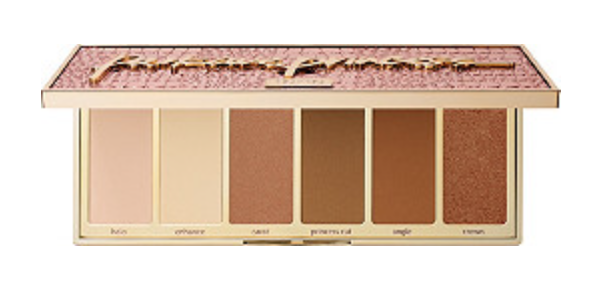
Tarte- Park ave princess chisel palette. For my bronzer I have going back and forth between this and the park ave princess single bronzer. This one is a palette that has two matte bronzers, two shimmer bronzers, and two matte highlighters which I use to set my undereye. One has a yellow tint that helps brighten the undereye, and I need all the help I can get in that department. I also love the shade ranges because you can use it for your winter color and your summer color.
Tarte- Maneater mascara. I have used probably about 4 tubes of it, it’s that good. It has triple-black pigment and it gives you the drama without having to add 10 layers. It gives you 23x the volume with just two coats. It also doesn’t get clumpy because the brush gets in there and separates your lashes.
Tarte- Be a mermaid and make waves palette. I wore this palette all summer because I am so obsessed with it. This is one of my all time favorite limited edition palettes. I just loved the whole mermaid collection since we are talking about it. I already can’t wait to bring it back out for spring. The packaging is also so cute, it’s a seashell! I’ve been trying to wear the new pro remix palette lately, but I didn’t add it just because I got it towards the end of December and haven’t played around with it much.
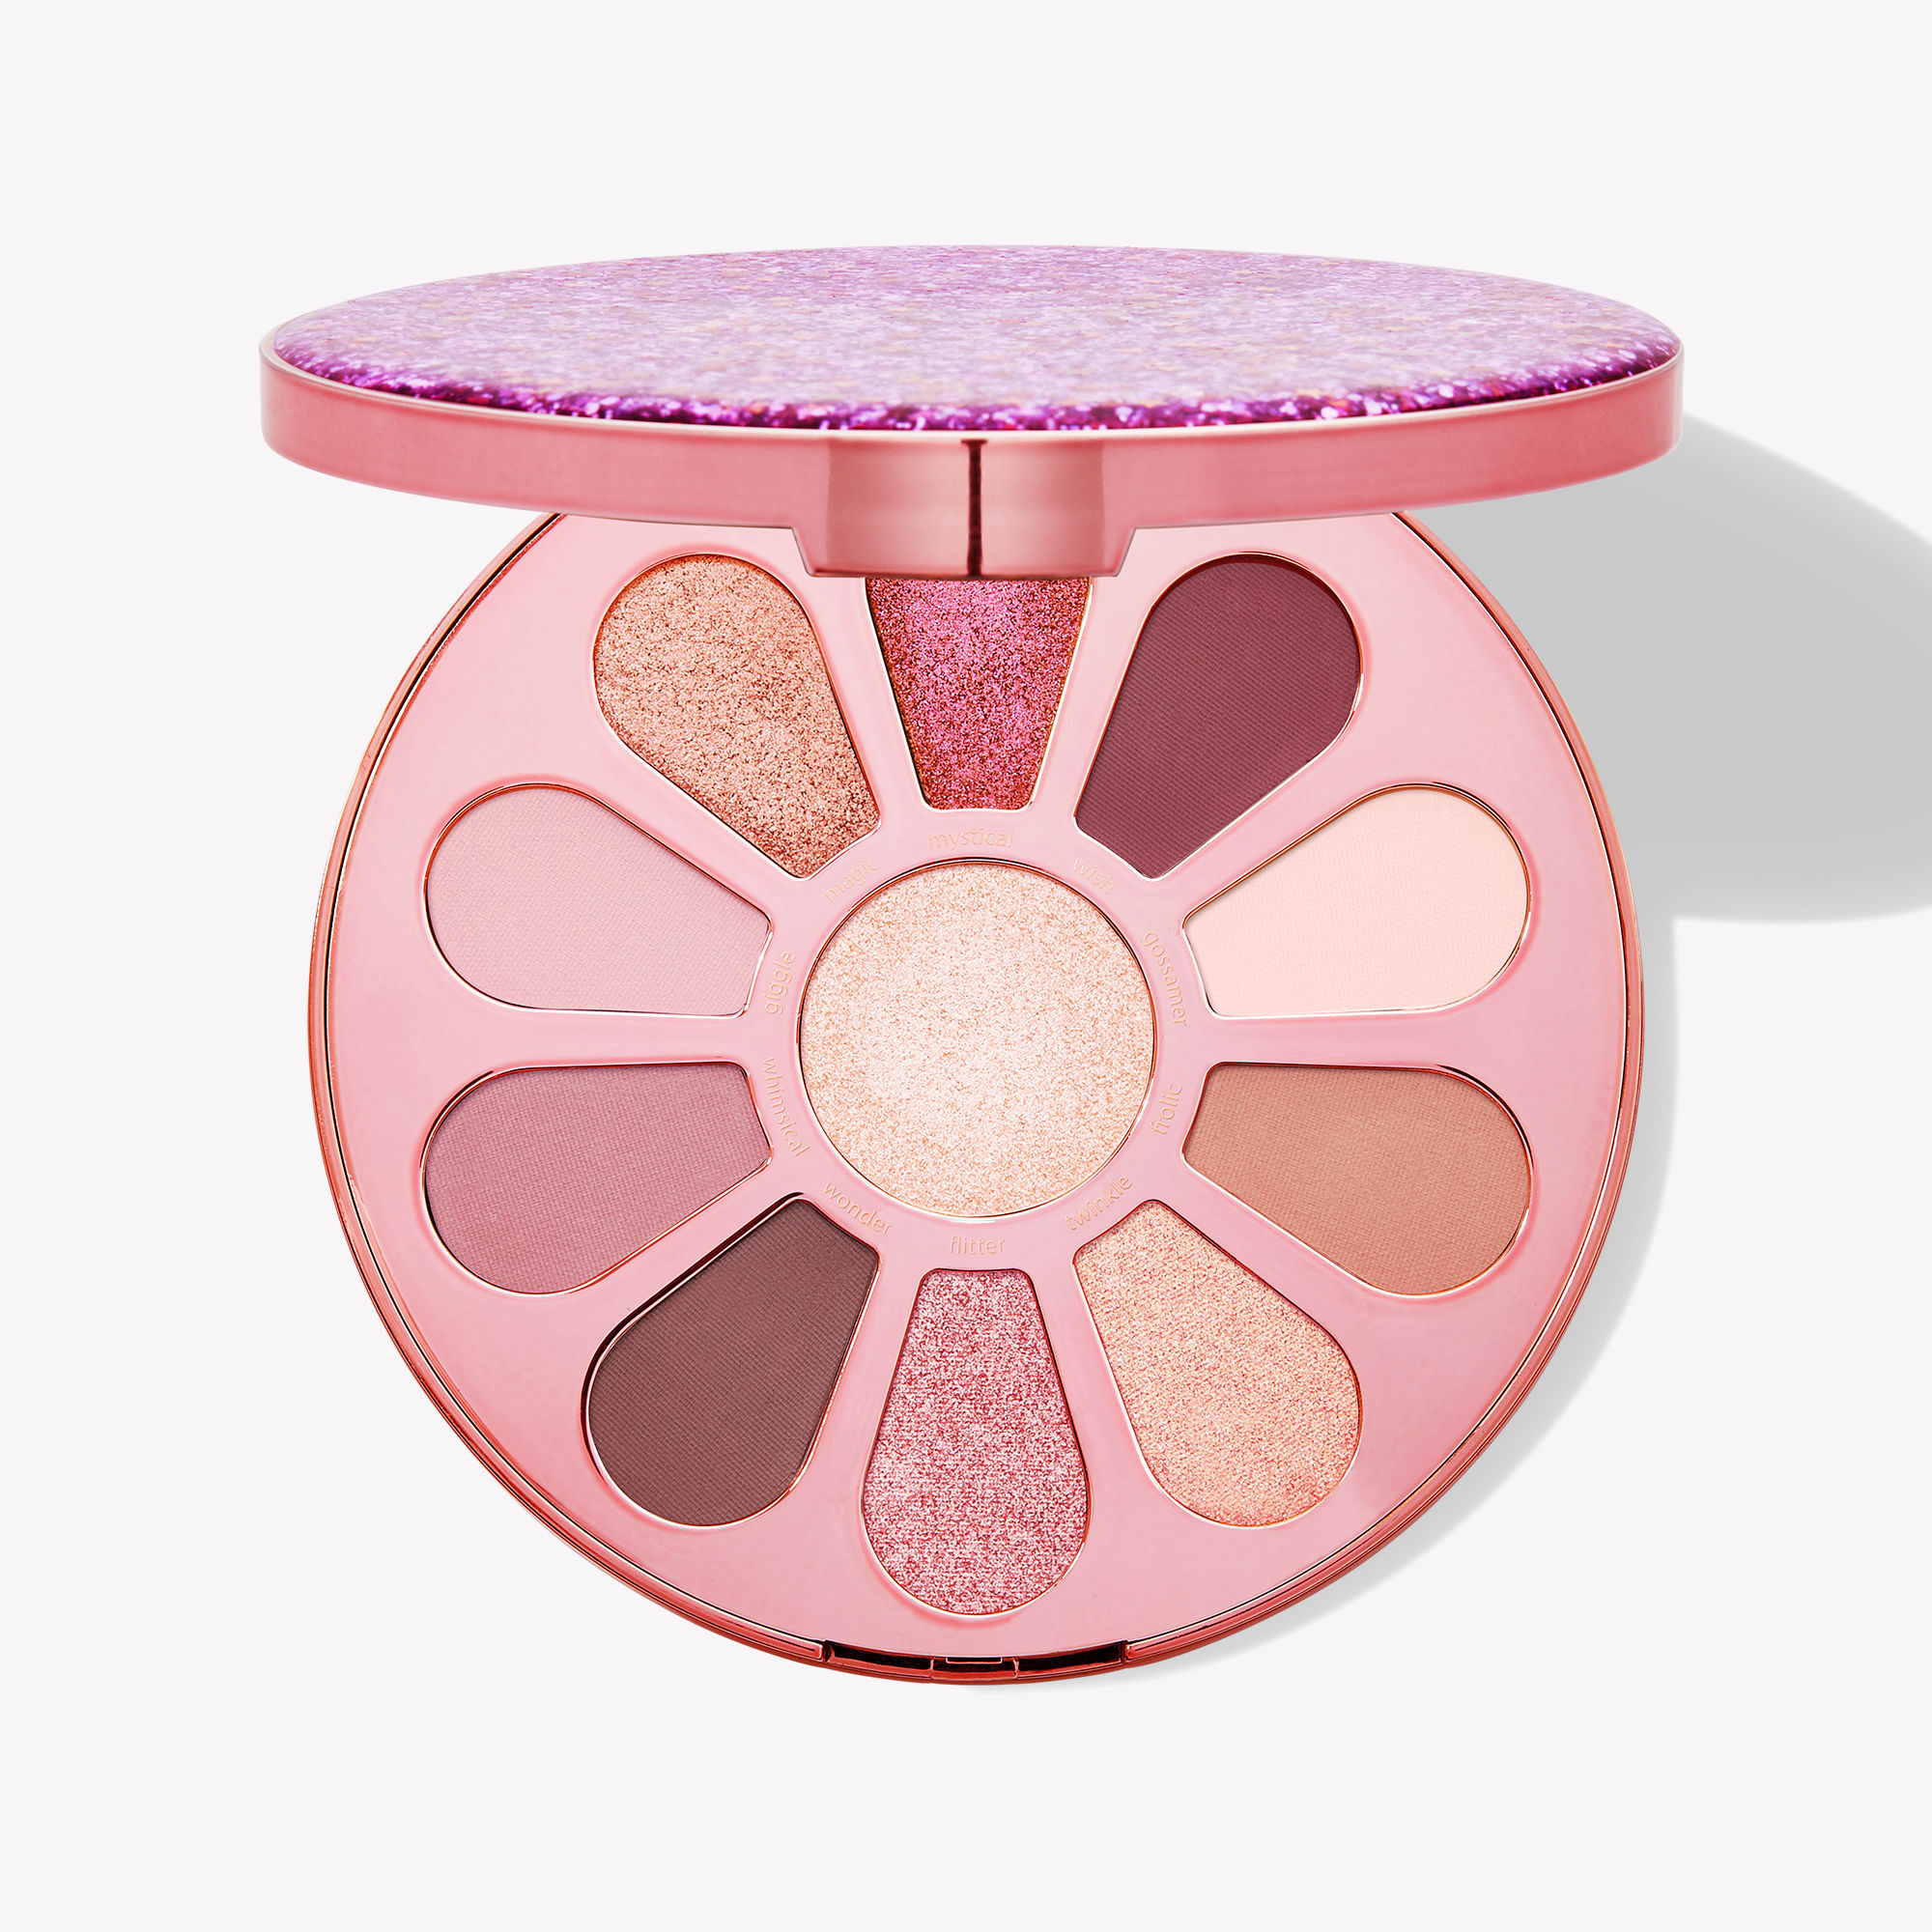
Tarte- Love, trust, and fairy dust palette. This is another limited edition palette that I love. I think I still like the mermaid one better, but this is probably a close second. It has a lot of pinks which are some of my favorite colors to wear, probably because it’s just my favorite color in general. The packaging is also pink glitter!
Tarte- Maneater palette. This palette is a smaller one, and one of my favorite smaller ones. It has mainly light neutrals, but also a few dark shades if you want to deepen up your look or use them as eyeliner. I think this one is great for traveling since you can do a daytime look and a nighttime look with it.
Tarte- Glam on the go palette. This is another small palette, but comes in a little gift set called ‘Jetset in a jiffy.’ It comes with a makeup bag, this palette that has 6 shades, 3 shimmer and 3 matte, a travel size roller ball perfume, travel sized maneater mascara, and a butter lipstick. I usually tell people that the colors in this palette are fall in a palette. I love all 6 colors and use them all!
As you can see A LOT of tarte, but that is mostly what I use. As I mentioned earlier I am going to try and use other products this year so I can let y’all know my thoughts on them. I really want to try the Maybelline age rewind concealer because I have heard a lot of good things about it, I just can’t make myself buy another concealer, haha. I also want to try the new Morphe concealer that is coming out. Jaclyn Hill said it is comparable to shape tape, so I want to see just how close and if I like it just as much. I think she said it was going to be $6 or $7, so definitely a better price point, but I’m just wondering if it will be a match for shape tape, pun intended. I have already started a list of stuff I want to try, so I need to start getting a few things at a time so I can start trying them out on tutorials.
If there are any products you want me to try out just put them in the comments! What were some of yalls beauty favorites for the year??
Shop This Post
Basic Skincare Routine: Guest post with Skin by Jonathan
Comment(Links are AFFILIATE links and i do make a small commission if used at no additional cost to you)
I love skincare and I know some basics, but as I mentioned in a recent post it’s not my area of expertise. With that being said, I asked my friend Jonathan Wolfenbarger who is a licensed esthetician to do a guest post on basic skincare. He explains more about skin types and how to figure out which one you are if you aren’t sure. He also shares some products you need to start a good skincare routine. He mentions high end products as well as more affordable options. I will link his instagram here for y’all to check out. He has more tips on his story highlights labeled tips. Without further ado, here is Jonathan’s information.
The first step to caring for your skin is to determine your skin type: Dry, Normal, Combination, and Oily are the main skin types, and each need different maintenance. Dry skin is characterized by tightness, dullness, and lack of elasticity. Normal skin is supple, few to no visible pores, and is seemingly radiant with low level maintenance. Combination skin types can be a combination of: dry/oily, normal/dry, or normal/oily. Combination types tend to have larger pores focused in just the t-zone, often with blackheads. Oily skin can be recognized by having large pores, thick complexion, and are prone to blemishes. Humidity, stress, and puberty are a few non-hereditary causes of oily skin.
If you’re still uncertain, that’s okay! Here is a basic routine you can do that is good for helping regulate all skin types.
•Resting Cleanser (day & night)
•Active Cleanser (every other day/night)
•Moisturize (day & night)
•SPF (day)
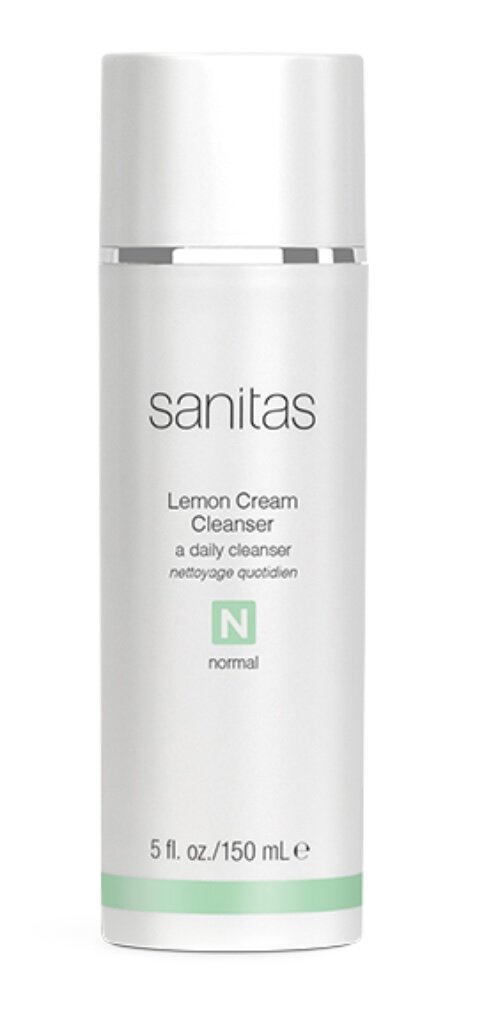
Resting cleansers are cleansers that are pH balanced but do not contain exfoliating properties such as acids or enzymes. Two of my favorite resting cleansers are the Sanitas Lemon Cream Cleanser (high end) and the CeraVe Foaming Cleanser (more affordable). The Lemon Cream Cleanser contains an antioxidant blend that helps detoxify and promote skin renewal. Both are great for all skin types.
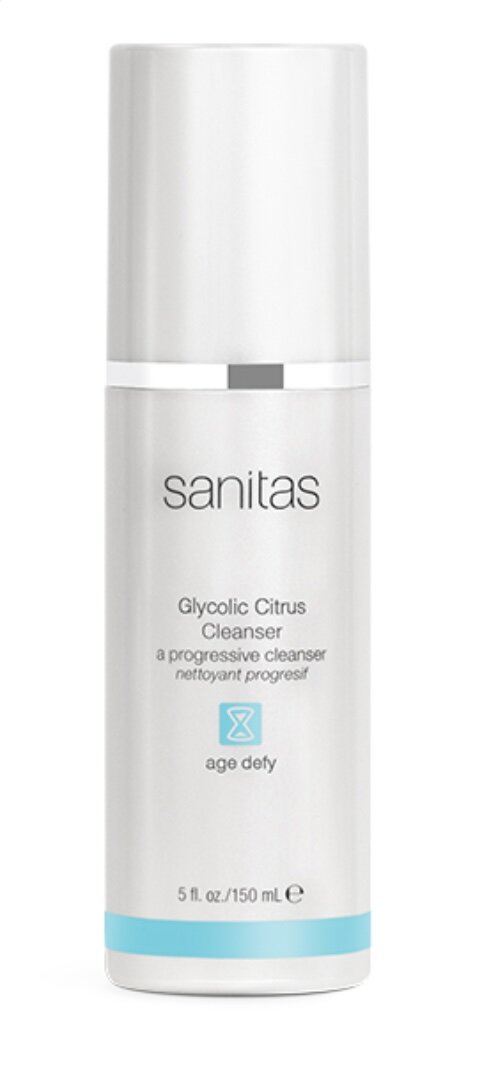
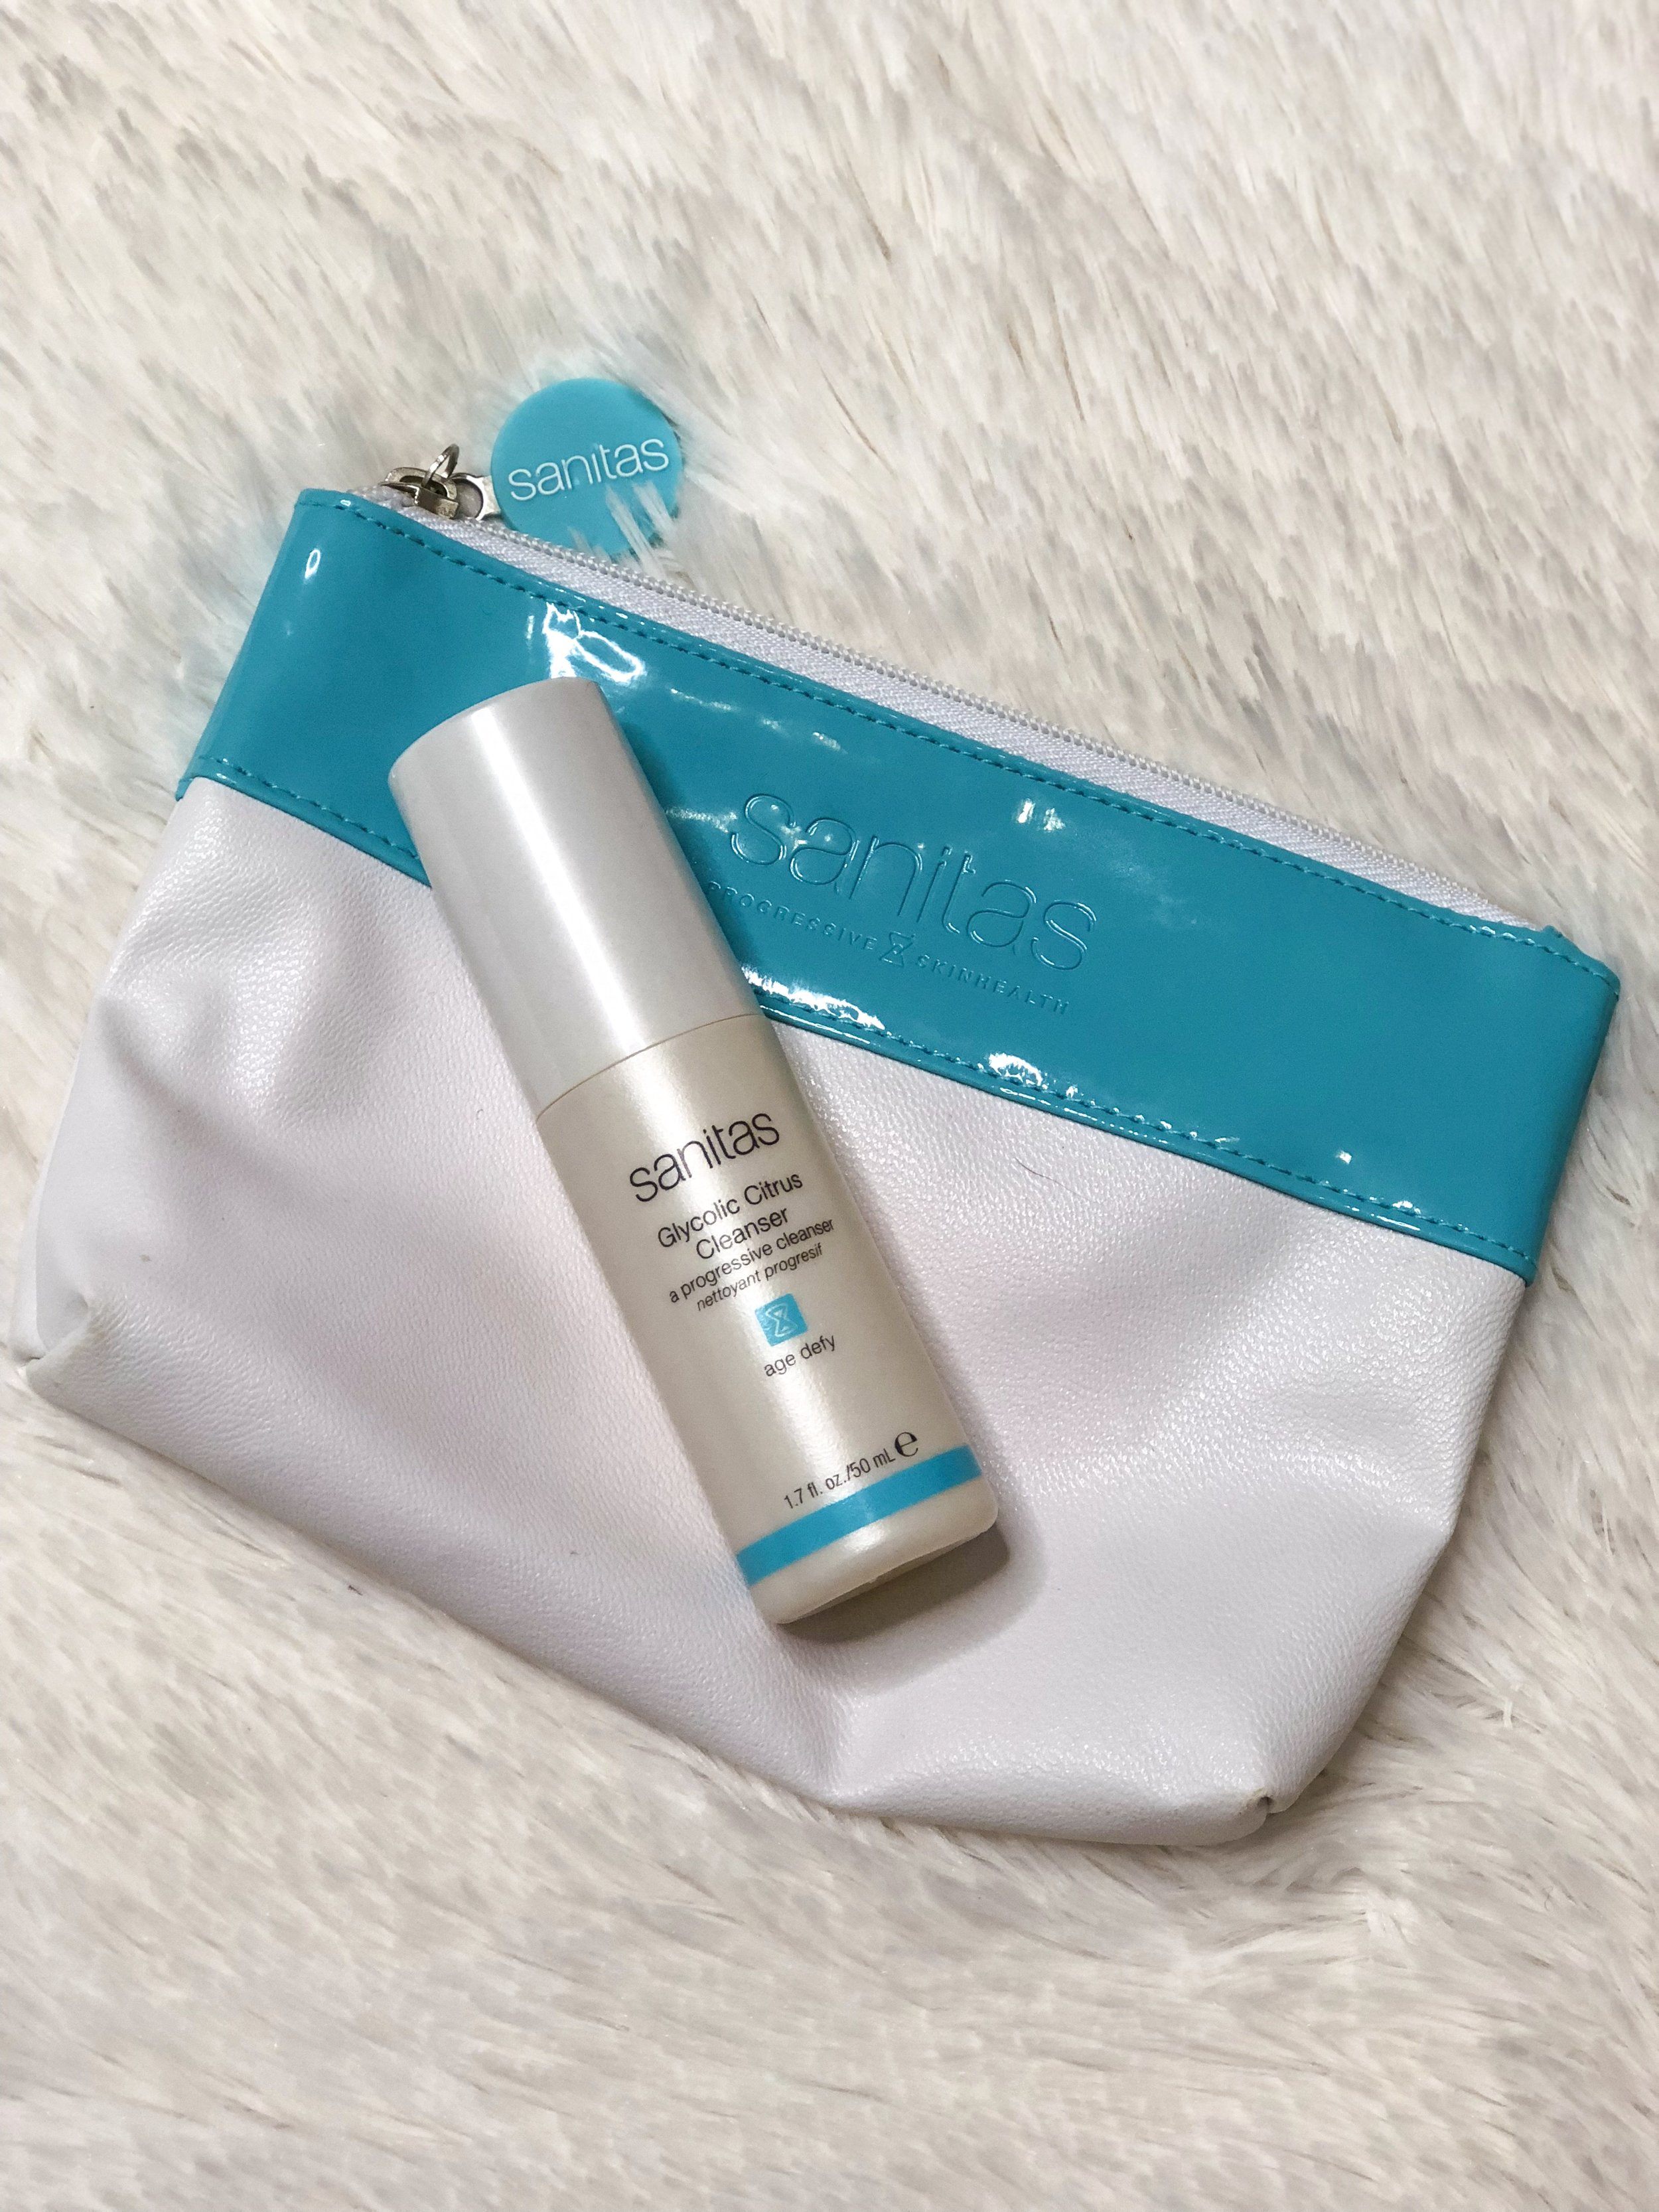
Active cleansers are cleansers that contain acids (glycolic, salicylic, lactic, etc.) or enzymes. These should be used only every other day/night to help exfoliate and renew skin and decongest pores. My favorite active cleanser is the Sanitas Glycolic Citrus Cleanser. It encourages cell rejuvenation, exfoliates dead skin, and removes impurities. It works well with all skin types.
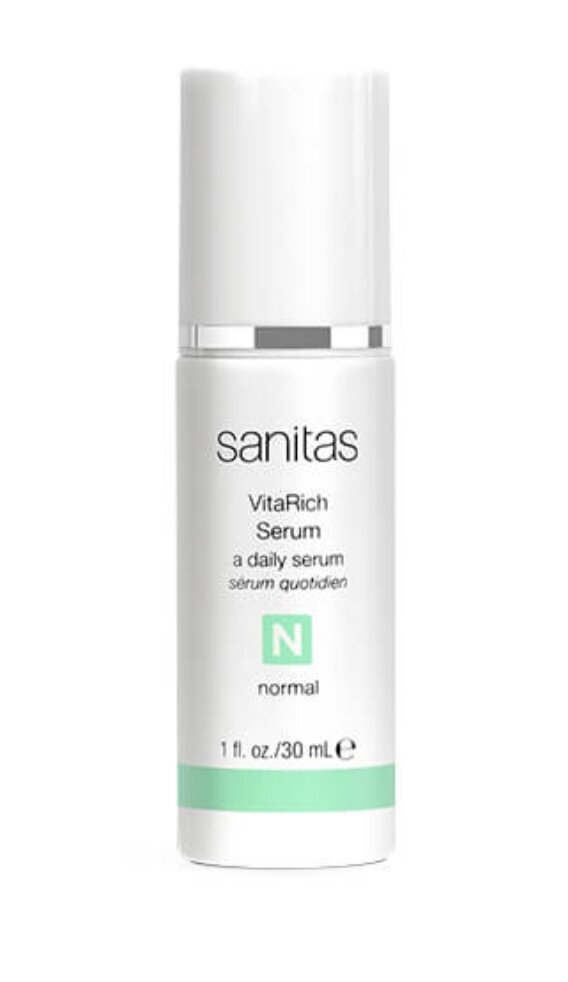
Moisturizing is a key point in treating your skin and maintaining a good complexion. People who have oily/combo tendencies tend to stray from moisturizer; however, it’s crucial to training your skin and regulating oil production. For the past two years, I’ve been using the Vita Rich Serum. This hydrating, reparative serum retextures skin and accelerates skin renewal. It contains only vitamins and essential fatty acids to strengthen and repair. It works great as a stand-alone moisturizer, and should be paired with SPF!
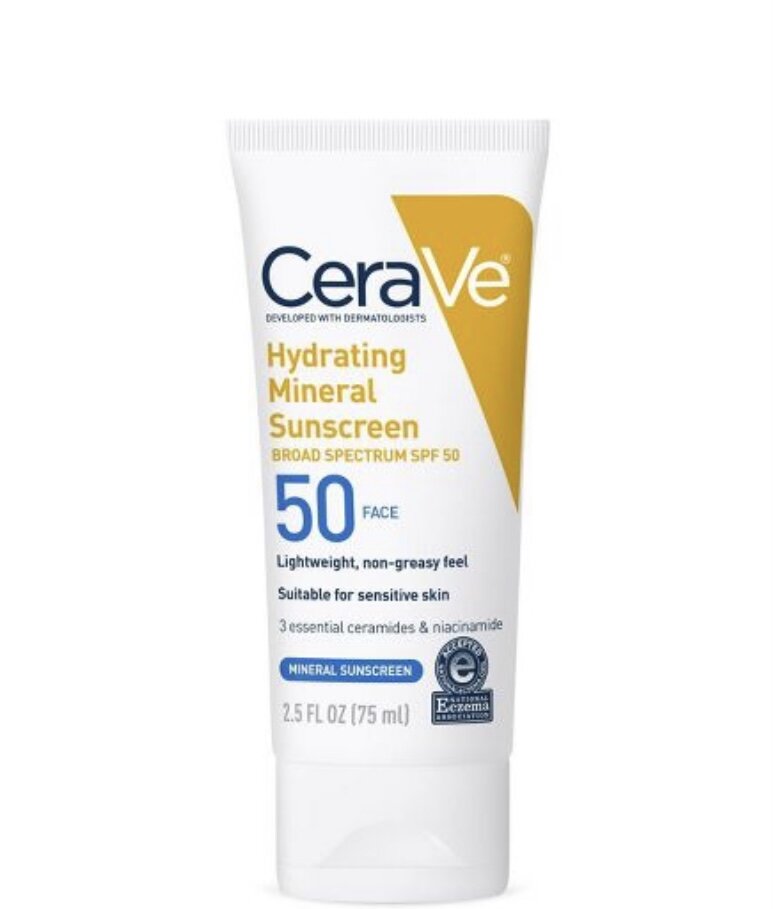
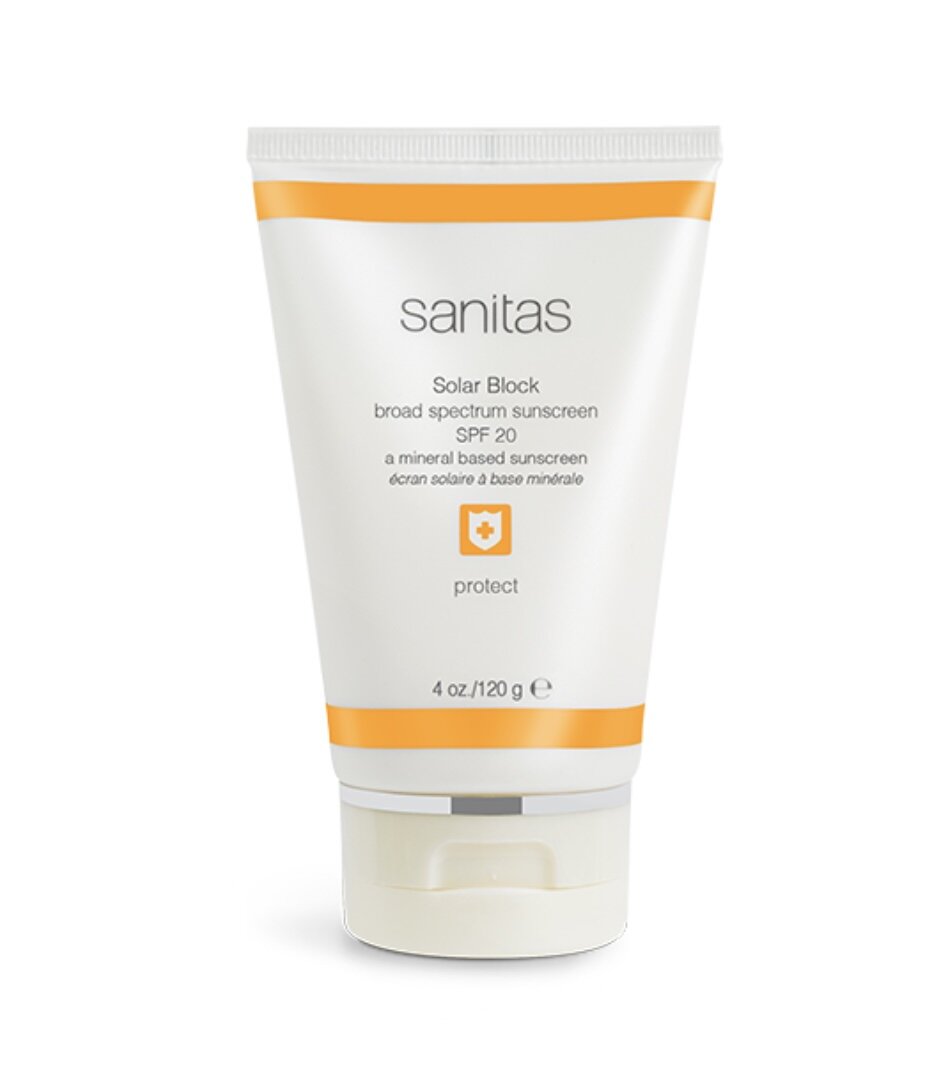
Your choice of SPF is important. You should always make sure your sunscreen contains only Zinc Oxide and/or Titanium Dioxide. These are the safest natural protection for the skin. I recommend the Solar Block from Sanitas or the CeraVe Sunscreen. The Sanitas Solar Block contains an antioxidant blend (protects DNA from UV damage and environmental exposure). Both contain Zinc Oxide to provide UV protection.
This is a simple start to working on your complexion at home. Once you regulate your skin using this routine, you can further assess your skin type and see if there are any changes.
I hope y’all enjoyed reading Jonathan’s great advice! I will also link his website here if y’all want to check out all the services he offers. He is in Knoxville so if y’all are local you should definitely stop by! He sells Sanitas products where he works, so if you want to purchase any of the products he mentioned you can stop by and if he doesn’t have what you were looking for he can order it for you. If you want to read more about Sanitas I will link their website here and if you aren’t local to Knoxville I will link a website where you can buy Santias online here. CeraVe is sold at Ulta and most drugstores such as Walgreens, Rite Aid, Walmart, Target, CVS, etc. If you have any other skincare concerns or questions you can message me or you can reach out to Jonathan on Instagram. Let me know if y’all want Jonathan to do another skincare post in the comments!
Foundations for your Skin Type
CommentSince I did a post on how to get a flawless foundation, I wanted to do a post all about foundations. If you missed the flawless foundation post I’ll link it here. There are so many foundations out there and I honestly haven’t tried a ton, but I wanted to talk about some of my favorites. I will be explaining the skin type each foundation is best for and the best way to apply them.
I wanted to start off with foundations for dry skin since the weather is starting to get colder and most everyones skin tends to get more dry during the winter.
Tarte- Shape tape hydrating foundation. This foundation has hyaluronic acid in it which helps produce moisture and it also has collagen in it that helps plump up the skin. This formula is a light-medium, buildable coverage. The best way to apply this is with a damp beauty sponge. Especially if you want to add another layer for more coverage, because sometimes when you add another layer with a brush it just moves the product around. This foundation is $39.
Tarte- Rainforest of the sea water foundation. This foundation is good for all skin types, but since it’s water-based it helps retain the skins natural moisture. You can apply this foundation with a brush or sponge, but a sponge is my favorite way. It is a medium coverage foundation, also buildable. It has marine plant extracts in it that helps reduce the appearance of fine lines and wrinkles. This product is $39.
Too Faced- Born this way foundation. This foundation is full coverage and has coconut water and hyaluronic acid in it. Both of these ingredients help produce moisture, so it is great for dry skin. This product is $39.
L’Oreal- True match lumi. I have to say it has been a while since I have tried this, but when I tried it before I really liked it. This foundation is 40% water to give the skin hydration. It also has vitamins C and E to help brighten the skin. This product is normally $11.99 but on sale at the time of this post for $8.39.
I’m sure most of y’all don’t want to spend a lot of money on foundation, but I thought I would share my thoughts on a higher end foundation, the Giorgio Armani luminous silk foundation. This one is $64 and it is a medium coverage. If you like a fuller coverage I wouldn’t recommend this one for you. It does make your skin glow and looks very pretty, but it just wasn’t enough coverage for me so I had to mix it with a fuller coverage one.
Now that I gave you a few options for dry skin I’ll move on to foundations for oily skin. Like I mentioned in the flawless foundation post, if you have combination skin and have dry areas I would go with a foundation for dry skin, and if you have normal to oily combination skin I would try a foundation for oily skin. Also remember that you can use primers to help achieve the look you are going for, matte, natural, dewy, or hydrated.
Tarte- Amazonian clay. This foundation is great if you have oily skin because the amazonian clay helps balance out the skin. If you have larger pores I would recommend a primer with this one. I would also recommend a buffer brush to apply this product because it helps give it an airbrushed look. This foundation is oil-free and it is a full coverage, matte finish. This product is $39.
Estee Lauder- Double wear. This foundation is also a full coverage, matte finish. This last all day and all night and doesn't look heavy or cakey. If I want full-full coverage I will use a brush with this one, and if I want a more luminous/medium coverage I will use a damp beauty sponge. Like I have said before, it’s all personal preference. I tell people all the time just play around with it and try both ways, one day with a sponge, one day with a brush. This product is $42.
Even though my skin is more normal-oily, combination, I like a dewy look, so I actually do steps someone with dry skin should take when I do my foundation. That’s why I have more dry skin foundations, because I honestly don’t like matte ones. I don’t think I have even tried a matte drugstore foundation. I need to get some new drugstore makeup to try out for y’all. Anyways, I know that I tried one Maybelline foundation and it broke me out so I didn't want to try any others, but as I mentioned before L’Oreal is my favorite drugstore brand and I know they have matte foundations.
So those are a few of my favorite foundations for oily and dry skin. I always try and give y’all different price ranges, but on my makeup I don’t mind spending more so I rarely get drugstore makeup. I do love me some Morphe though. Morphe and L’Oreal are probably my two favorite drugstore brands. Like I mentioned earlier, I’m going to try and buy some drugstore products to try out for y’all, specifically foundation and maybe concealer. I have heard good things about the Maybelline age rewind concealer, but it is so hard for me to use anything other than shape tape. Let me know if y’all would want to see a drugstore makeup post and if there is anything specifically you want to see! Also, if there is a foundation you are wanting to try and want to know my thoughts on it you can always comment here or go to my contact tab! Hope y’all enjoyed!
How to get a Flawless Foundation
4 CommentsI know there are so many foundation primers out there and sometimes it’s hard to know which one you need and if they really make a difference, so I thought I would share some of my favorites. I wanted to break it down by skin types and I also wanted to go over different makeup tools and which one is the best fit for you. These are all things you need to think of when achieving a flawless foundation. Before I start, I do want to stress how important skincare is. You can spend hundreds of dollars on foundations and primers, but if you don’t have a good skincare regimen your makeup won’t make you happy. It’s like an artist with a painting, if the canvas has marks and lines, the painting won’t be smooth, your face is your canvas, so you need to take care of it to have a smooth surface for your makeup. I have to admit, skincare isn’t my strongest area so I don’t want to talk too much about, but I know a few things. For skincare tips y’all should follow my friend Jonathan here on instagram. He usually does daily tips and has a tips highlight on his stories of all the past tips he has given. I actually have a post with Jonathan where we talk about a basic skincare routine. I will link it here.
The few tips I do want to give is always, always, always, wash your face before bed. You never want to sleep in your makeup because your face repairs itself at night and if you have makeup on your skin can’t do its job. It can also clog your pores and cause breakouts. With that being said, you also need to wash your face in the mornings to wash all the old skin away to make room for the new. In Jonathan’s guest post he gives recommendations on a basic skincare regimen and explains a little more on what you need based on your skin type.
Anyways, back to makeup. I will first start out with primers for dry skin. Since tarte cosmetics is my favorite I do have a lot of their products to talk about, but I will add in other brands as well.
Tarte-Rainforest of the Sea quench hydrating primer. This product is vegan and has hyaluronic acid that helps produce moisture. It is also anti-aging, helps calm redness, and has antioxidants. This product is $32.
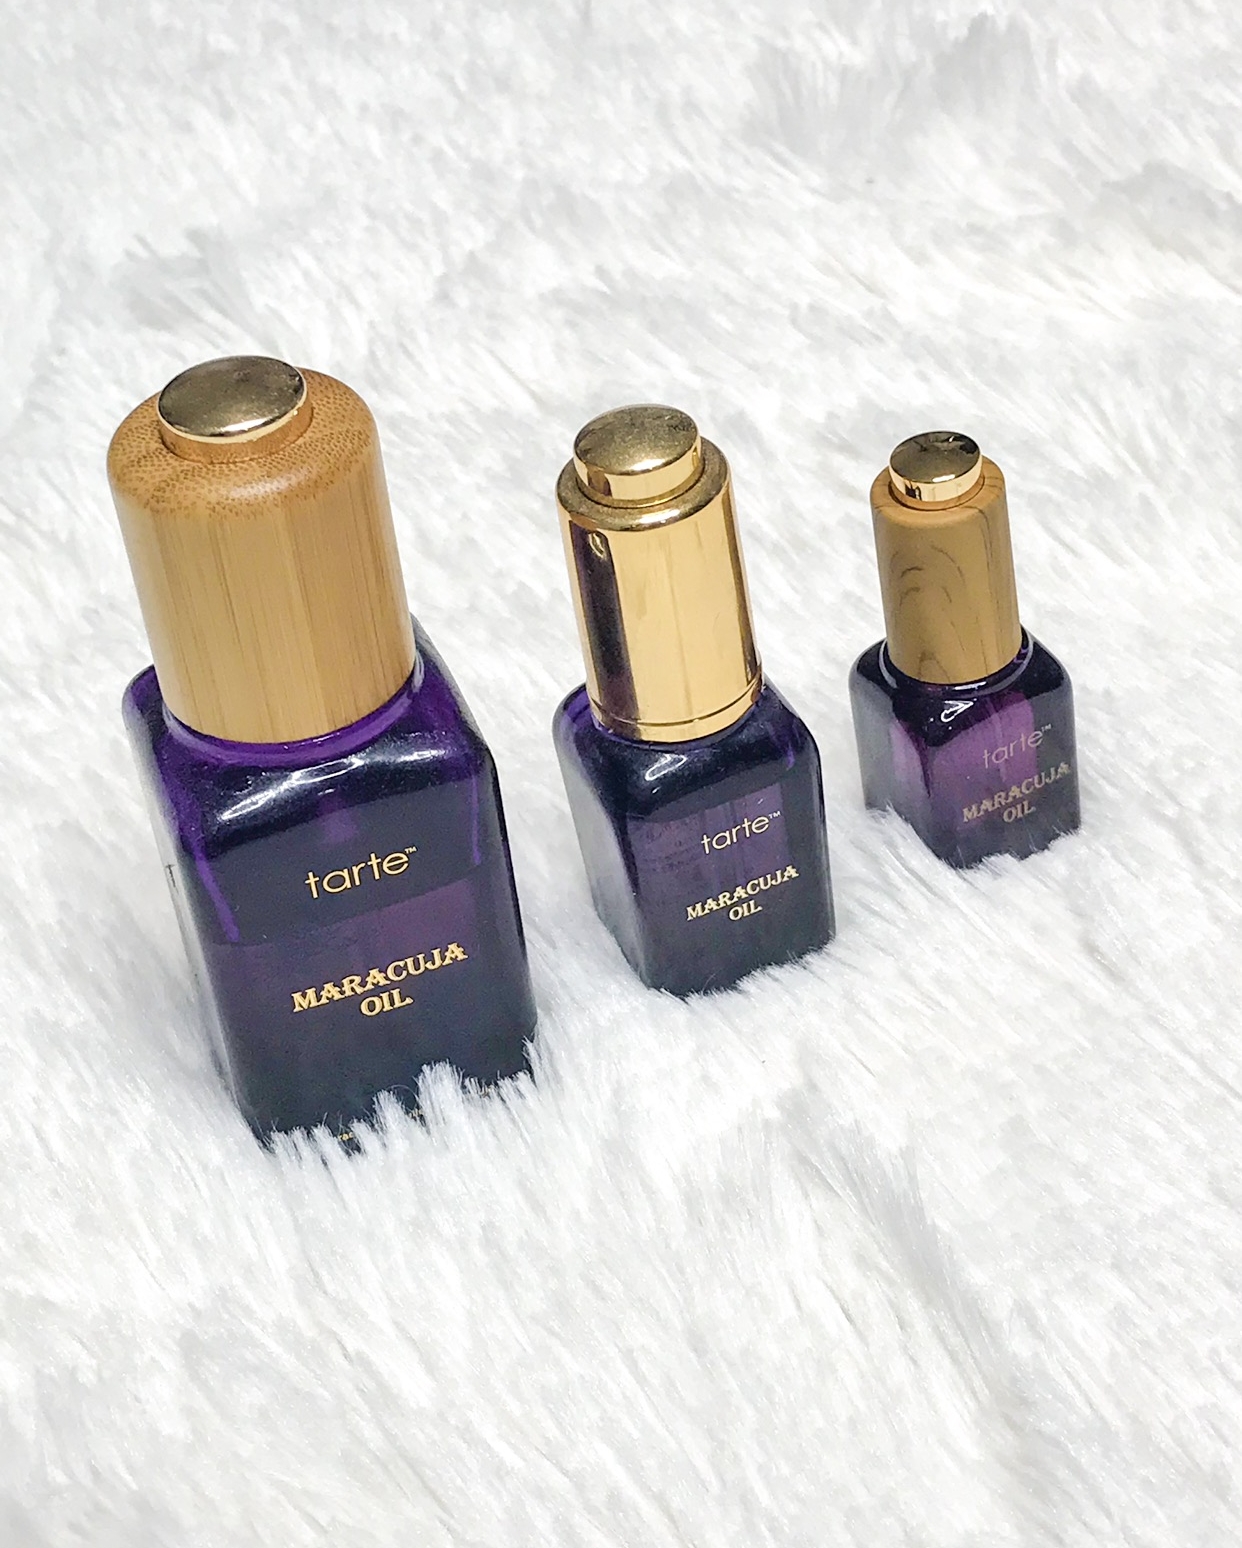
Tarte- Maracuja Oil. There are so many uses for this oil and using it as a primer is one. I actually have a post where I talk about all the different uses for it here. It helps your foundation go on so smooth as well as giving you skincare benefits. This is good for all skin types. It has natural vitamin C to help firm, smooth, and brighten the skin. It is also a natural anti-inflammatory so it helps to soothe and calm redness. This products has two sizes at $16 and $48 and a little goes a long way. My $48 bottle has lasted me over a year.
Too Faced- Hangover replenishing face primer. This primer is infused with coconut water that helps to hydrate the skin. It helps to smooth, brighten, and hydrate the skin. This product is $34.
I know most of those might be a little too expensive for some people, but in all honesty I haven’t tried any drugstore hydrating primers, so I don’t want to recommend any I haven’t tried. I have heard good things about NYX primers and one of my favorite drugstore brands is L’Oreal. If you want a more affordable primer check out those brands and look for hydrating ones if you have dry skin. Most of the time brands will have products in categories based on skin types. Now on to primers for oily skin.
Tarte- poreless mattifying primer. This primer is vegan and besides helping control oil it also minimizes the look of pores. It is a waterproof, silky, gel-like formula that also has antioxidants to help protect the skin from free radicals. If you aren’t familiar with free radicals, it’s the pollution in the air that causes wrinkles. This product is $32.
Benefit- POREfessional matte rescue. I have actually only used this a couple times but I like the original porefessional as well. They both help minimize the appearance of pores but this one also helps absorb excess oil. This product and the original porefessional are $32 but you can buy mini sizes for $13 if you want to try it. A drugstore dupe for the pore filling primers is Maybelline baby skin instant pore eraser primer that is $6.99.
Tarte- timeless smoothing primer. This primer is actually good for all skin types but it does help control oil. This primer is a little pricier, but I call it the Instagram filter in a jar. The main purpose of this primer is to blur out large pores, fine lines, and wrinkles, and it really does. This will make any foundation smooth and flawless. It also has antioxidants in it as well as peptides that help make the skin firmer and smoother. This product is $39.
If you have combination skin you could use any of these primers, but if you are more normal-dry I would do a primer for dry skin and if you are normal-oily I would try one for oily skin. Of course there are a ton of primers out there and they do different things so it just depends on what you are wanting your primer to do for you. A lot of people like smashbox primers and they have several different ones, but honestly they aren’t my favorite. Urban Decay also has several different ones but I haven’t tried them. Like I mentioned before I don’t like recommending products I haven’t tried, but I like to give y’all options.
Once you have your primer picked out the next step for a flawless foundation is foundation. I want to do a separate post for foundations for different skin types since this is already a lengthy post so I can go in depth for that as well. Since I am skipping foundation in this post I want to go over foundation tools next and I will be quick. I actually only have two I want to talk about and I won’t get into too much detail because I don’t want to overwhelm anyone. The two different tools you can use for foundation is a brush or a beauty sponge. It is really a personally preference, but it also depends of what type of coverage and finish you want for your foundation as well. If you want a fuller coverage you will want to use a dense brush and if you want a lighter, more dewy finish you will want to use a damp beauty sponge. If you have more dry skin I would recommend using a damp beauty sponge to give more moisture and it will help your foundation go on smoother. There are a lot of different types of brushes but my favorite is a flat top kabuki, mine is by tarte. There are also round brushes, paddle brushes, those new silicone ones, I haven’t tried a silicone one yet just because it seems weird to me, haha. It also depends on weather you are using cream, liquid, or powder foundation. I know that is a lot of information but almost all brushes tell what type of foundation they are best for. It cosmetics has good brushes and I also love Morphe. It cosmetics has different price ranges but are usually cost a little more and Morphe is the drugstore option. You can get both at Ulta. Real Techniques is also another drugstore brand of brushes that I like and they have a good beauty sponge as well as Tarte. I personally use Morphe brushes the most and they are very affordable. They also do a monthly brush subscription for $20 a month that is good if you are just starting out with makeup or just starting your brush collection. I used to do it, but after doing it for over a year I started getting very similar brushes.
After you have your primer, foundation, brush or sponge, you next want to set your foundation. I personally always use a translucent setting powder, this is because I don’t want to change the color of my foundation or add more coverage, I just want to set it. If you want more color or coverage you could use a powder foundation or tinted setting powder. This step is especially important if you used a liquid or cream foundation and you plan on using powder products on top of it, such as powder bronzer, blush, and/or highlighter. If you use one of those products directly on top of your cream/liquid foundation it could turn out splotchy. A couple of my favorite setting powders is the tarte smooth operator amazonian clay finishing powder and the Laura Mercier translucent setting powder. The tarte one comes in loose and pressed and it also helps blur the appearance of pores and stays on for 12 hours or more because of the amazonian clay.
Ok, I know that is a lot to take in, so that is all I’m going to talk about for this post. I hope y’all know you can always contact me on here or comment if you have any questions about anything or if I didn’t explain something well enough. You can also send me requests for posts anytime. I do what I do for y’all! I want to help make things easier for y’all and I want to help you feel beautiful and confident in all things you do!
Tarte Mermaid Brush Set
CommentSince I am giving away this brush set on my Instagram I thought I would talk about it and tell y’all why I love it so much. I am always honest with y’all so I have to say that this is not my favorite “practical” brush set, but it is definitely my favorite limited edition Tarte brush set! I love all the pink and that the handle is a mermaid tail.
The set comes with a powder brush, cheek brush, highlighter stippling brush, domed eyeshadow brush, and a pencil brush. The powder brush is great for setting your foundation with a setting powder, the cheek brush you could use to contour with or for blush, the highlighter stippling brush I actually use to blend out my blush and highlighter. You could also use it for highlighter if you want a more natural highlight. The domed eyeshadow brush is great for packing color on the lid and I love the pencil brush to smudge out my lower lash line. I think this is a great kit because it has eye and face brushes. The only thing that would make it better would be a fluffy/blending eyeshadow brush. That is probably the number one eyeshadow brush I recommend to people just starting out in makeup or starting their brush collection. This set is also vegan an cruelty-free.
My giveaway on Instagram ends on Halloween, so you still have some time to enter. If you are reading this after halloween you are still able to purchase this brush set on Tarte’s website until it goes out of stock. I hope y’all enjoyed reading more about these brushes, and good luck to everyone entering my contest. Click here if you want to enter!
Scary Little Red Riding Hood Tutorial
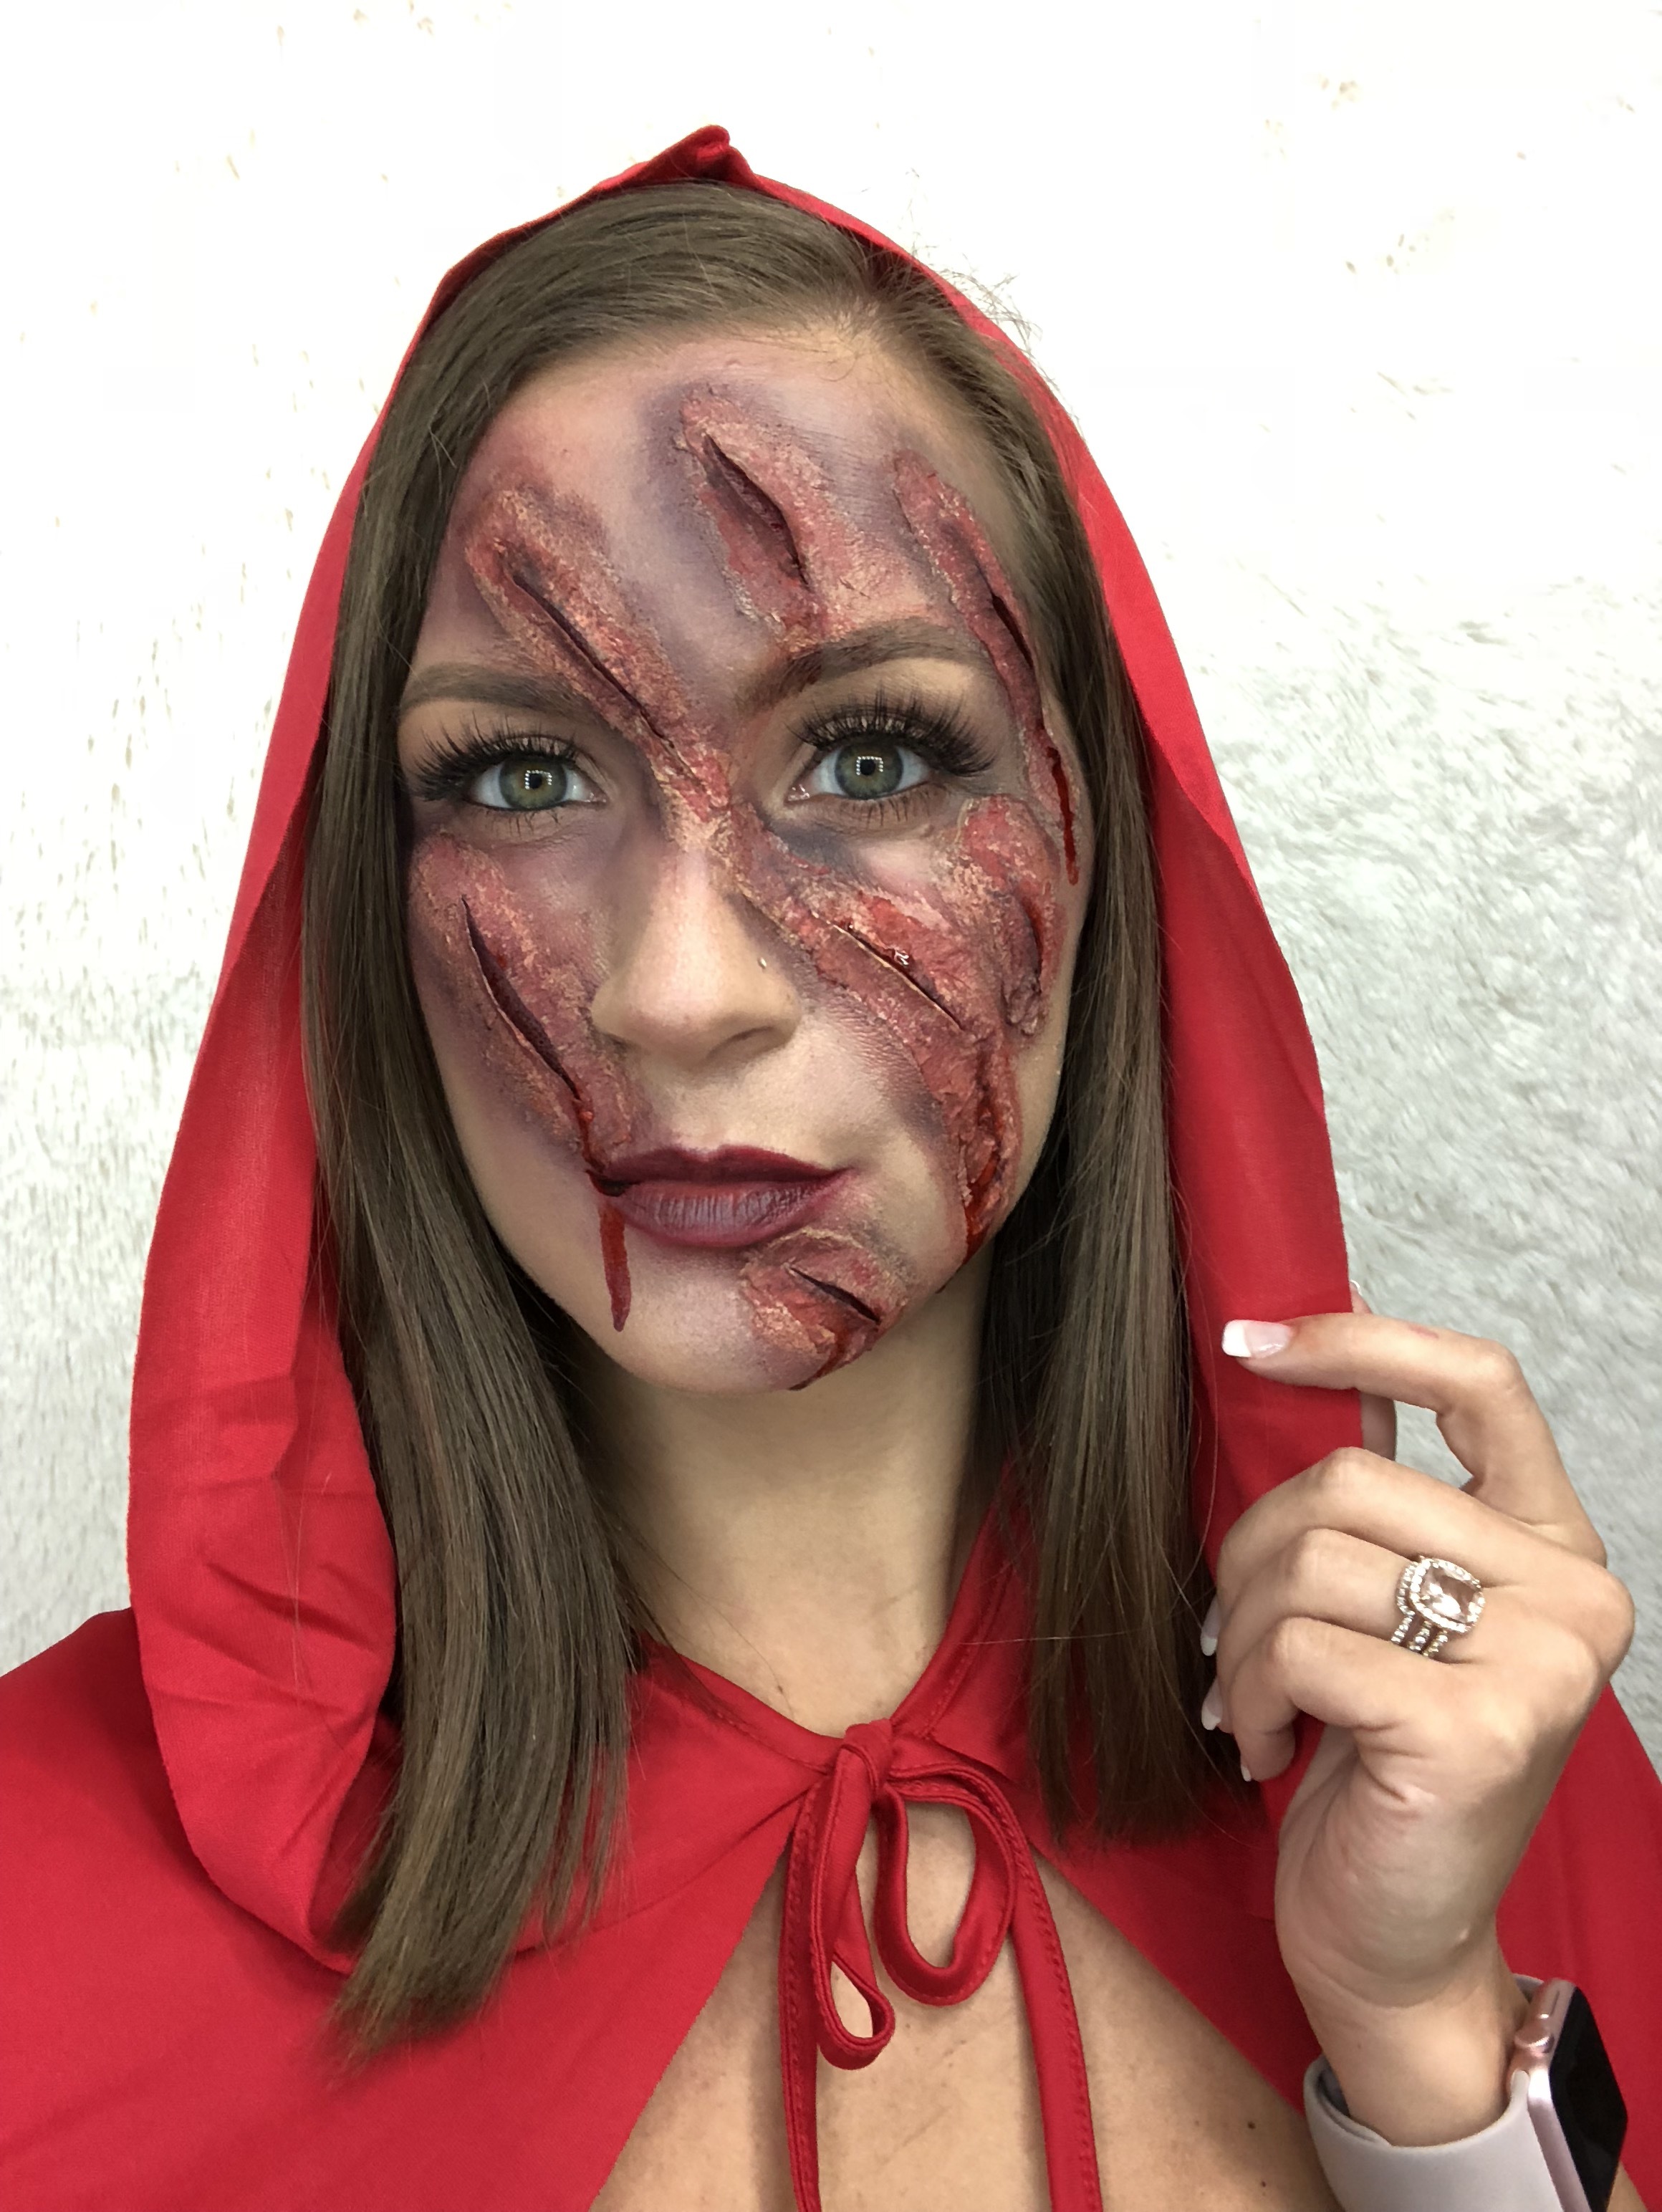
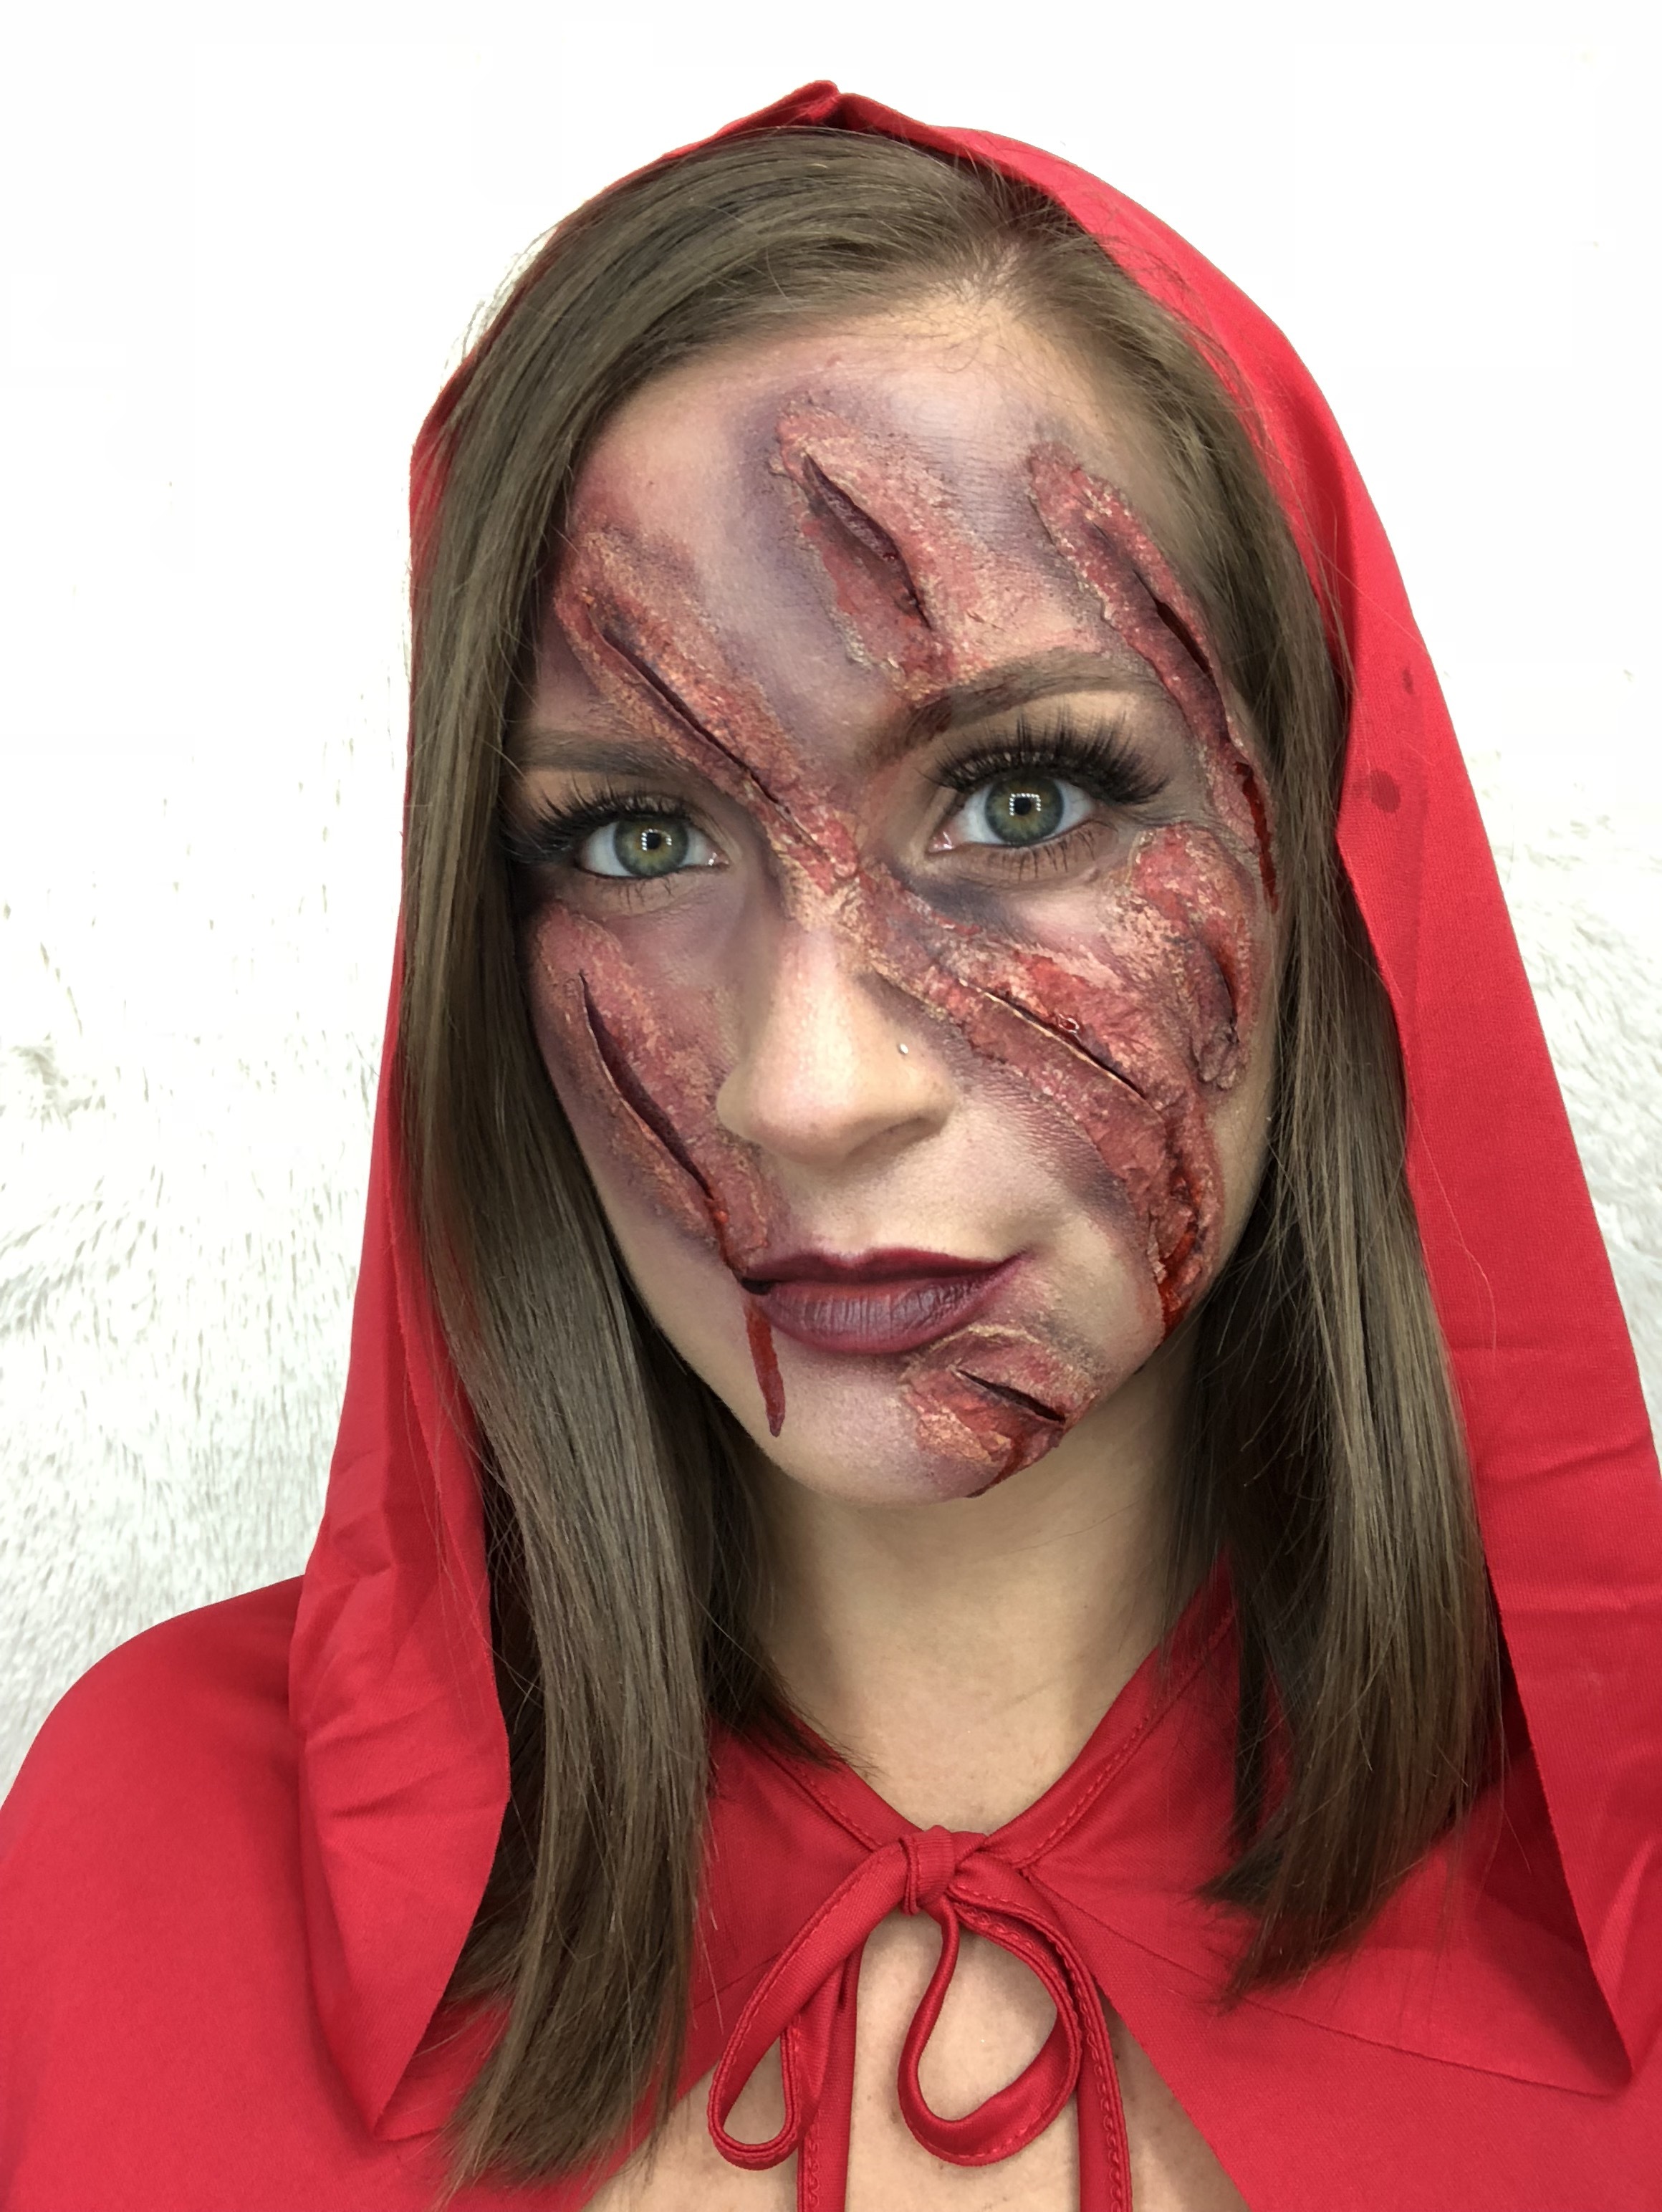
CommentI’m sure there are a lot of you out there like me who are procrastinators, and Halloween is no exception. I thought I would help y’all out with a last minute costume idea with some pretty cool makeup that anyone can do. I know it looks a little intimidating but it is so attainable. It is just a little time consuming, so if you want to do it for Halloween get started early.
I first just wanted to let y’all know that I did not come up with this look. I found it on Pinterest and went off of that picture. I never want to take credit for something I did think of on my own. I will link that pin for y’all here.
All you will need for the scratches is tissue or toilet paper and liquid latex or duo lash glue. If you can’t make it to a Halloween store or anywhere that would have the liquid latex, the lash glue will work just as good. As far as the costume, I’m pretty sure they did have an actual Little Red Riding Hood costume at Party City, but I just got the cape there for $20. You could wear pretty much anything you wanted because people would know who you were with the cape and the makeup.
For the face makeup I just did my normal makeup and just added false lashes. You of course do not have to add the lashes, I just wanted to make mine a little more glamorous. That is what’s so great about this look/costume, you can customize it to what fits you best. You can do no makeup, full face, smoky eye, simple eye, false lashes, no false lashes, more zombiefied, yes that’s a word, however you want to do it. You do you, boo boo.
Now onto the scratches. First, I drew where I wanted them to be on my face with an eyeliner to help with the tissue placement. If your tissue has layers you want to pull them apart so they are as thin as they can be. Once you have the marks figured out you want to put your liquid latex or lash glue on the lines, then add tissue. Try and make the tissue pieces as small as you can. I made mine a little too wide in my opinion. I would just do one line at a time so the glue doesn’t dry so the tissue sticks good. I went ahead and put one layer on all my lines, but you can do one at a time if you want. However you want to do it. I used a hair dryer to dry the glue between each layer. After the glue is dry you want to add more glue, then more tissue, and repeat several times. Just use your own judgement on the layers. I honestly lost track of how many I did, possibly 5? After you do all your layers you are going to take small scissors and CAREFULLY cut through your layers. You don’t want to start at the very end, you want to go up a little and stop before you get to the other end. Be VERY careful not to cut your skin and be super careful around your eyes! I’m sure y’all will be, but I feel like I need to say it, haha.
After I cut each line I went in with my foundation and put it on top of the tissue so it blended in better with my skin. Next is the fun part, adding color and blood, fake blood of course. I just used red and black eyeshadow and just shaded around the “cuts” and inside the cuts. I also added a little “bruising” around my eyes and mouth. If you don’t have red and black eyeshadow just use whatever colors you have. When I was finished with the shadows I stippled the fake blood all over the cuts, then I just added some lipstick. In the center of my lips I added a little black to make them look bruised and smeared it a little too. You can use whatever lip color you want. Black would look pretty cool too. Last, I dripped a little of the fake blood inside all the cuts to finish off the look.
See, super doable. It is just very tedious, so like I said if you want to do this for Halloween I would give yourself at least an hour and a half. Maybe more if you want to do a more glamorous look like I did. I do have a tutorial on this look on my youtube channel if y’all want to see each step and hear me explain while I do it. I will link it here for y’all or it will be on my homepage as well under recent youtube videos.
I hope y’all liked this look and I hope y’all have a fun and safe Halloween. Comment what you are going to be down below!
Beetlejuice, Beetlejuice, Beetleju.......
CommentI had mentioned on my instagram last week that I wanted to do 13 days of halloween this year but it didn’t happen. I should have started last Friday, the 19th, but I am just now posting looks. I actually sat down last Thursday night to film a look and it was just not working out for me so I gave up. That was my first mistake just giving up, but I decided that I would just take my time with 5 looks. This look I am really happy with, but looking back there is one thing I would have done different/add, but I think it still turned out pretty good. I did not come up with this myself, I went off a picture I saw on Pinterest so I will link it here for y’all.
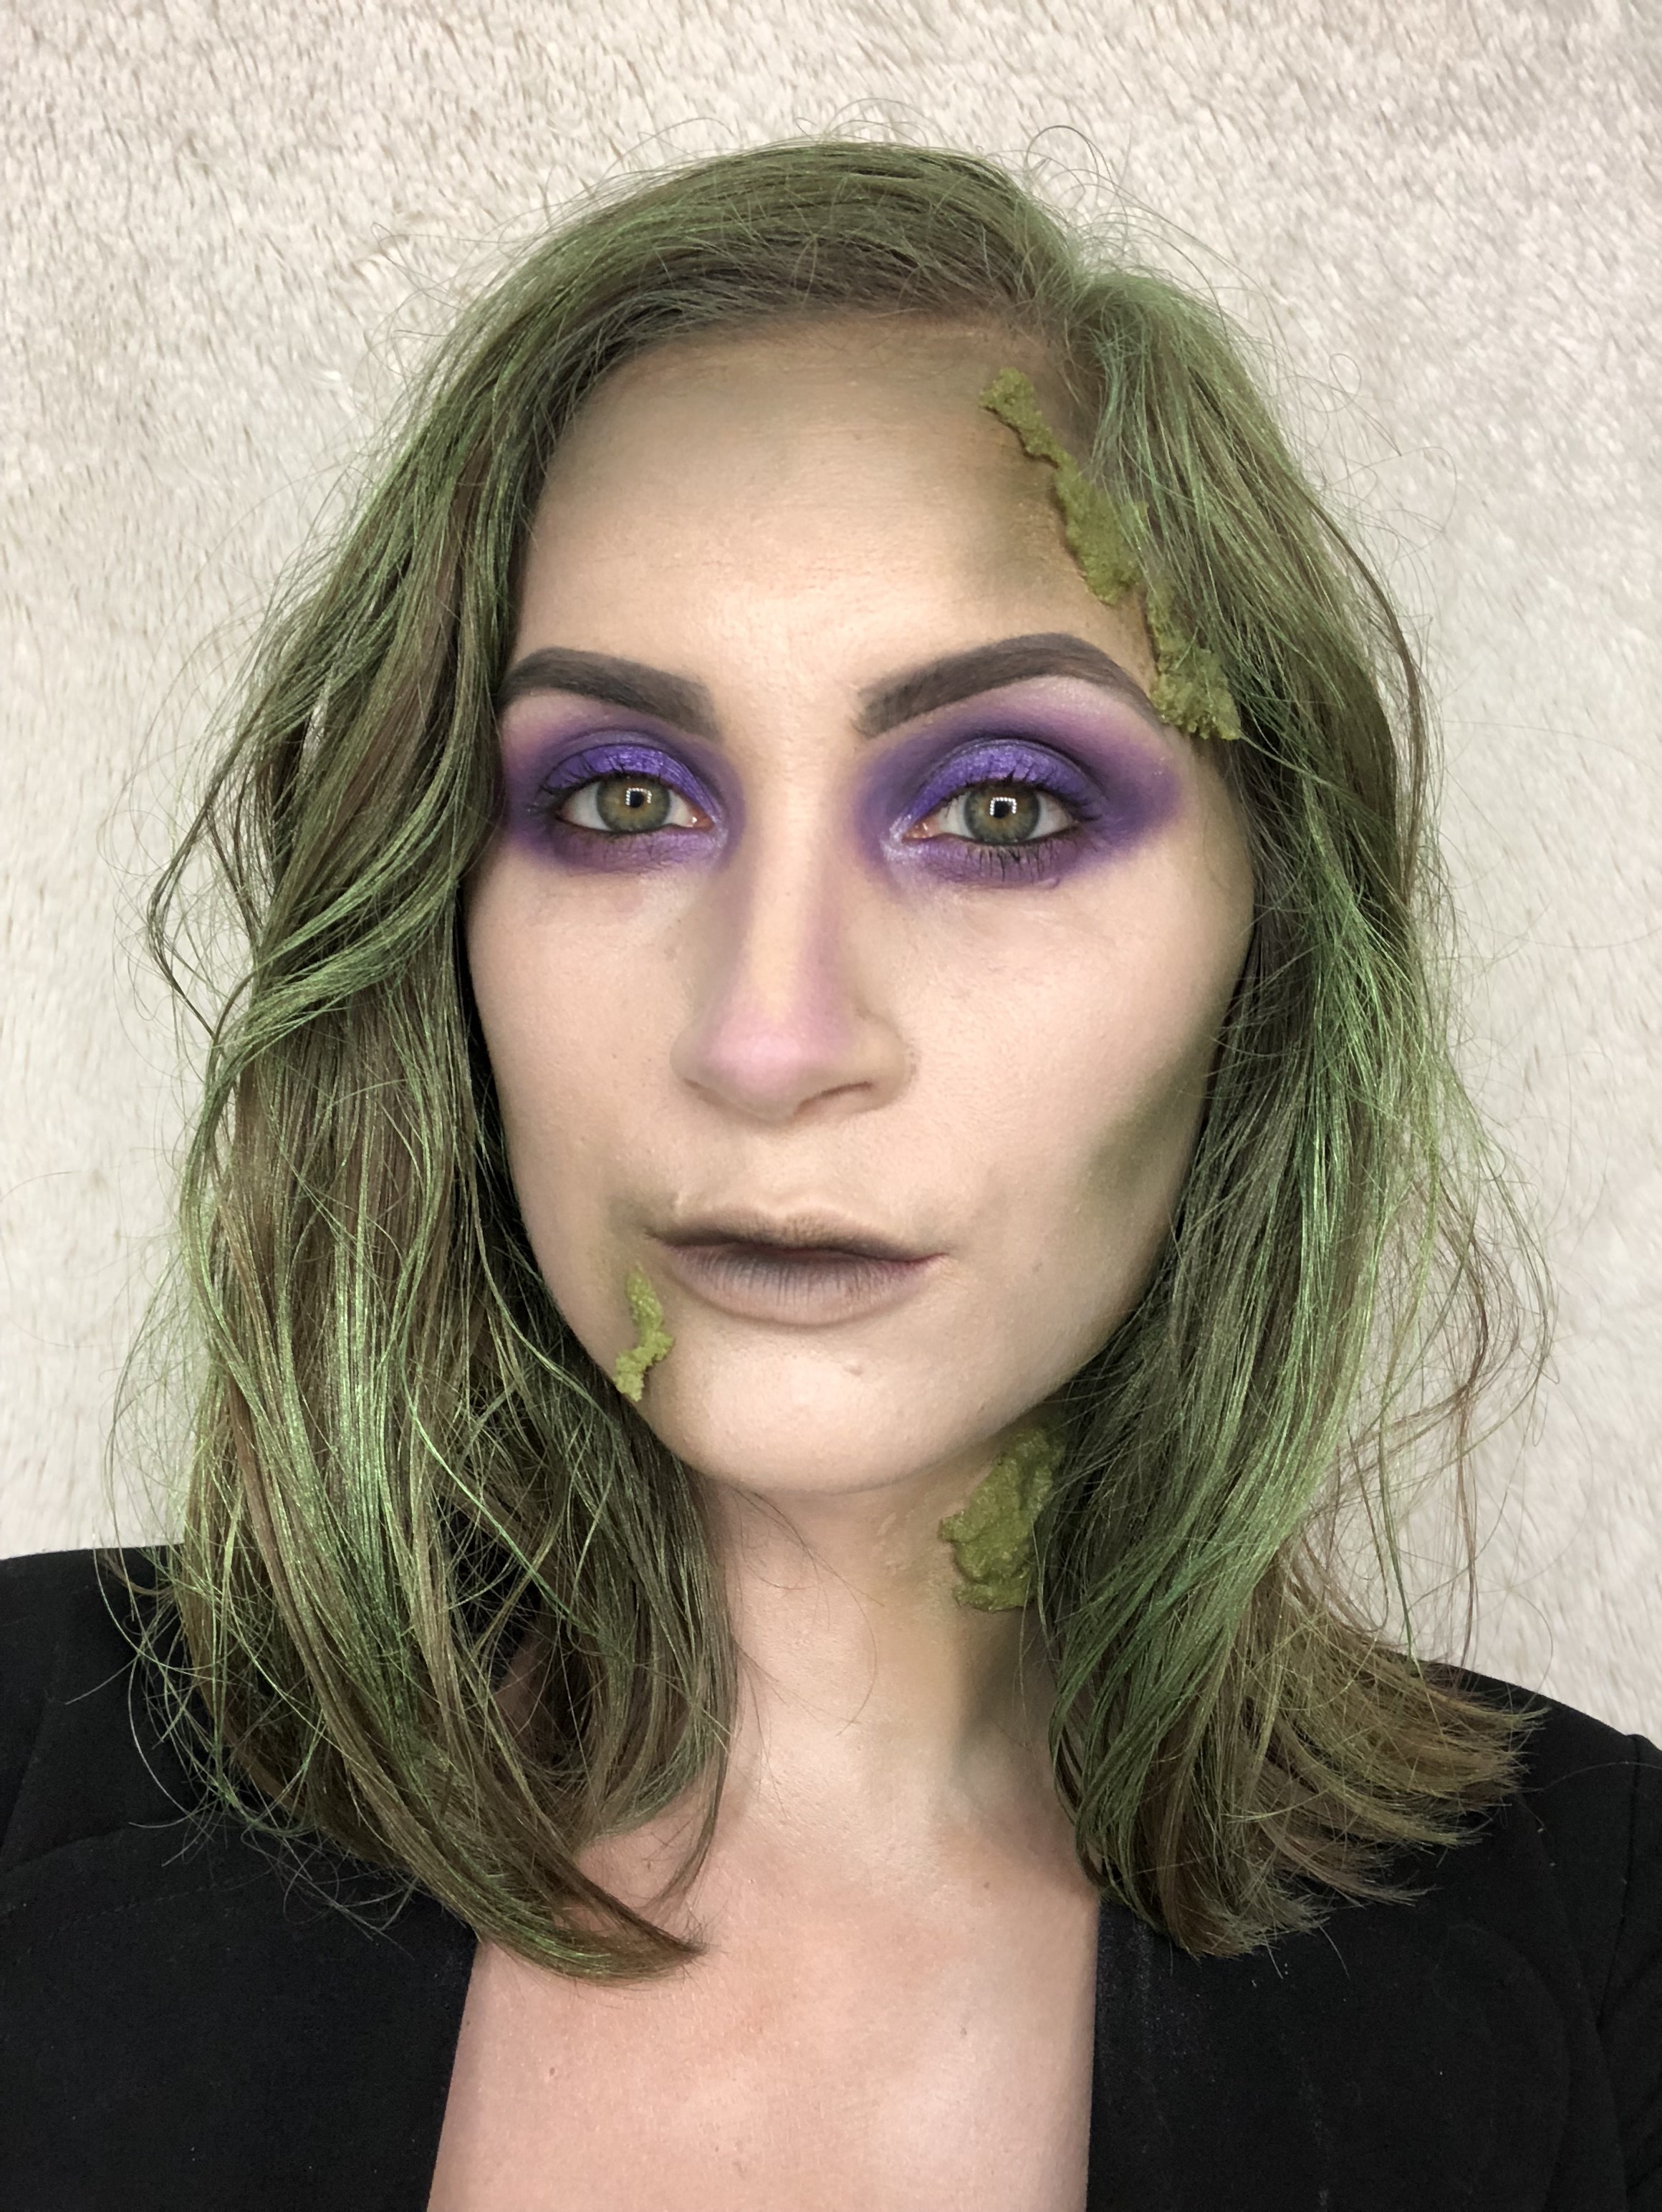
What I like about this look is it’s pretty simple for anybody to do. All you really need is white face paint or a really light foundation, purple, green, and black eyeshadow, green hair spray, and that’s pretty much it! I actually used a very light foundation for my base and then I set it with a powder so the eyeshadows I used on top of the white would blend out better. After that you just add a bunch of shading around the hairline, the mouth, and the hollows of the cheeks. I also added some on my neck and a little on my chest as well. I used green and brown eyeshadows for the contouring and shading. I actually used one of the palettes from the Jaclyn Hill x Morphe vault collection because it was the perfect mossy green. You could use the Armed & Gorgeous palette or Dark Magic, they both have perfect greens for this look.
For the eyeshadow I just did a few different shades of purple and added black to the crease and a little on my lower lash line. That is the beauty of halloween makeup, you can be creative with it and use whatever you have at your disposal. You can also be messy with it, it doesn’t have to be perfect. The eyebrows you could do green or I ended up just doing black and just filled them in like I normally would. For the green gooey, mossy things on my face and neck, I used this stuff called zombie rot. That sounds so gross doesn't it, haha. It worked perfectly though. I got it from Halloween Express and Cinema Secrets is who makes it. It is just a powder substance and you mix it with warm water. You have to work with it pretty fast though because it drys quickly. Once it drys you can’t shape it. I learned that the hard way. That is why the one on my neck looks kind of weird, haha.
You can do a couple of different things for the hair. I just used some green hair spray, but you could do green clip-in hair pieces, or the easiest thing to do would be to get a wig. The spray is probably the cheapest but messiest. I actually did my hair before the makeup that way I didn’t mess up the makeup. The spray was very easy to get out, it washed right out with regular shampoo. I did wash it a couple times just to be safe because I had a bad experience with temporary hair color before.
That is all there is to it though! See how easy? If there is anything I didn’t go over or you need me to explain something better, definitely reach out to me by commenting here or you can always send me a message under the contact tab as well.
Best. Red. Shoes. Ever.
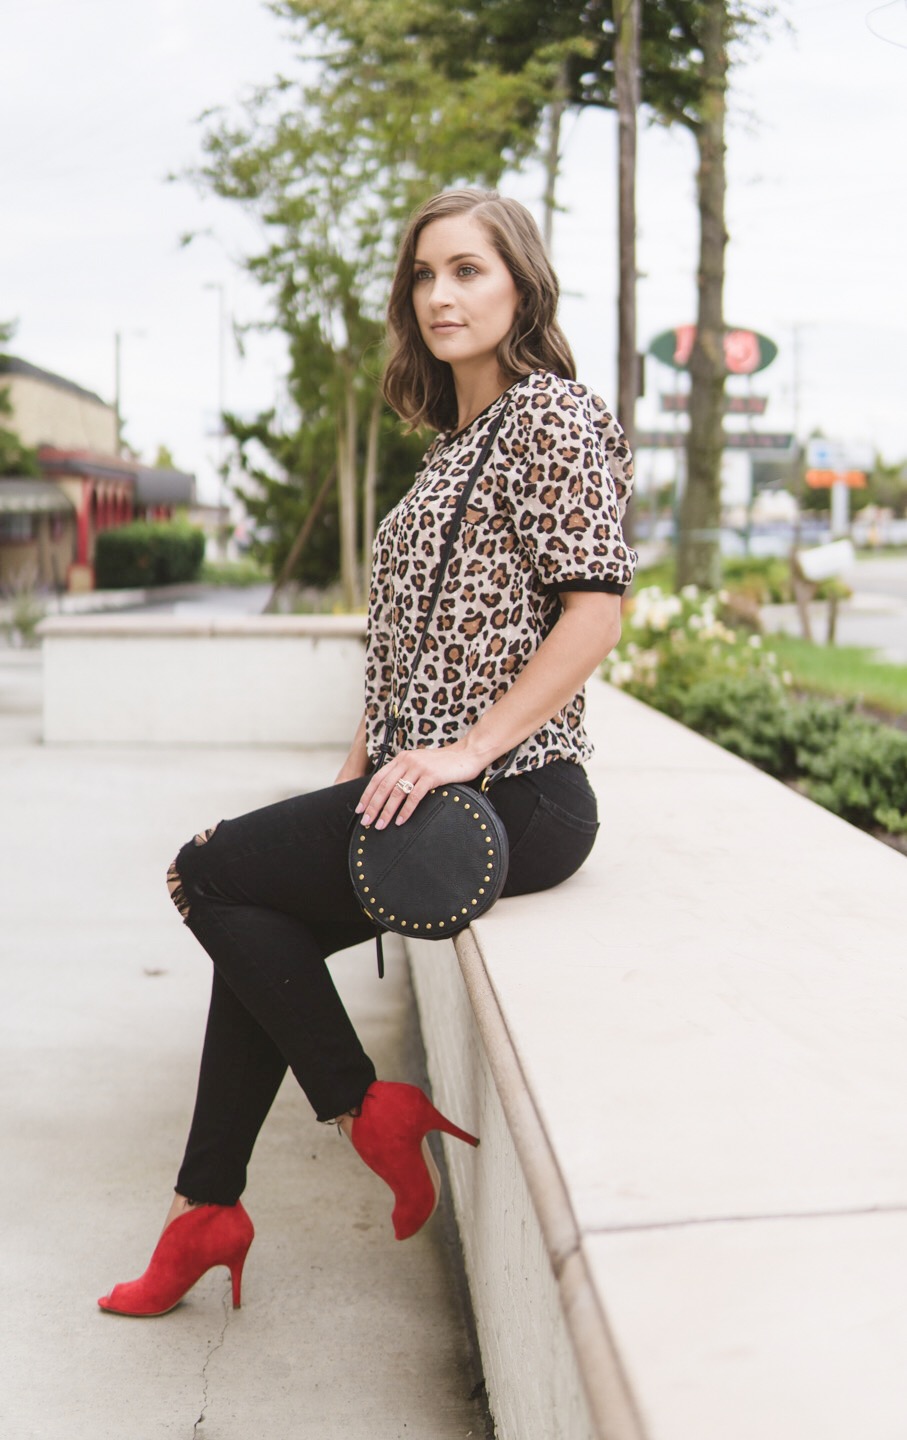
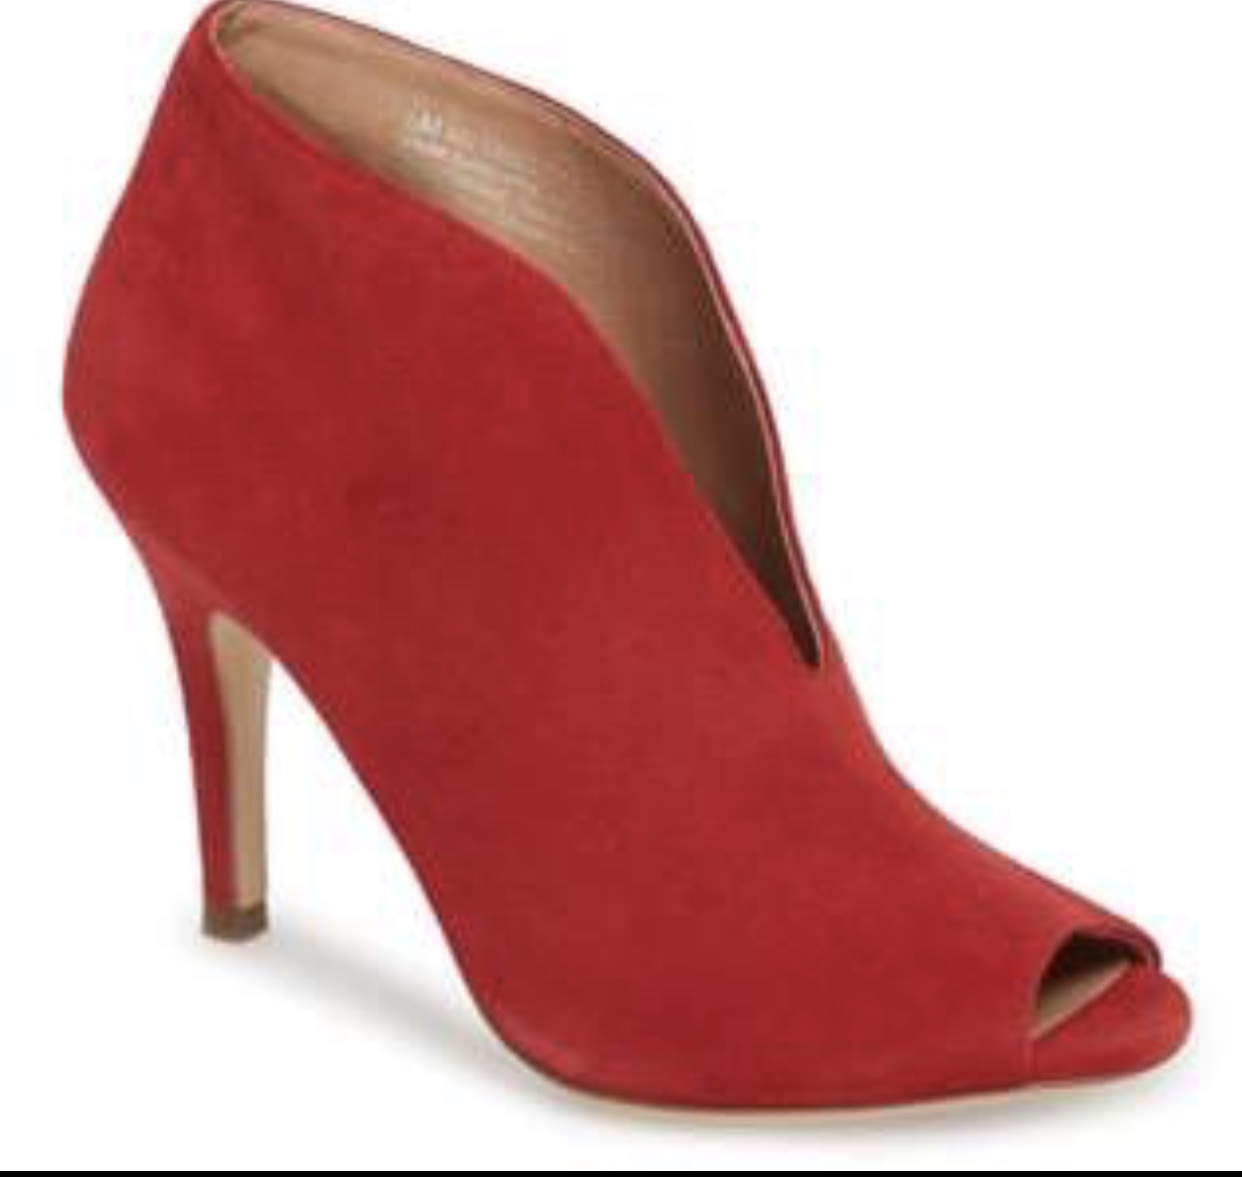
CommentY’all should already know I wasn’t done posting about animal print, but the main focus of this post is definitely these beautiful red shoes! Now don’t get me wrong I love this shirt and these jeans are my favorite, but THESE SHOES! If I could add the heart eyes emoji right now I would add 10. I do have to say they are not very comfortable to stand in for long periods of time, but honestly who cares, I am so obsessed with them. You can see here I am wearing them with jeans and a blouse and I think they would also look super cute with these jeans and a band tee as well. If you wanted to do that I would get one that had pops of red. I know band tees are popular right now so you can get them pretty much anywhere, but I know Hot Topic and Target always has them at reasonable prices.
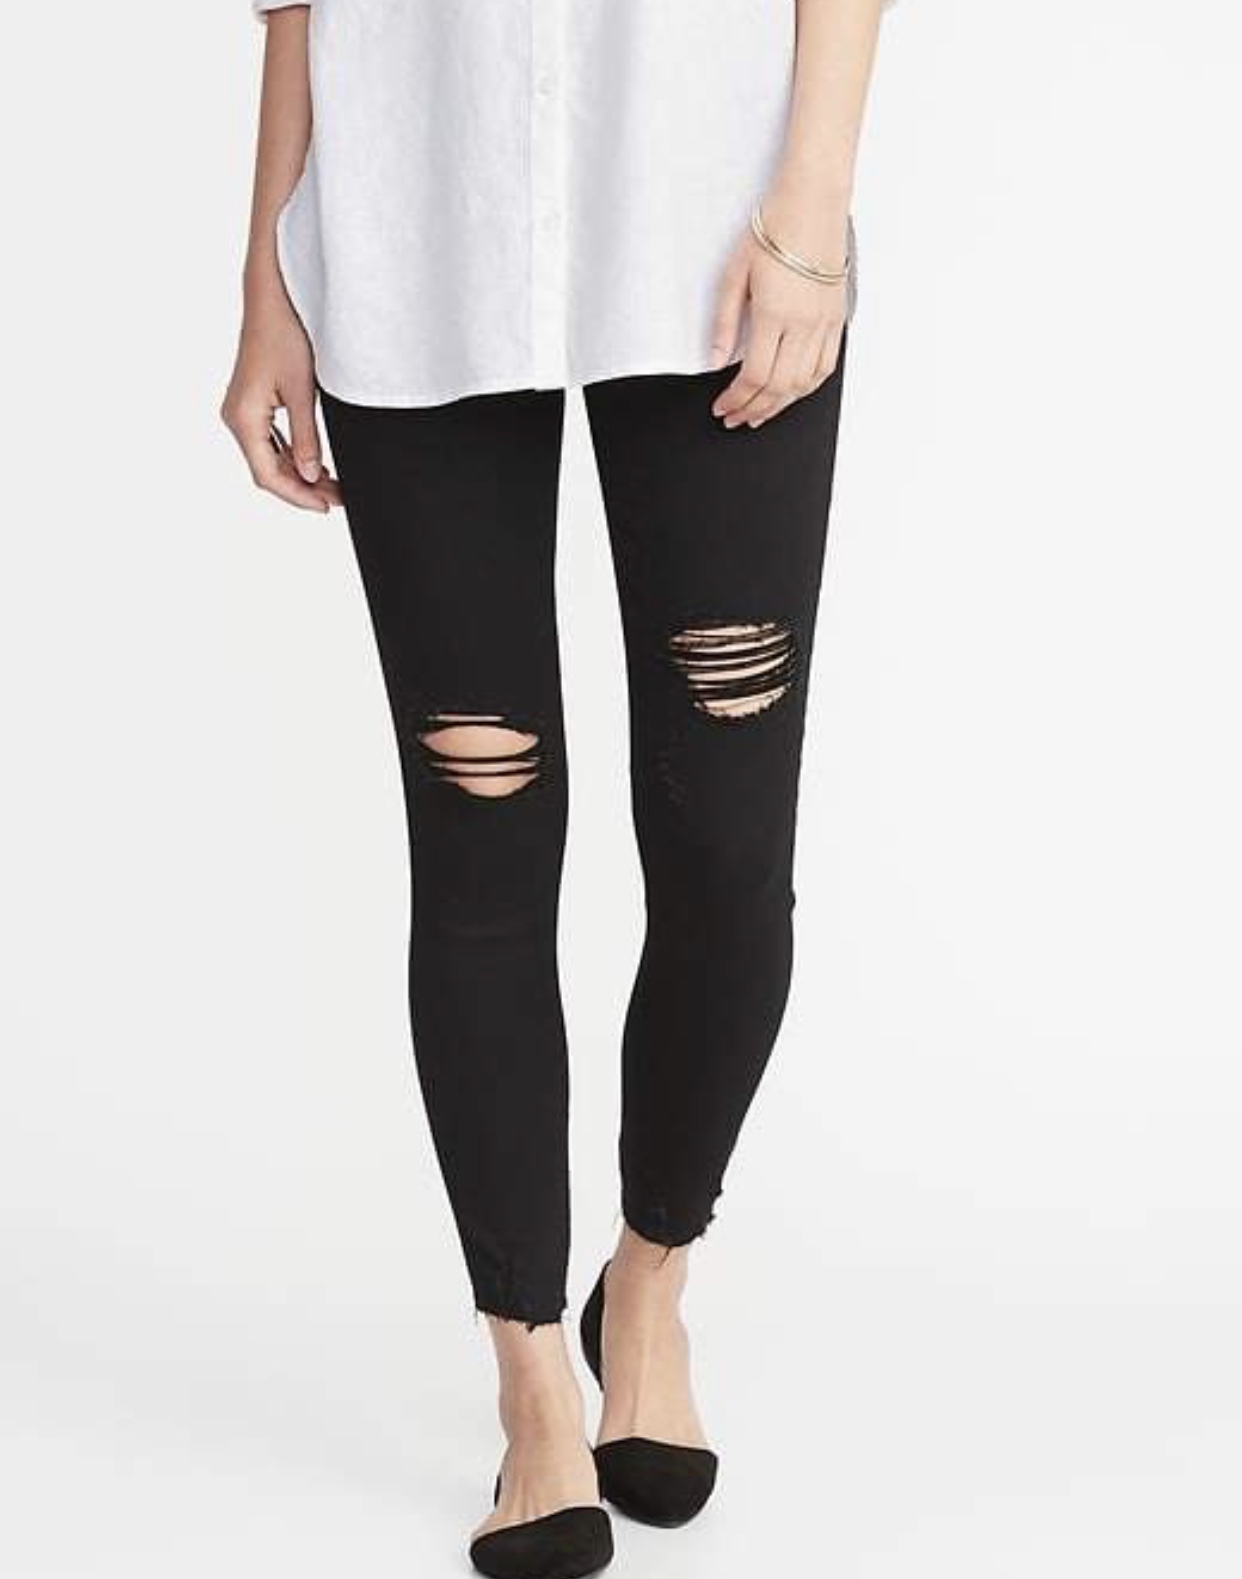
The pants I got at Old Navy and these are the ones I talked about in my closet staples post, and you can read that here if you missed it. This top I have actually had for a while and I got it at Target. I have been seeing it one everyone lately, but I still love it. It is really comfortable and I think it would look cuter front tucked, but I always have so much on my mind shooting I forgot to tuck it. Oh well. As for the beautiful, most perfect red shoes ever, I got them from Nordstrom. Well, I guess technically they aren’t the “perfect” pair since they aren’t very comfortable, but they are definitely the prettiest. I will say they are a little pricey, but in my opinion they are worth it because they’re so cute!
As always I will link everything on the pictures as well as my shop tab. If y’all haven’t shopped at Nordstrom before you should definitely check it out. It is my newest weakness. The closest one to me is in Nashville, but even closer is the app, haha.
Shop the post
It's Growing on Me
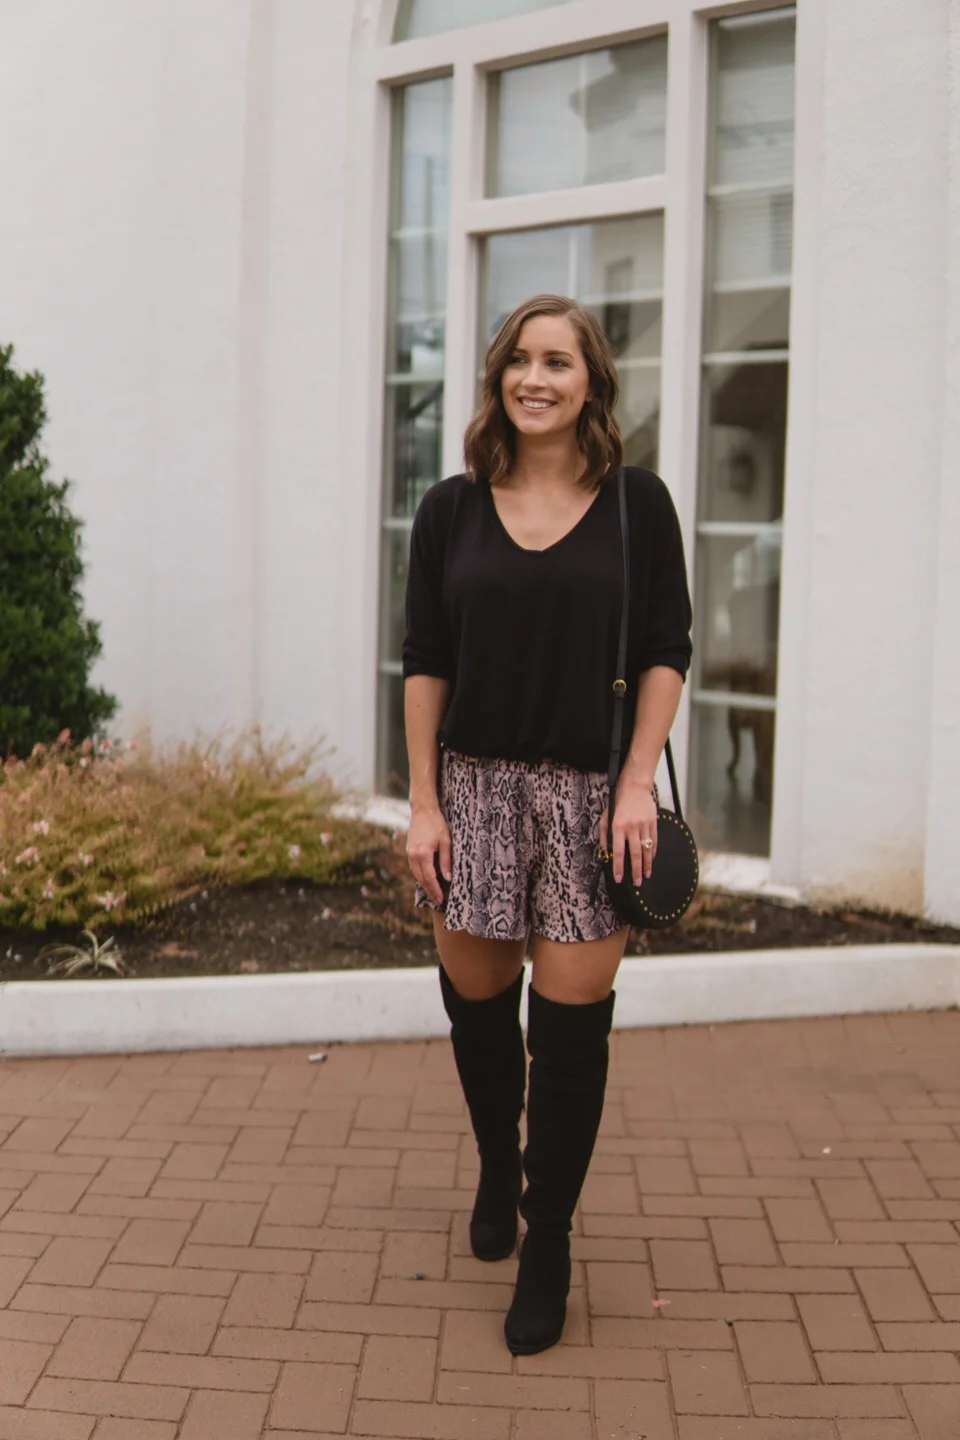
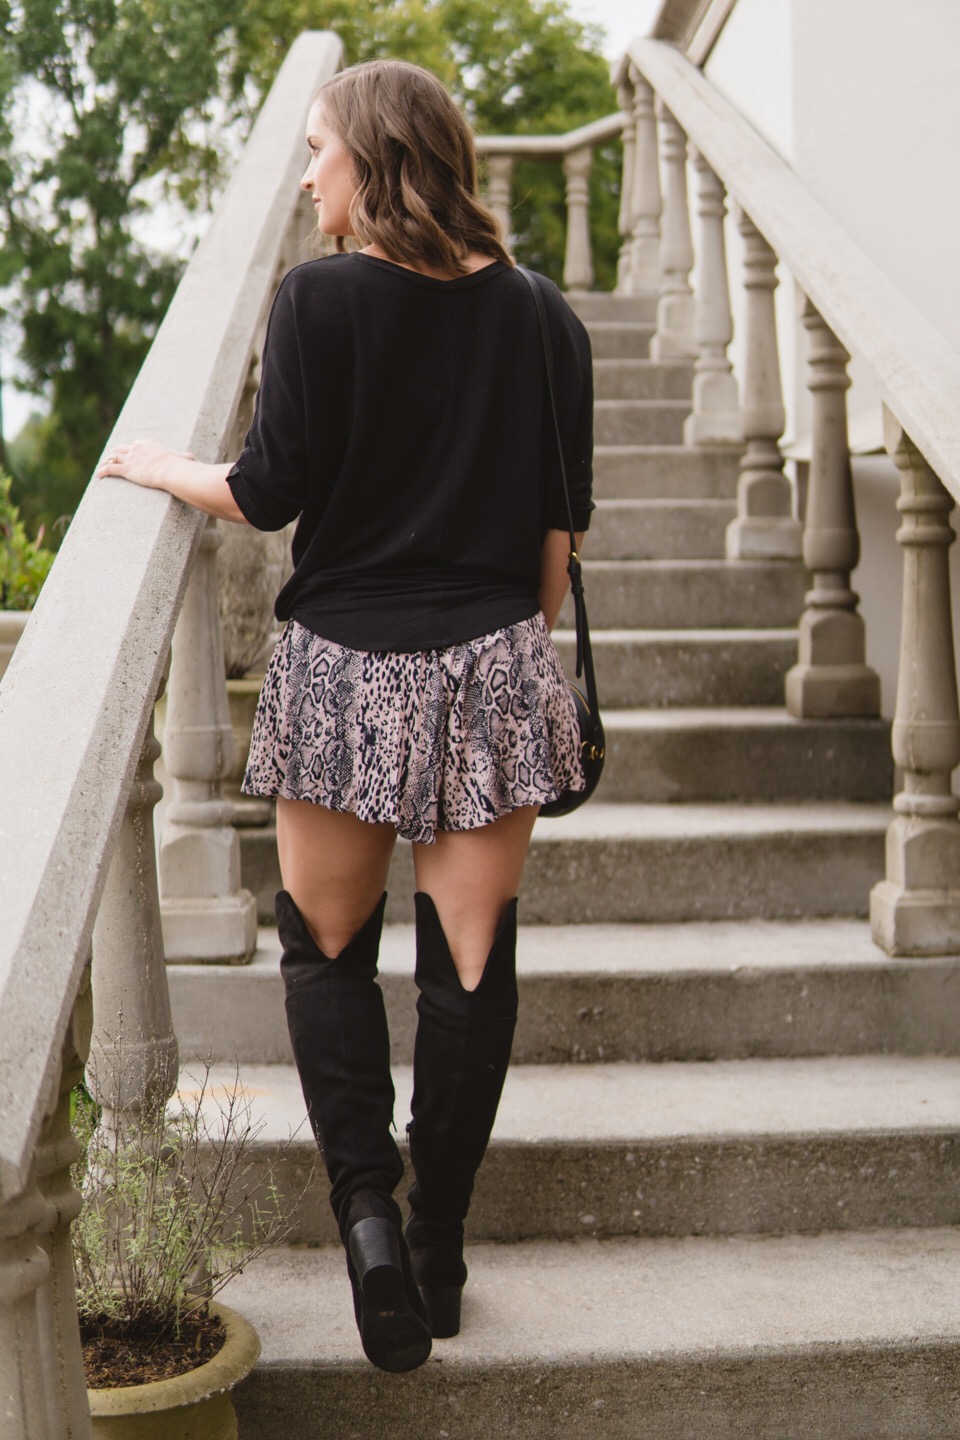
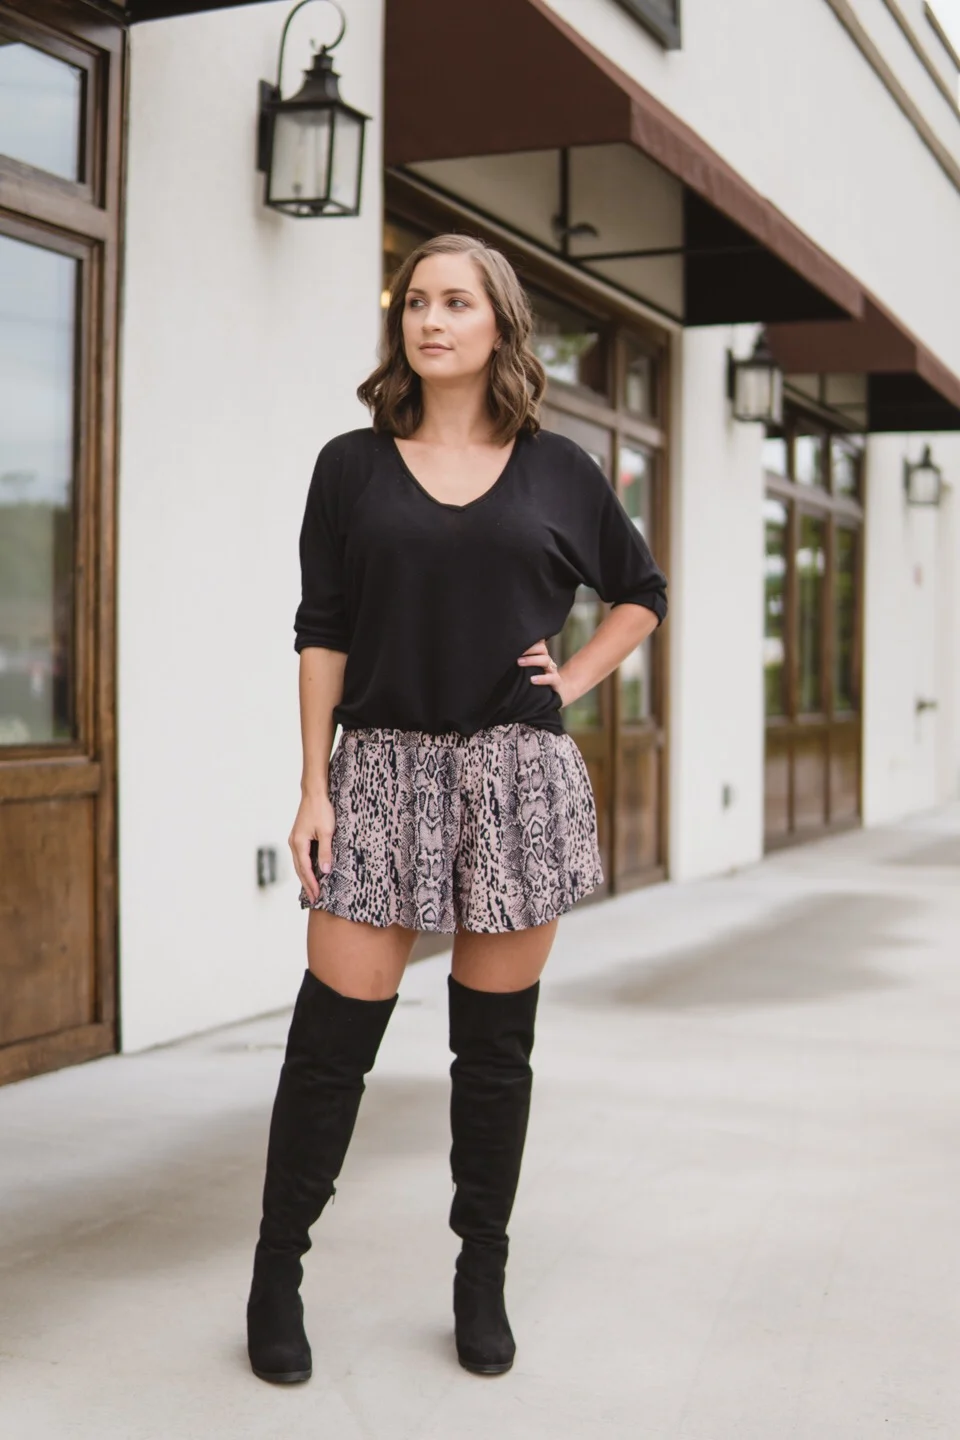
CommentAs long as I can remember I have been a leopard/cheetah print girl, but I have to say snakeskin is growing on me. If you read my last animal print post I mentioned a cute little boutique in Panama City Beach called The Florida House, I got the pair of pink/lavender shorts pictured in that post. I also got this pair of snakeskin ones there as well, and the best part about them, they were FREE! I’m not exactly sure how it happened, I must have missed a sign or something, but she rang them up and my receipt said $0.00, so I’m not complaining. I did see a sign that said summer clothing 40% off, so I’m wondering if they were maybe buy one get one free? Who knows, it just made me like them that much more, haha. Anyways, I love these shorts because they are so comfortable and they look like a skirt. They have an elastic waistband so that’s what makes them super comfy. The only thing that would make them better is if they had pockets.
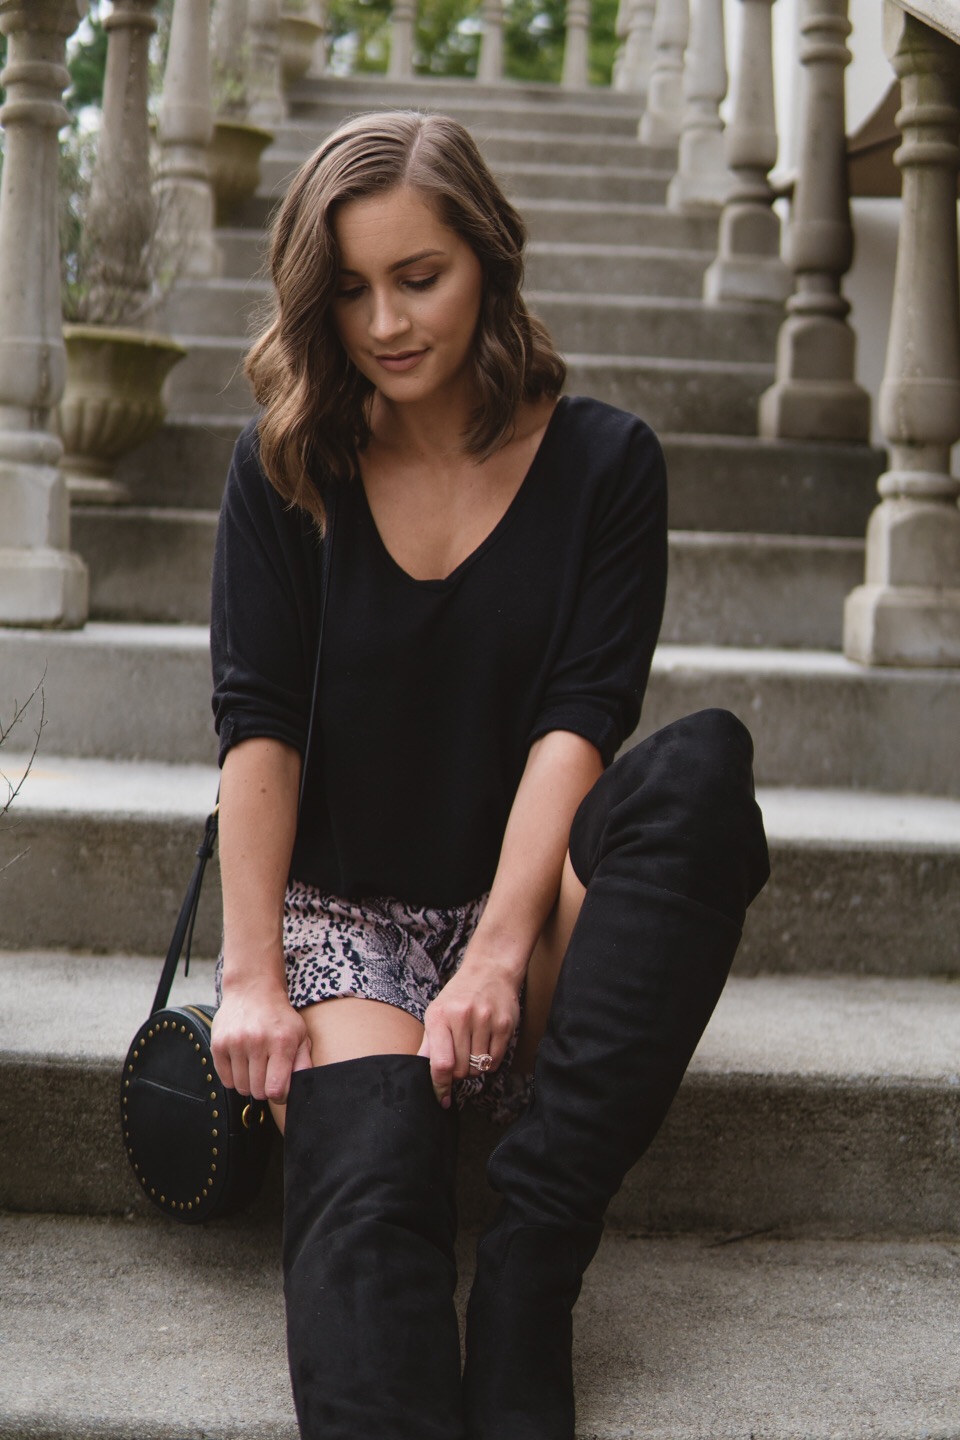
I mentioned before that I live in Tennessee so it’s not quite fall weather yet, but I think we are about to start get cooler temperatures. I think this outfit is a perfect transition piece because even with cooler temperatures coming it still stays pretty warm during the day and cooler at night. That is why I decided to pair this outfit with over the knee boots, because they cover your legs a little more than just shorts and booties or sandals. I love this pair of over the knee boots because they are comfortable and they fit my legs well because they are wide calf. I have bigger calves from running and these fit perfectly. I bought them from Jane last December, but I will try to find them for y’all or at least the shop so you can keep an eye out if they come back in stock. I hope they do come back so I can buy them in taupe!
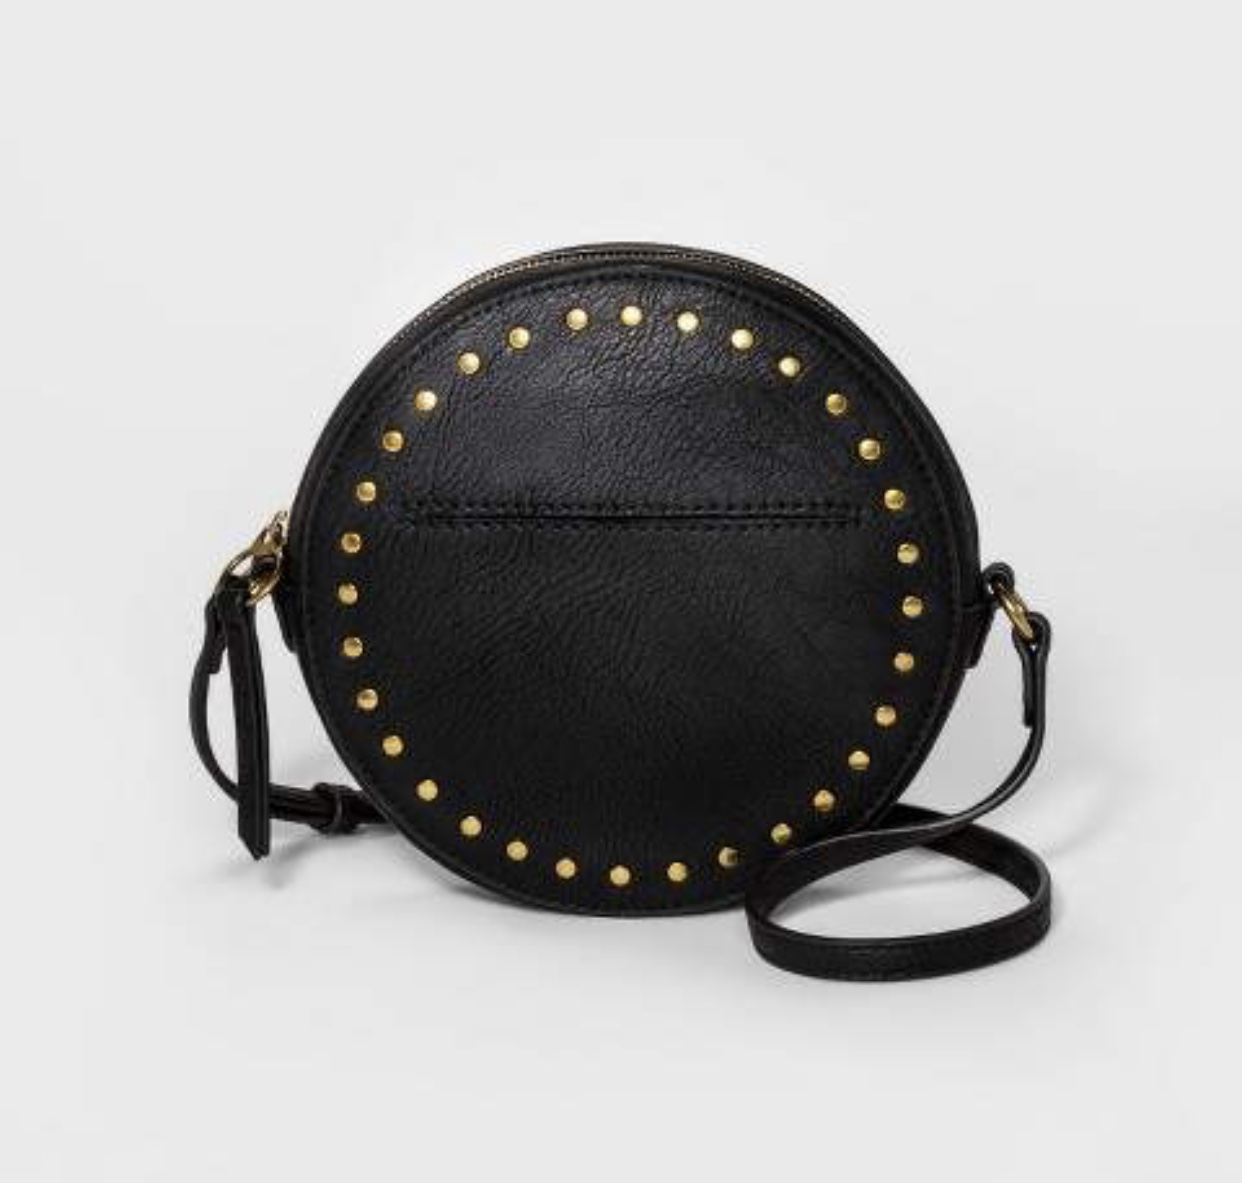
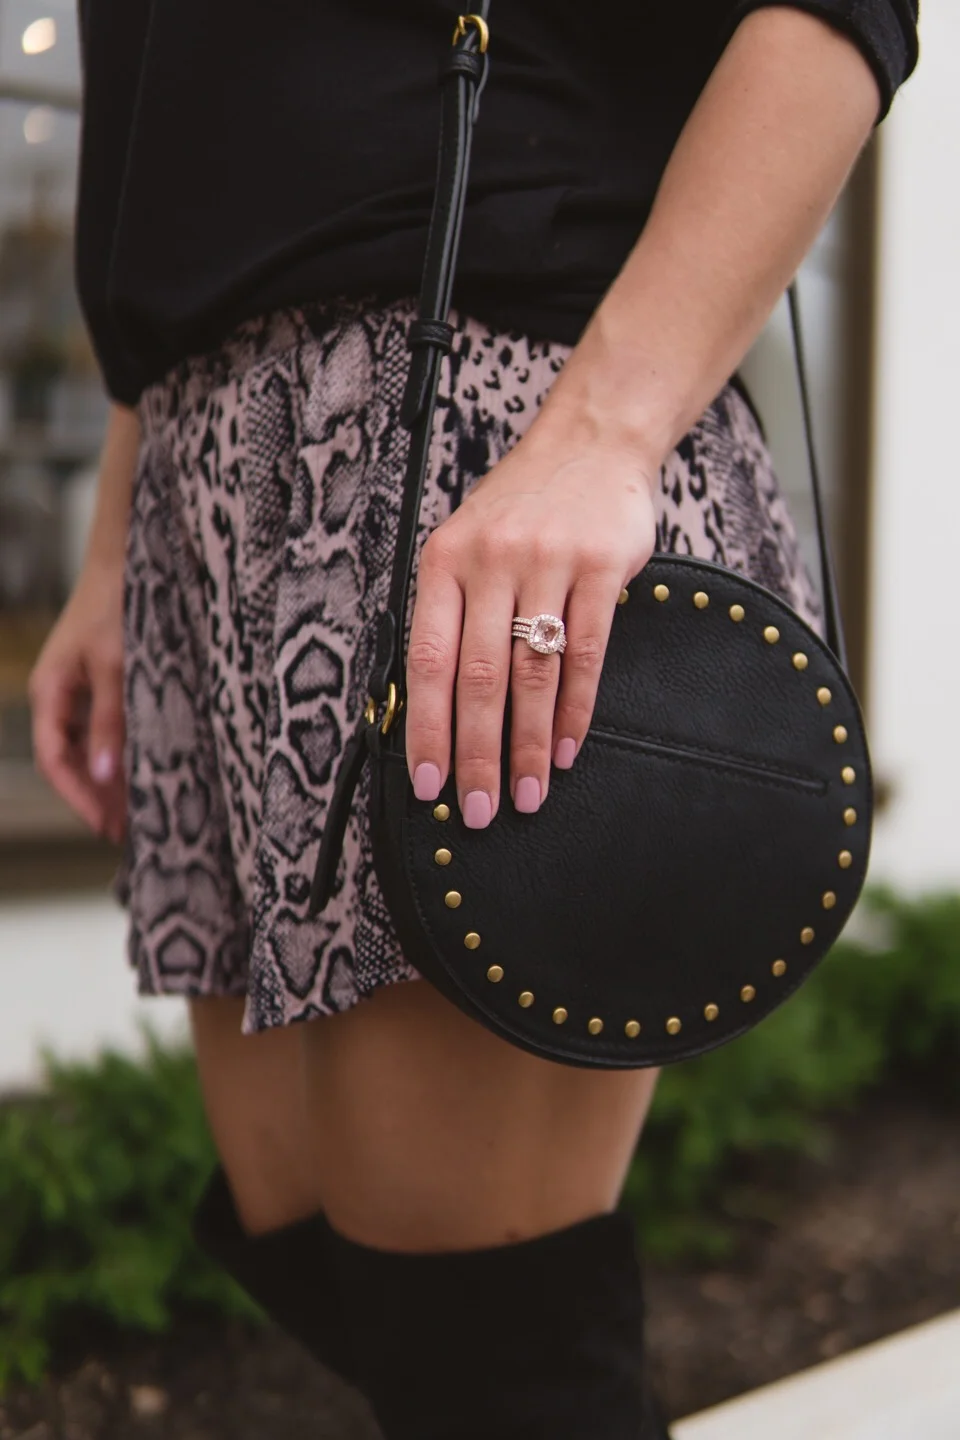
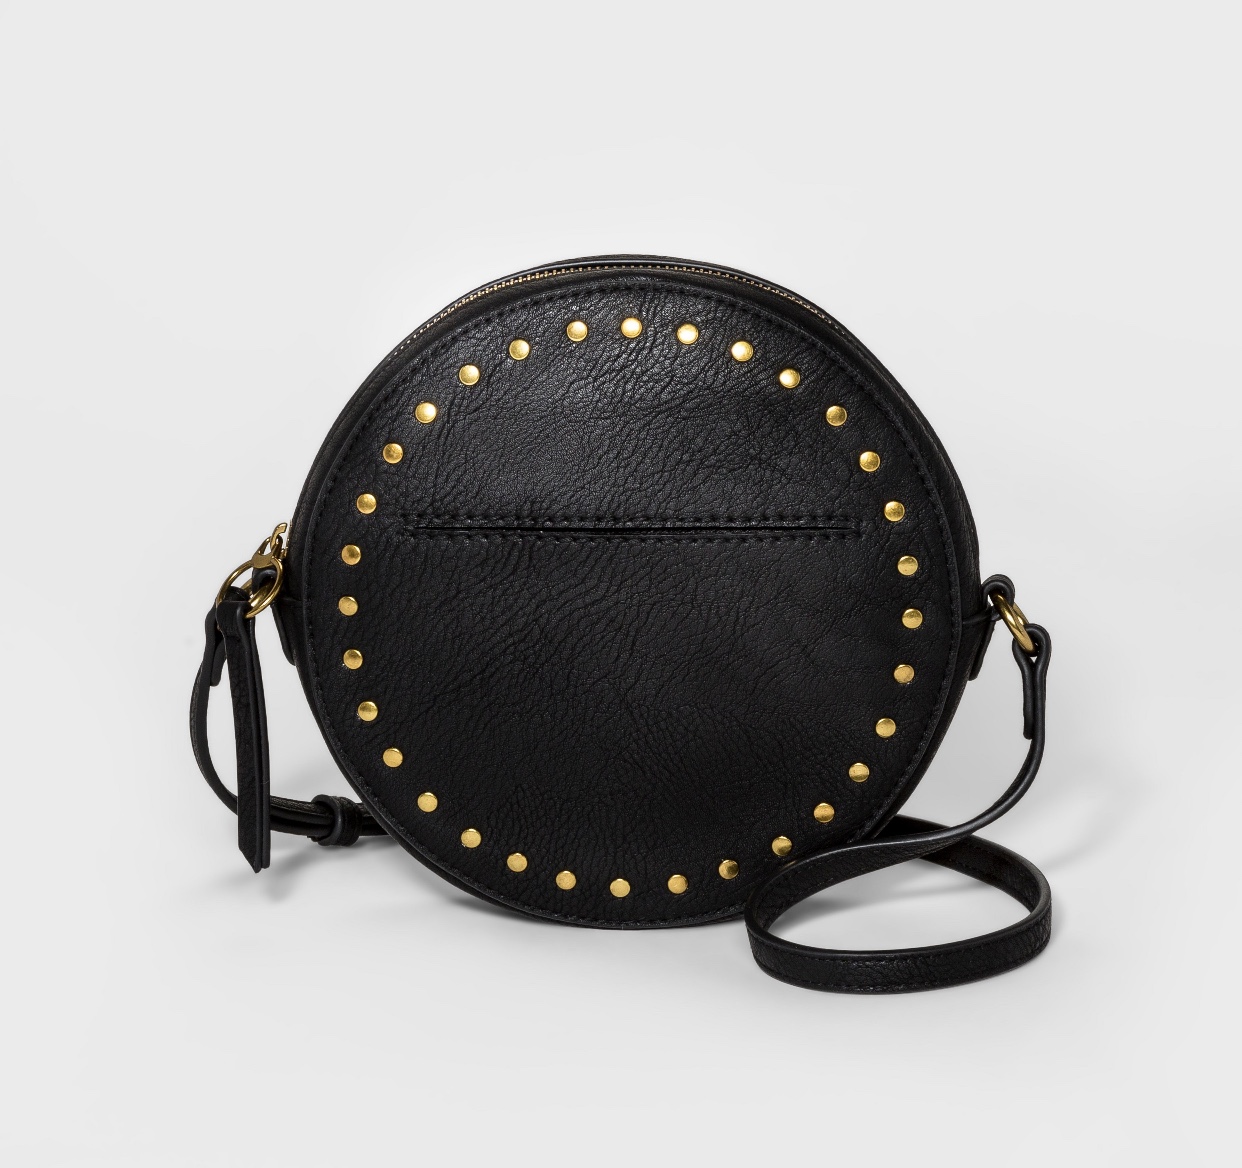
I’m not even sure where I got this shirt to be honest, probably TJ Maxx or Ross Dress For Less. I wear it to work a lot and I love it, especially in the fall because it’s a little thicker but still 3/4 length sleeves. It’s a little longer in the back too, so it is perfect to wear with leggings. I also paired this outfit with that super cute round purse I had in my last outfit post. It goes with so many different outfits and I’m obsessed. I think it goes perfectly with leopard print since it is black with the gold detailing. I got it at my favorite place of all time, Target, for $24.99! I found mine in the clothes not with all the other purses, but check both places. You can always order it online if you don’t want to hunt for it. I will link it for you on the last picture or you can always shop the links in my shop tab.
Leopard Print, Cheetah Print, Snake Skin, Oh My!
CommentI have always loved leopard print, probably a little too much if I’m being honest, and it is FINALLY in style, haha! I usually don’t worry if something is on trend or not, if I like it, I buy. More than likely if it’s in store it’s going to be on trend, but what I’m getting at, is if I see something hideous on the runway I’m not going to go out and buy it just because it was at New York Fashion Week. If you like to buy things that are trending there is nothing wrong with that at all, so I hope I don’t offend anyone by saying that. I am just letting y’all know how I shop. Anyways, I try to be as open and honest with y’all as I can, so I do have to admit there were several trends over the summer that I almost gave into and bought because “everybody had them” and I wanted to post them on my blog/instagram. I didn’t cave though because if I didn't truly like the items and didn’t want to wear them personally I didn’t want to post them. I only post items that I truly like and products I believe in. The animal print trend I am 100% down with though and I am honestly excited about it!
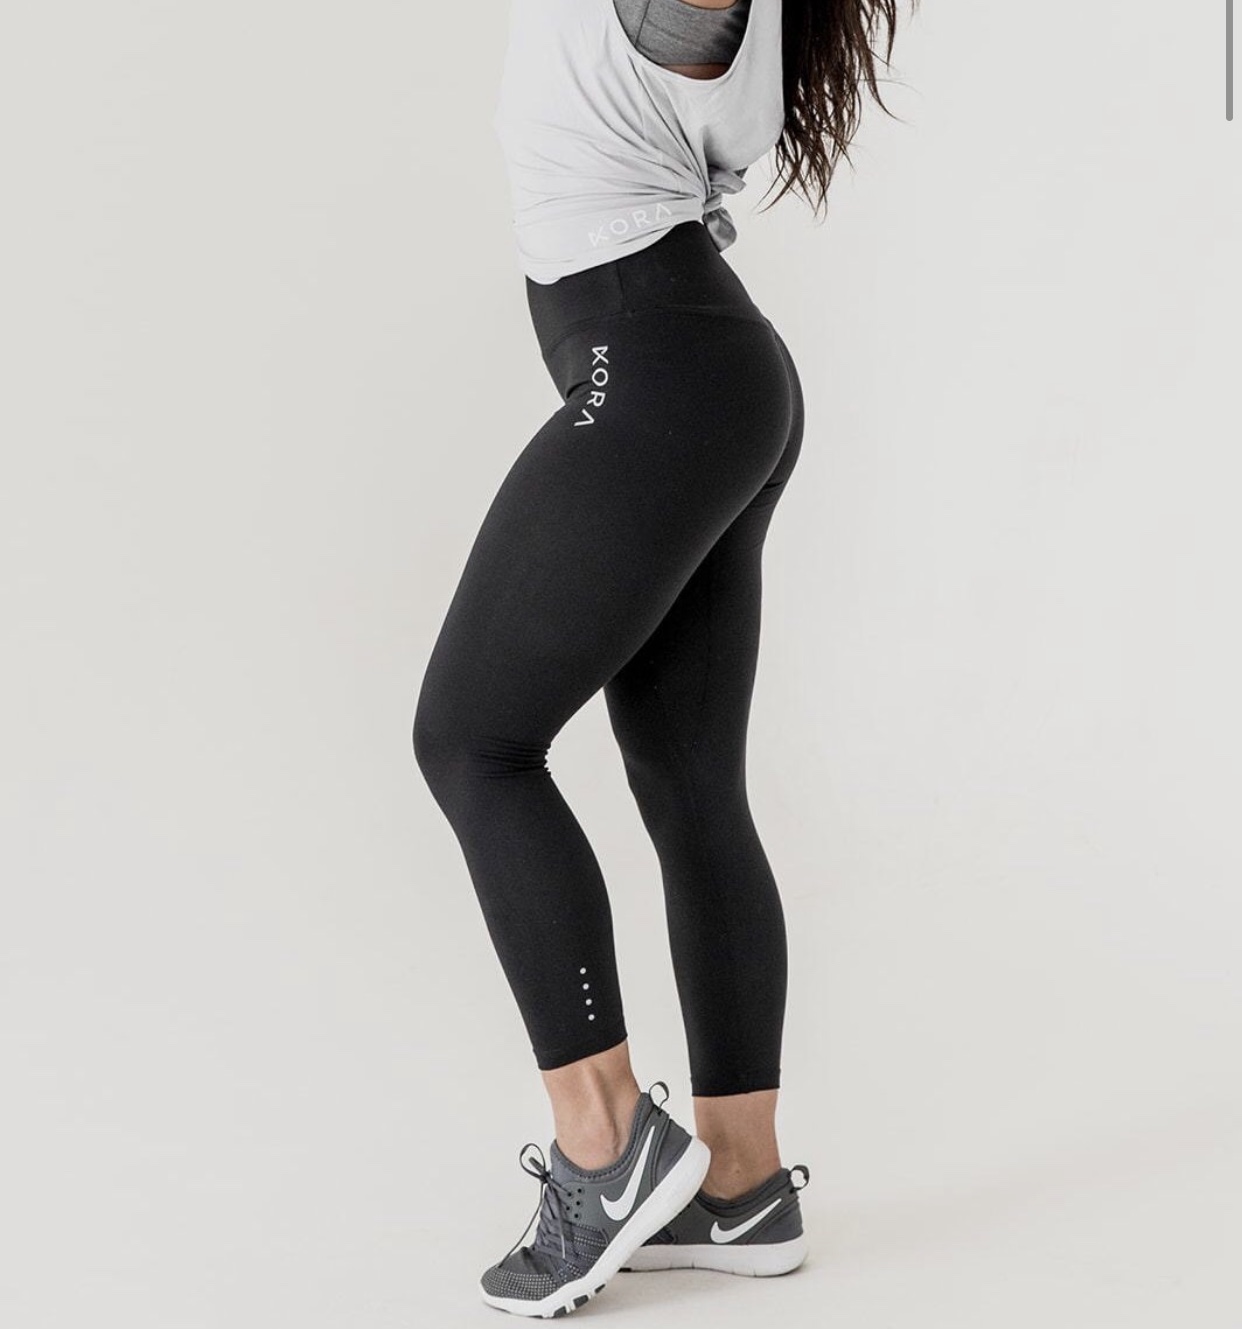
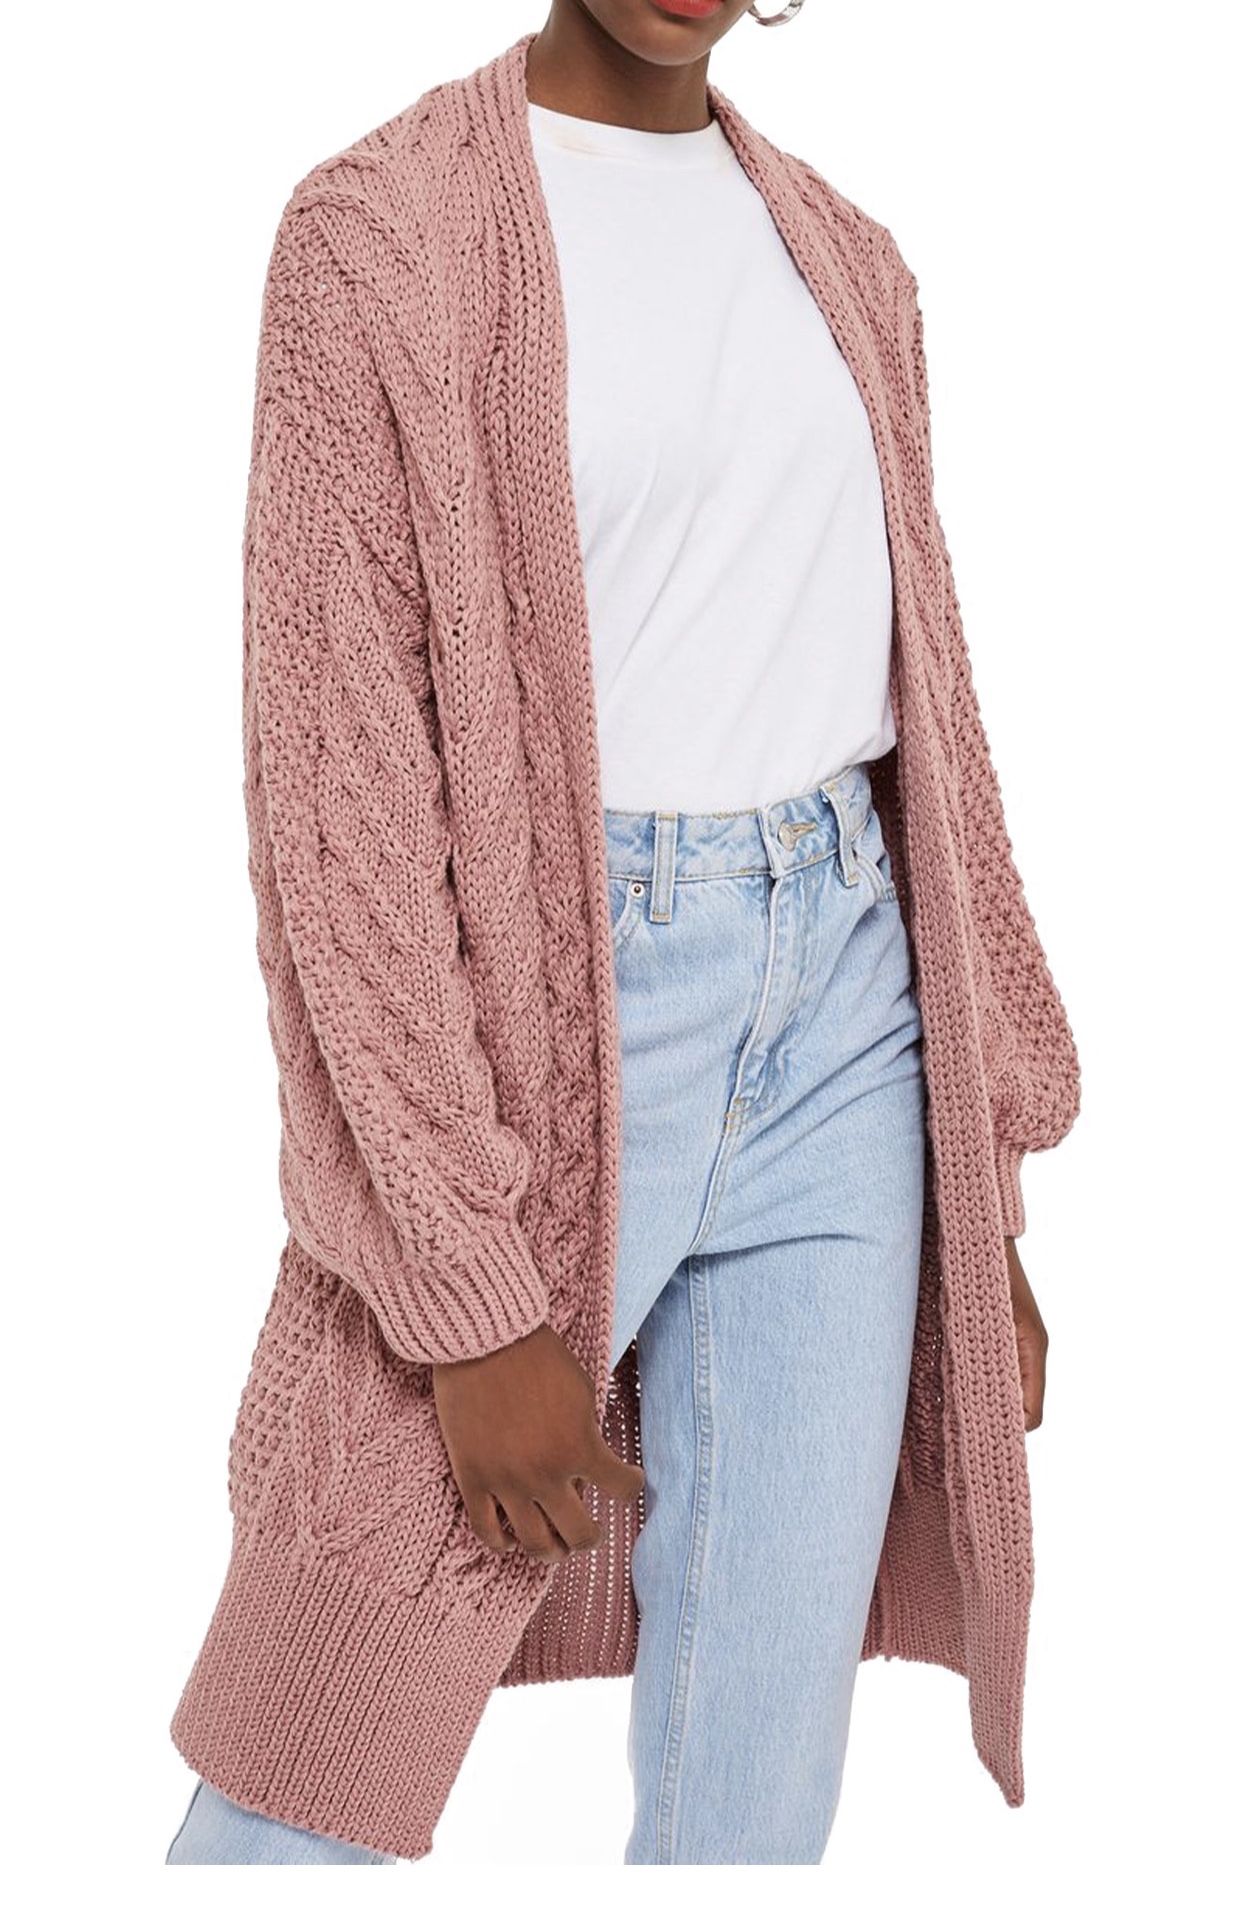
As I mentioned before I love leopard print and now that it’s on trend it’s everywhere and I am in animal print heaven. I have several animal print outfits, but today I’m just going to talk about two pairs of leopard print shoes that I am currently loving. The first pair I have had since the Nordstrom sale and I posted them before but I just shared stock photos. I wanted to show them again in this post so you can see how I styled them, and the shoes I’m talking about are the leopard print mule by the brand Halogen. These are actually sold out right now, but if y’all want I can definitely tell you when they are back in stock. I think these are perfect for transitioning into fall because your toes are covered for those chilly evenings and they look so cute with cardigans which is what I paired mine with in these photos. The cardigan in the picture is actually the one I've talked about a bunch on my instagram from TopShop, the one from Nordstrom. I think these are perfect for traveling as well because they are easy to slip on and off and are stylish. I wore my Kora Fitness leggings with mine so they are great with leggings or jeans. I love wearing mine with black skinny jeans so you can see the mule since they are so cute. Keep checking this post or my shop tab to see if they are back in stock.
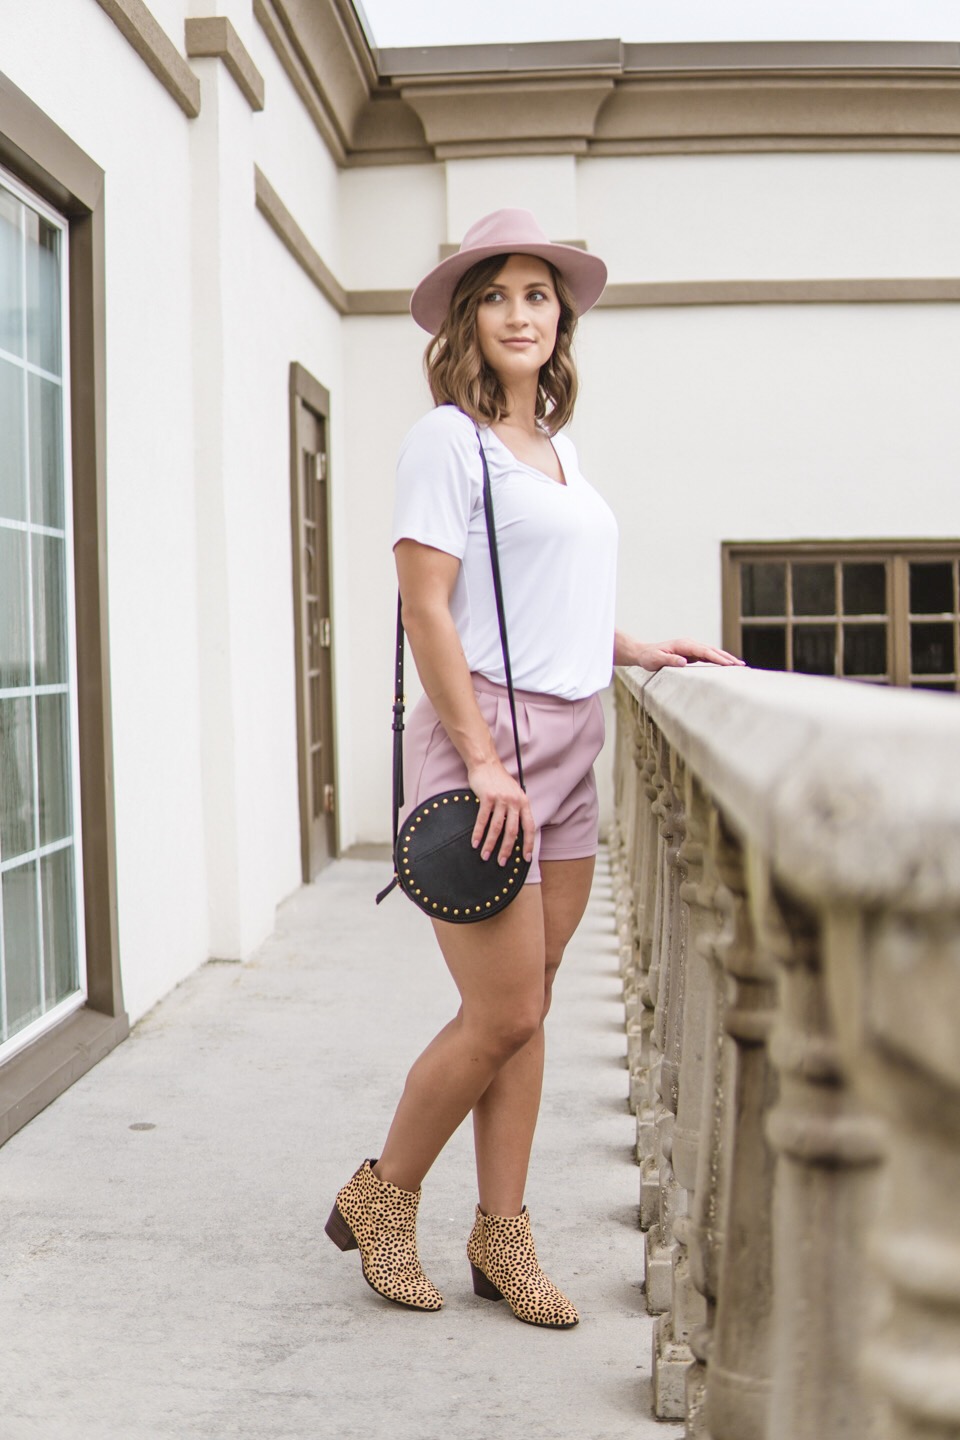
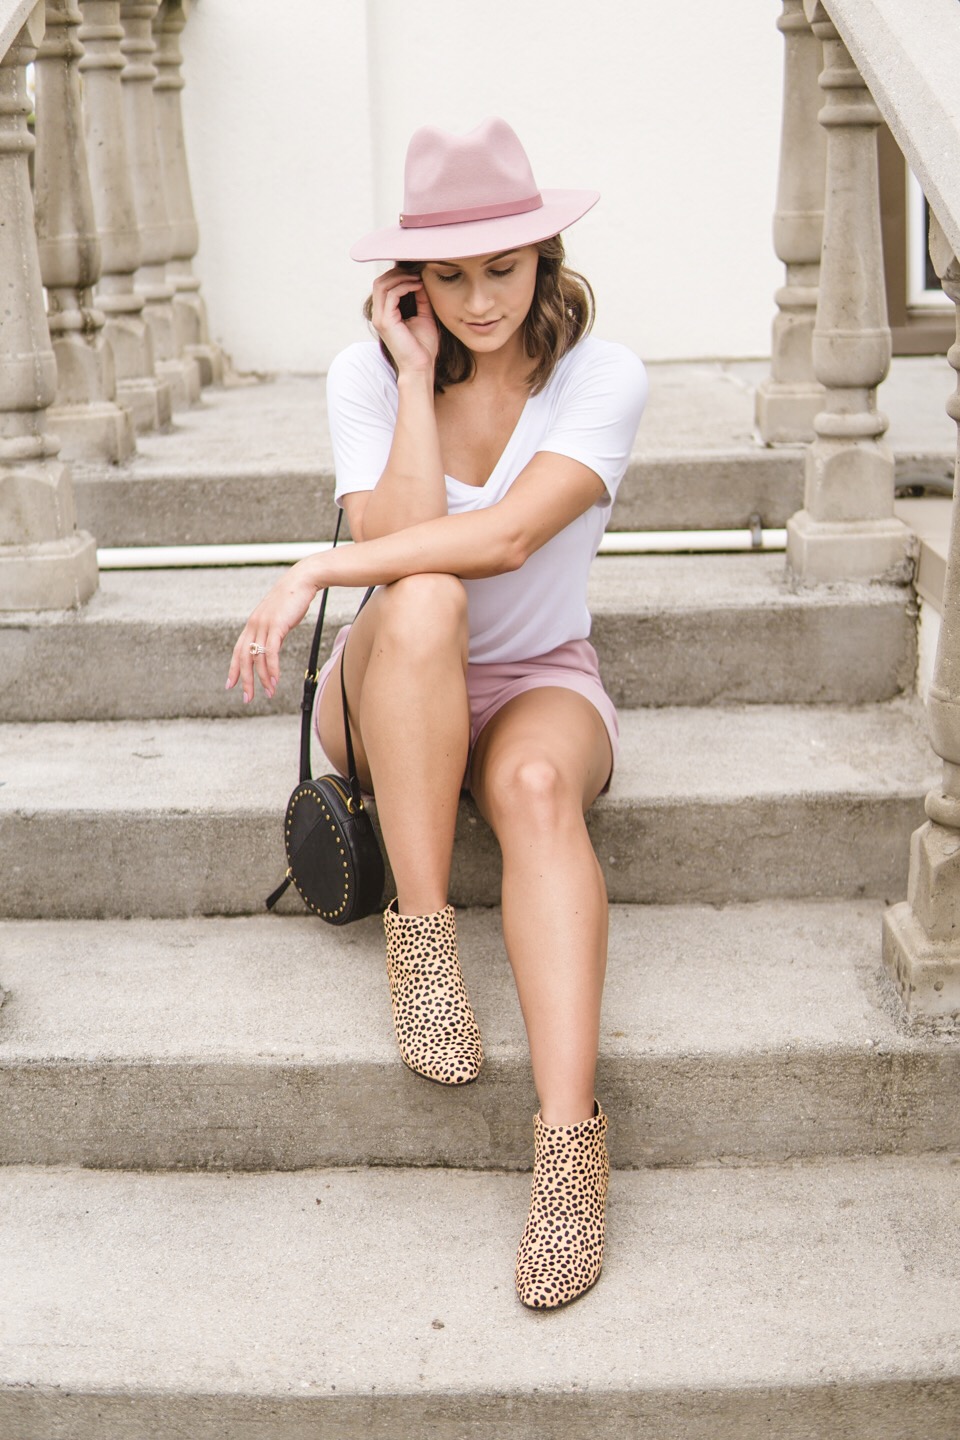
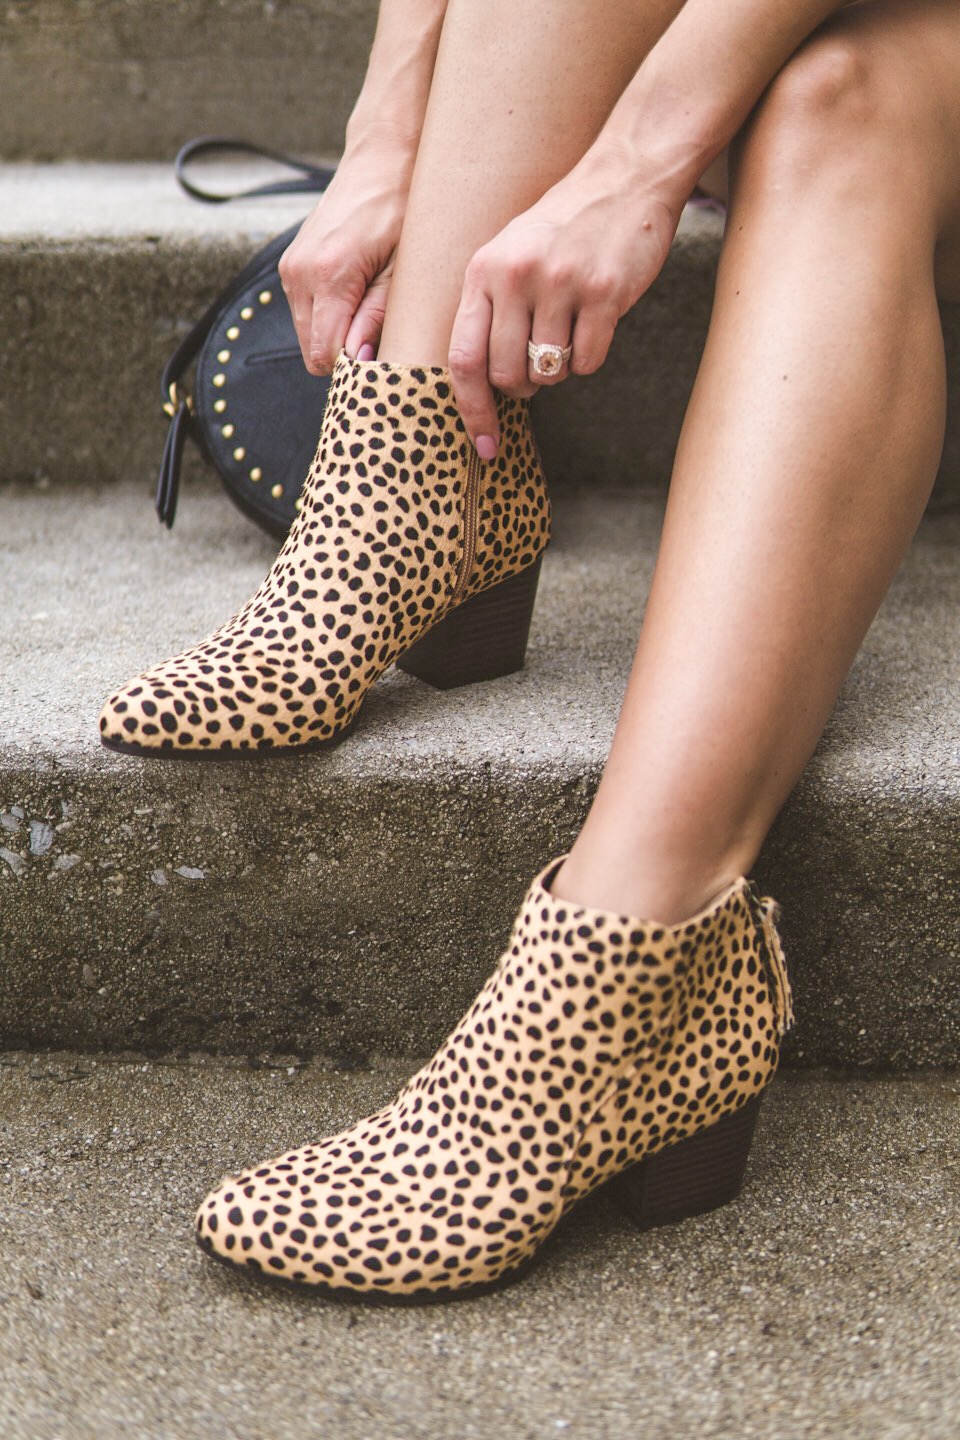
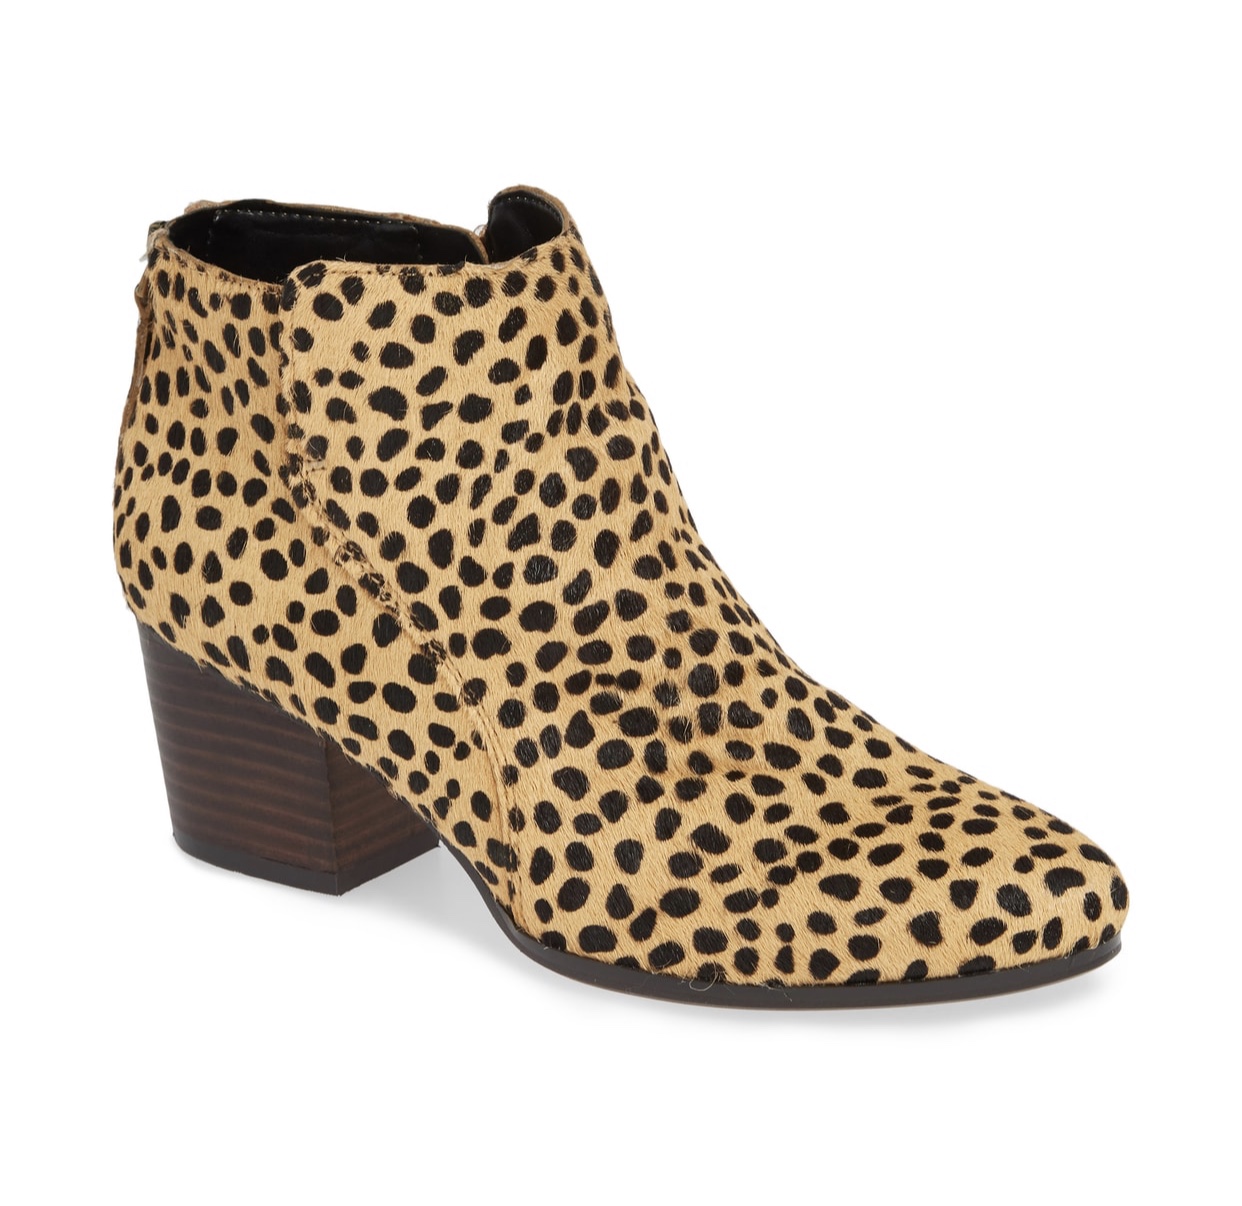
They next pair of shoes I just recently purchased and I love these too. These are a little pricey, but the great thing about on trend products is there are always dupes. Gap has a smilier pair that actually cost more, but you can get 40% off anything online or in store right now so I’ll go ahead and link those too. These booties are by the brand Sole Society and I got these at Nordstrom as well. Booties are always great for fall/winter and these go with so many outfits. Right now in Tennessee it has still been in the 80’s, which I’m not complaining about, but that means it’s still a little warm for cardigans. That is why why I paired these booties with shorts and a short sleeve shirt. I like to call this outfit “Tennessee Fall” attire. You can always add a cardigan to this outfit too if it’s cooler where you live. When I think of booties I always think fall and for some reason hats like these make me think of fall too. Quick story, I saw this hat advertised on my instagram from Gap and I thought it was so cute, so I saved it and ended up ordering it later. The shorts I bought when I went to Florida at a cute little boutique in Pier Park called The Florida House. I will link their Instagram here. I did’t buy the shorts to go with the hat or vise versa and they match perfectly! They are actually the same exact color and I am obsessed with the combo. Add in these super cute booties and you get my new favorite outfit!
Do y’all like shopping for items that are on trend or do you just buy what you like and if it happens to be on trend it’s on trend?
Shop the post
September Beauty Favorites
FavoritesCommentI used to do favorite posts all the time, but would always forget to write down what I used the most so I slowly quite doing them. I thought I would give it another try since it’s a new month and I didn’t want to wait until New Years. I’m hoping to get some new makeup this month so I will have new things to talk about for October. Next month I will also try to add in more things other than beauty too if y’all want to see that.
This months favorites are going to be all Tarte products, not because I work for them, but because they truly are my favorites. Next month I should have some other brands, so y’all don’t get tired of hearing about Tarte, haha.
Love, Trust, and Fairy Dust Palette $39- This one is by far my favorite out of all the products. I Love this palette so much and have been wearing it nonstop. Just like all of Tarte’s shadows it’s made with amazonian clay, so it is so pigmented and lasts on the skin all day! It also has pink glitter packaging, what more could you ask for? I did a tutorial using this palette if y’all want to check it out. I will link it here or it’s on my home page as well under recent youtube videos.
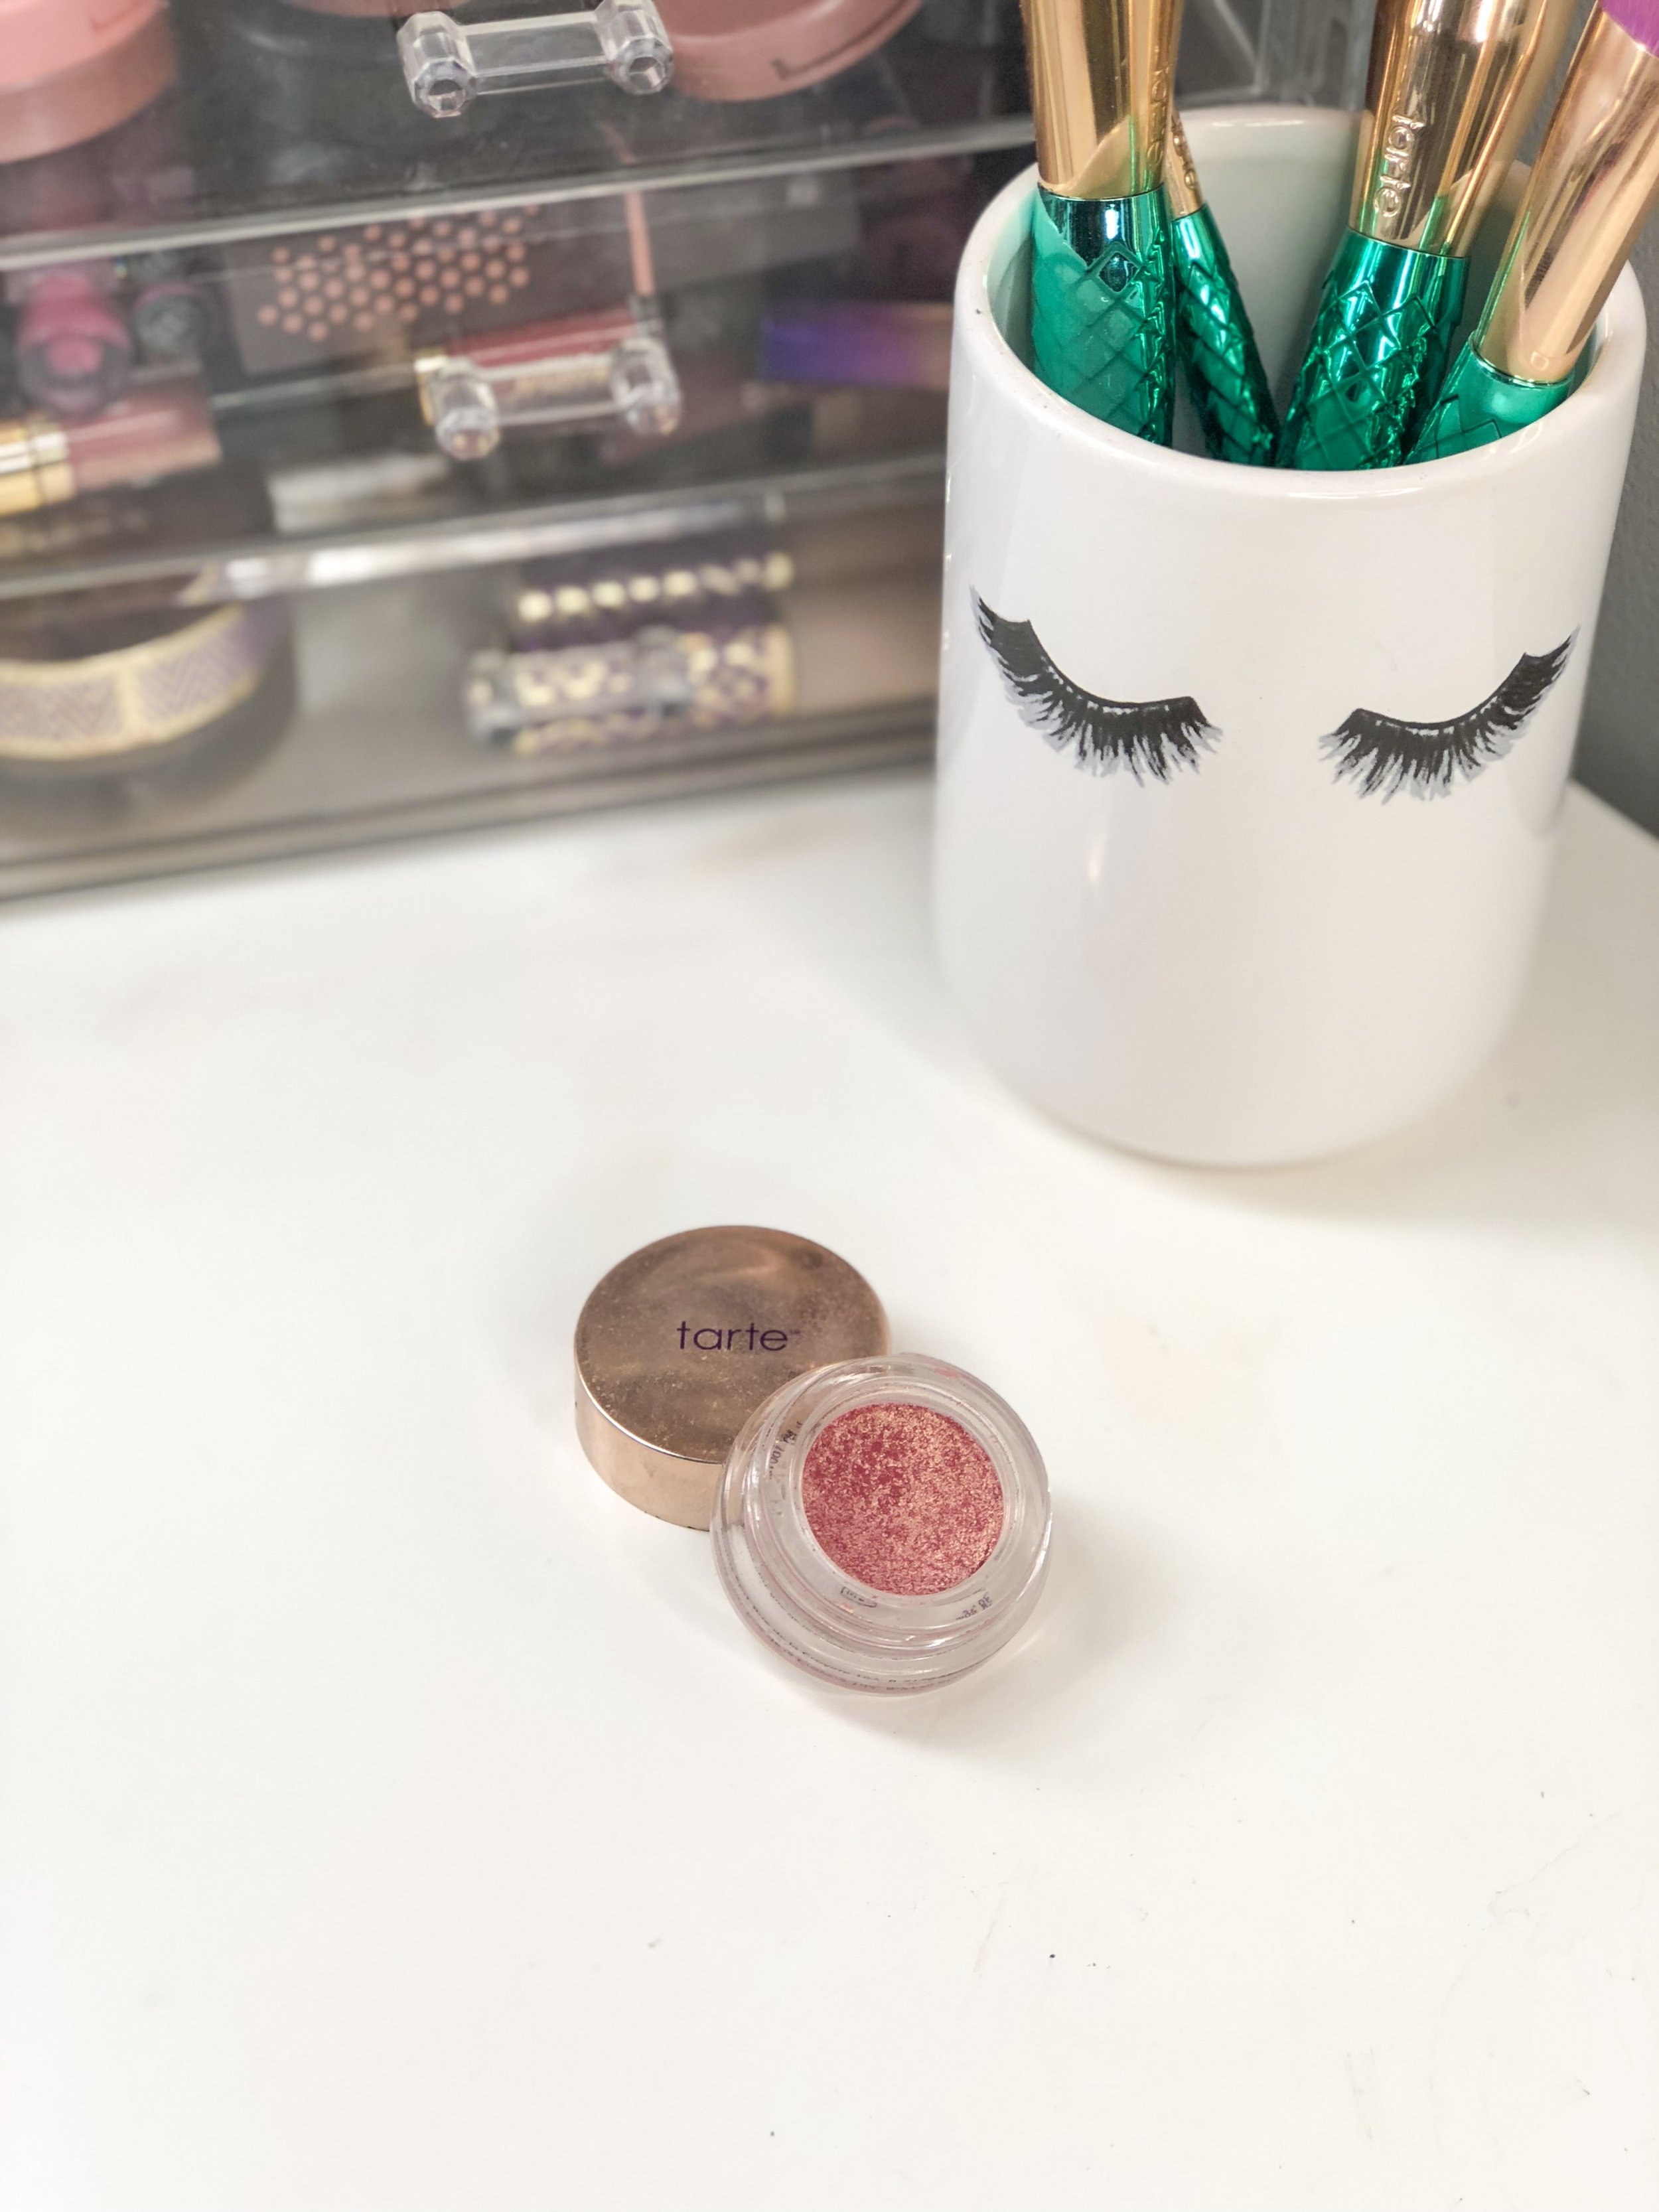
Chrome Paint Shadow Pot in Frose $22- I used this a lot last month too but I wanted to mention it because it will probably always be a favorite! These are so pigmented as well and so easy to use! You can use your finger to apply which is usually what I do. A lot of times I will wear this by itself and just put on a bold lip. If I want a little more color I’ve been using a pink blush in my crease with this on the lid. Never be afraid to try products other places than what they are intended for. Some of these colors are also really pretty as a highlighter. This color is a pinky-gold.
Maneater Eyeshadow Palette V2 $29- If I’m not wearing the fairy palette I am usually wearing this one. I love this palette, obviously, that’s why it’s on this list, haha. Anyways, it is one of Tarte’s smaller palettes so it is great for traveling. I’m usually not the best person to give travel advice because I always overpack, but several times I have went out of town this is the only eyeshadow palette I took. This is also good for so many people because it has light neutrals and dark colors as well to do a smoky/nighttime look and you can use the dark shades as eyeliner.
Glide & Go Buttery Lipstick $18- I love all the shades in this butter lipstick, but my favorite shade for August and September was Melon Punch. This one is a coral color shade. This is more of a lip balm so it’s not as bold as a colorful lipstick, so this is great for someone who is new to wearing bold colors. These are also so moisturizing because they have shea butter, murumuru butter, and jojoba seed oil in them. Lately I have been wearing the shade Berry Cruiser since it’s a little more of a fall shade.
Busy Gal Brows $18- This is one of Tarte’s new brow products. Normally I like my brows to be filled in, but lately I have been wearing less makeup when I am not at work, so this product is perfect. I also love to use this in just the front of my brows and use something else to fill in the rest. This product is also made with amazonian clay so it lasts all day and it is also waterproof. I use the shade taupe.
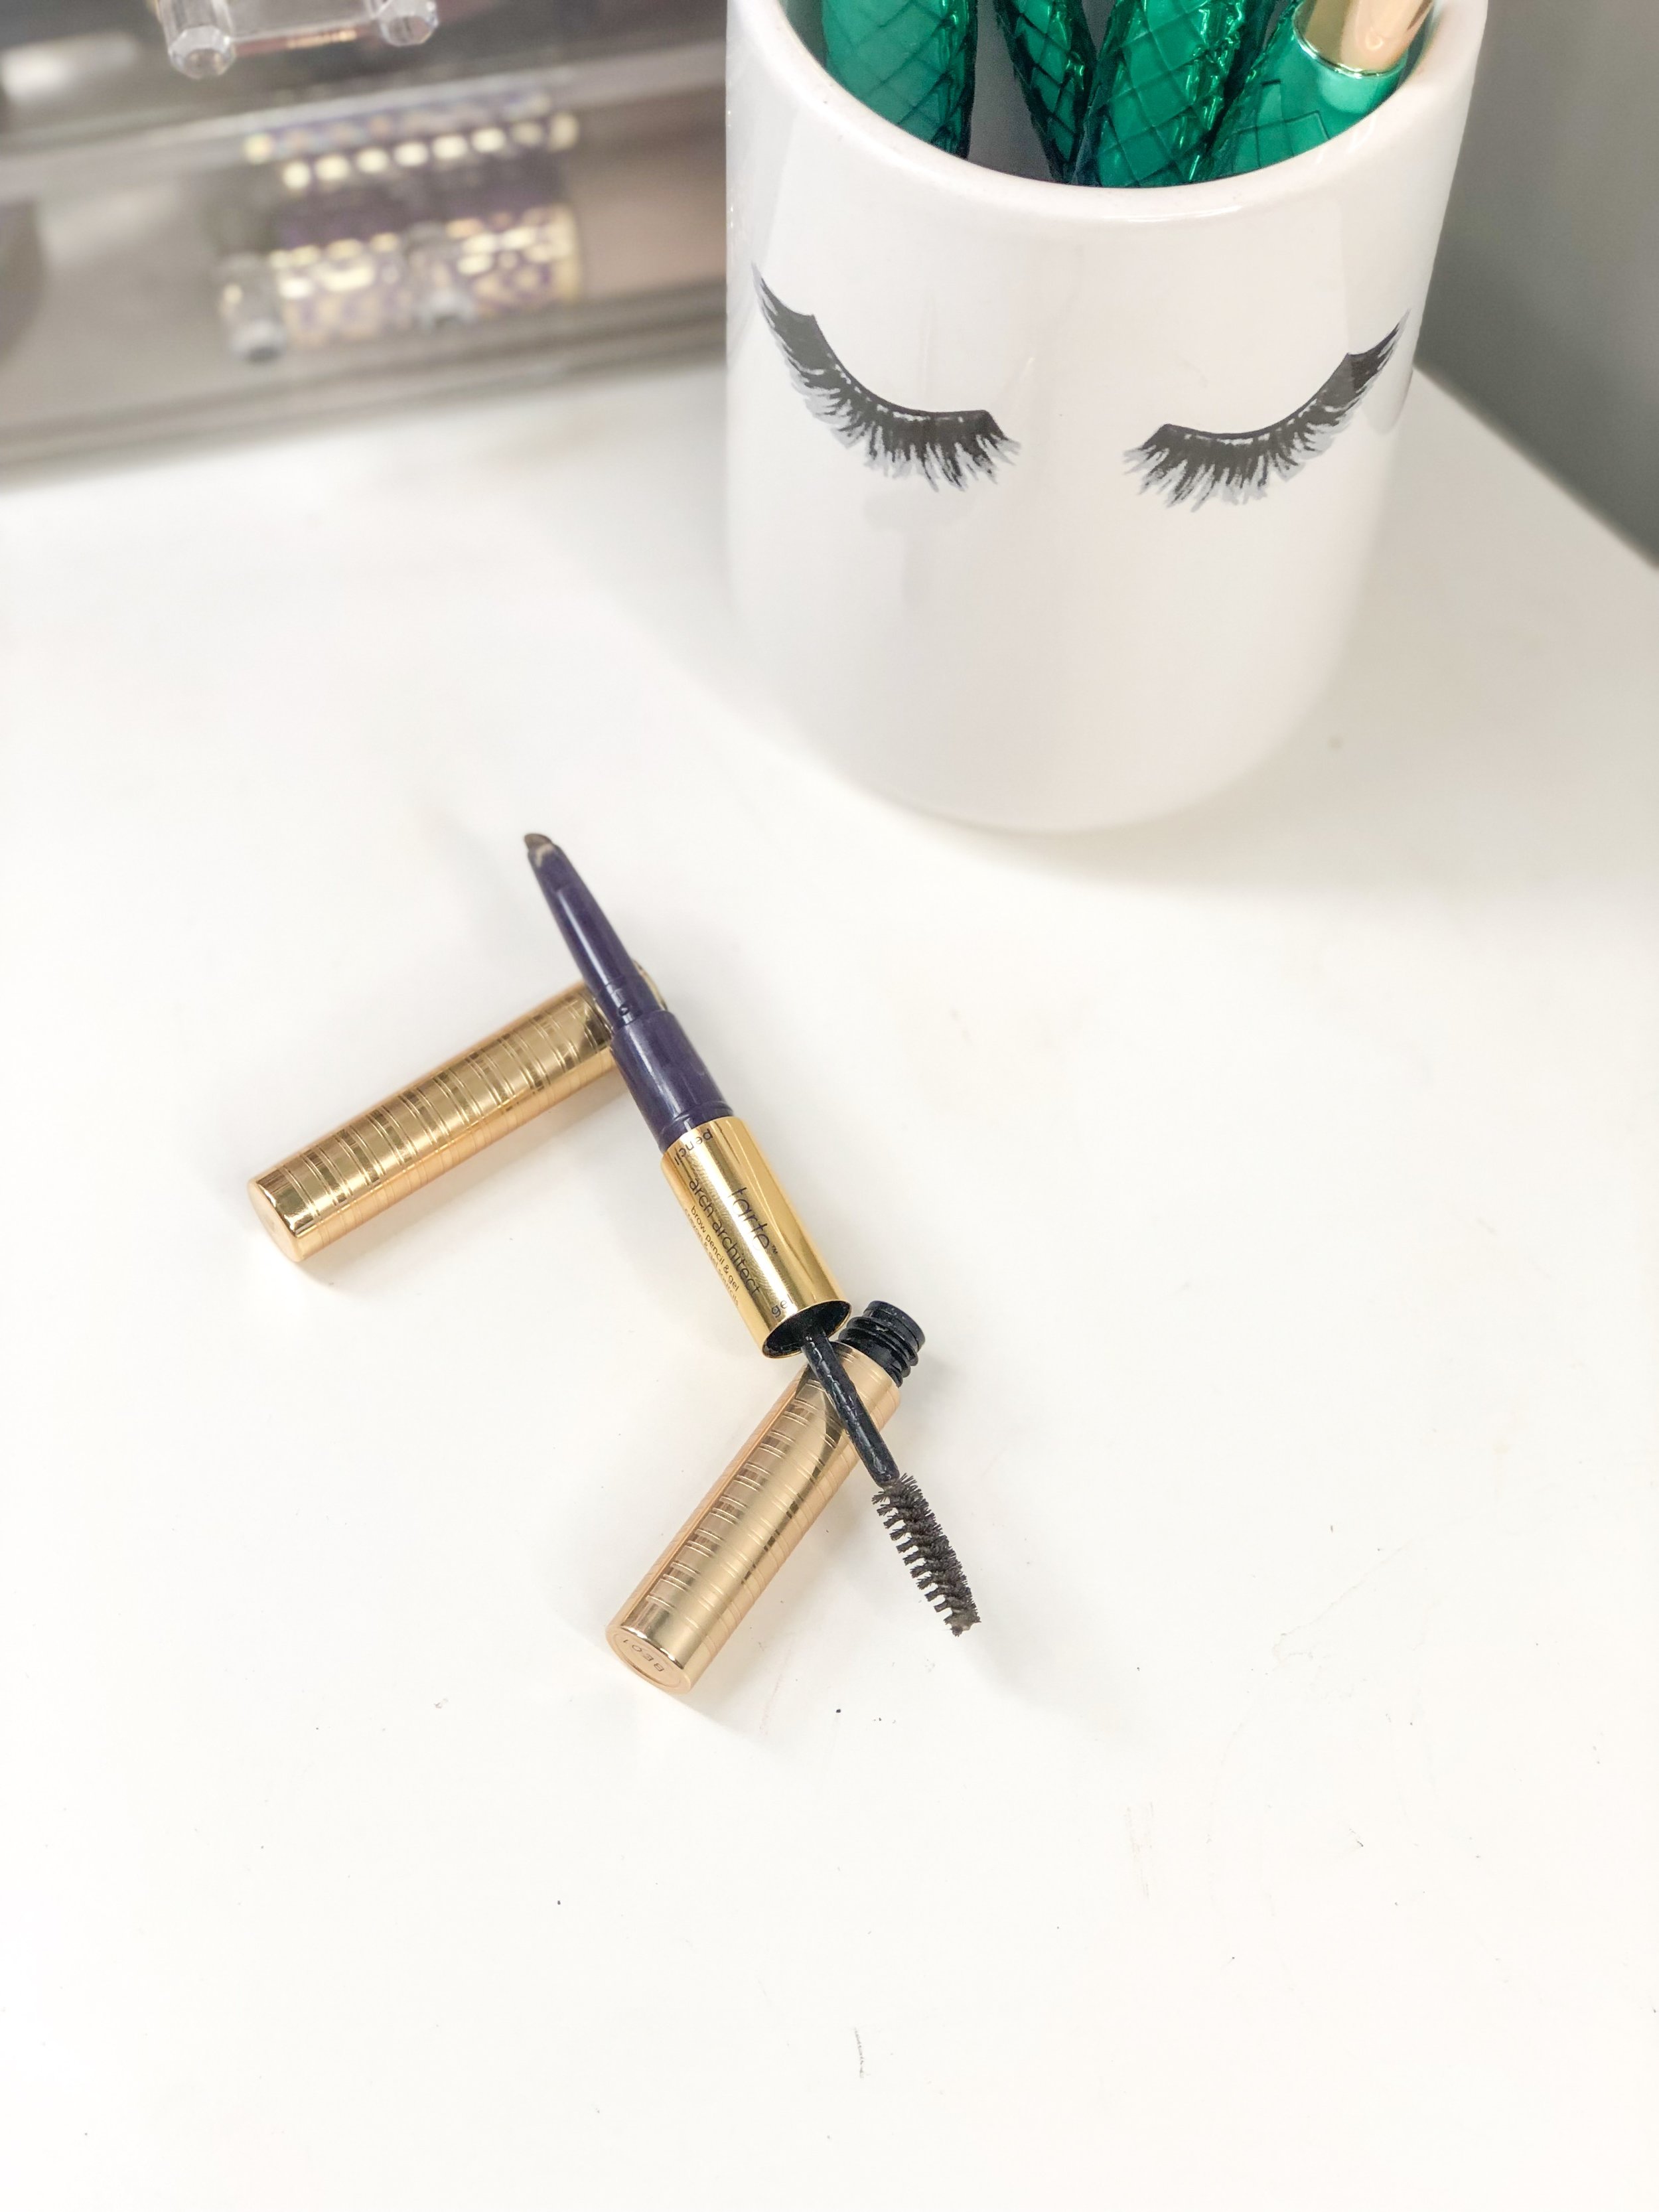
Arch Architect Brow Pencil & Gel $24- This is hands down my favorite brow pencil. It is a universal shade so it goes with a lot of hair colors. You can change the depth of the color by how much pressure you use. One of the great things about this pencil is it has clear brow gel on the other side. This is the product I love to use with busy gal brows and when I want a more natural brow. I also love that the brow gel is not sticky.
I didn't have many products for September just because honestly I have been using the same products the last few months. Like I was saying earlier I’m going to try and have fashion and food/drink favorites next month . I will also add in other brands for beauty besides Tarte as well. It is kind of hard to do because Tarte truly is my favorite, but I don’t want y’all to get sick of hearing about it. What are some of yall’s favorite brands?
Shop the post
Closet Staples
CommentFirst Thoughts: Sanitas Skincare
1 CommentI recently bought a skincare kit from Sanitas and on Instagram I asked if y’all wanted to see a post now or wait until I have been using it a while. It was pretty close, so I just decided to do both. For this post I wanted to tell y’all more about Sanitas Skincare, what products were in the kit, and what they do. After I have used all of everything in the kit I will do another post telling y’all my final thoughts on the products and if I can tell a difference in my skin.
I first heard about Sanitas Skincare from a YouTuber/Business Owner Brianna Stanko. She runs Premire Look (UPDATE: new company is called Your Skin Truth), which is a website that sells medical grade skincare. She always has great things to say about this line, but I just never got around to buying anything because I didn’t know where to start. One of my friends is an esthetician and about a week ago I went to get a facial by him. He has personally been using Sanitas for a while and recently started using it for his facials as well. I bought my kit from him because he is now selling it, and his skin is always flawless, so I thought I would give it a try. I haven’t really found a good consistent skincare routine yet, so I’m hoping this kit gets me started.
Sanitas Skincare began with one product, their Topical C daily moisturizer. It is still their number one selling product. Sanitas created this product to treat a critically burned patient using biogenic technology to mimic the very mechanisms that trigger the skin to heal itself. Through this they discovered that biogenic topical skin nutrition, also helps reverse the signs of aging and improves overall skin health! They still use this to formulate their products. Sanitas is cruelty free and their products are formulated without parabens, phthalates, dyes, harsh preservatives, and gluten. Any product that stays on the skin, meaning you don’t wash it off, are also completely fragrance free. The only essential oils they use are ones with medicinal purposes.
While reading more about Sanitas Skincare I also learned that they formulate and manufacture all of their products here in the United States, Boulder, Colorado to be exact. I love that because they can control the quality and the whole process from start to finish. I also read that they give their employees paid time off to volunteer with a cause of their choice and each year they select several causes to volunteer for as a team. I think that is so amazing when companies do that! They also never do business with countries or companies that engage in the violation of human rights. All of their suppliers go through a lengthy process to make sure they don’t engage in child labor, forced labor, or human trafficking. Whenever possible they source ingredients from fair trade companies and always do business with ethical companies as well.
Reading all this when researching for this post made me love this company even more. When they care about their employees and the world that makes me respect them more and make me want to give my money to more companies like that. They also care about the environment. They take many steps to be eco-friendly and if you want to read all the different ways you can click here.
So far I have been loving everything. They say to give skincare at least a month to notice a difference, so I’m going to wait to give my feedback on the products, but so far so good. My favorite as of right now has been the moisturizer because it makes my skin glow, and y’all know I am all about that glow. I will put pictures of everything individually down below with the description of the product and what it does. You can also click on the picture to go to the product on their website.
Let me know if y’all have any questions about the line or the products I've been using!
UPDATE: This post is several years old, but I wanted to keep it up so yall could read my beginning with Sanitas. I have been using Sanitas ever since and it is now my favorite skincare brand. I actually reached out to them several months ago to try and work with them and they gave me a discount code for yall! You can now use code: Alicia15 for a discount on Sanitas website. I do receive a small commission from this code, but it is at no additional charge to you!
I use this as my cleanser every other morning and night. It removes impurities and exfoliates spent skin cells to encourage skin renewal. An active formulation of glycolic acid and hyaluronic acid helps reduce the appearance of fine lines, wrinkles and age spots while boosting moisture retention. Skin appears smoother, softer and more radiant.
You spray this right after cleansing before you apply any serums or moisturizer. It enhances the absorption and spreadability of serums and moisturizers. A collagen cofactor complex, combined with biogenic humectants, helps soften and smooth dehydrated skin. Perfect for setting mineral makeup or as a light skin refresher throughout the day.
This is a toner that you use after you have cleansed your skin. I use this every other day with the Glycolic Citras Cleanser. It removes spent skin cells and helps stimulate skin renewal. An amino acid complex, blended with glycolic acid, helps smooth the appearance of wrinkles, boost moisture retention and brighten dark spots.
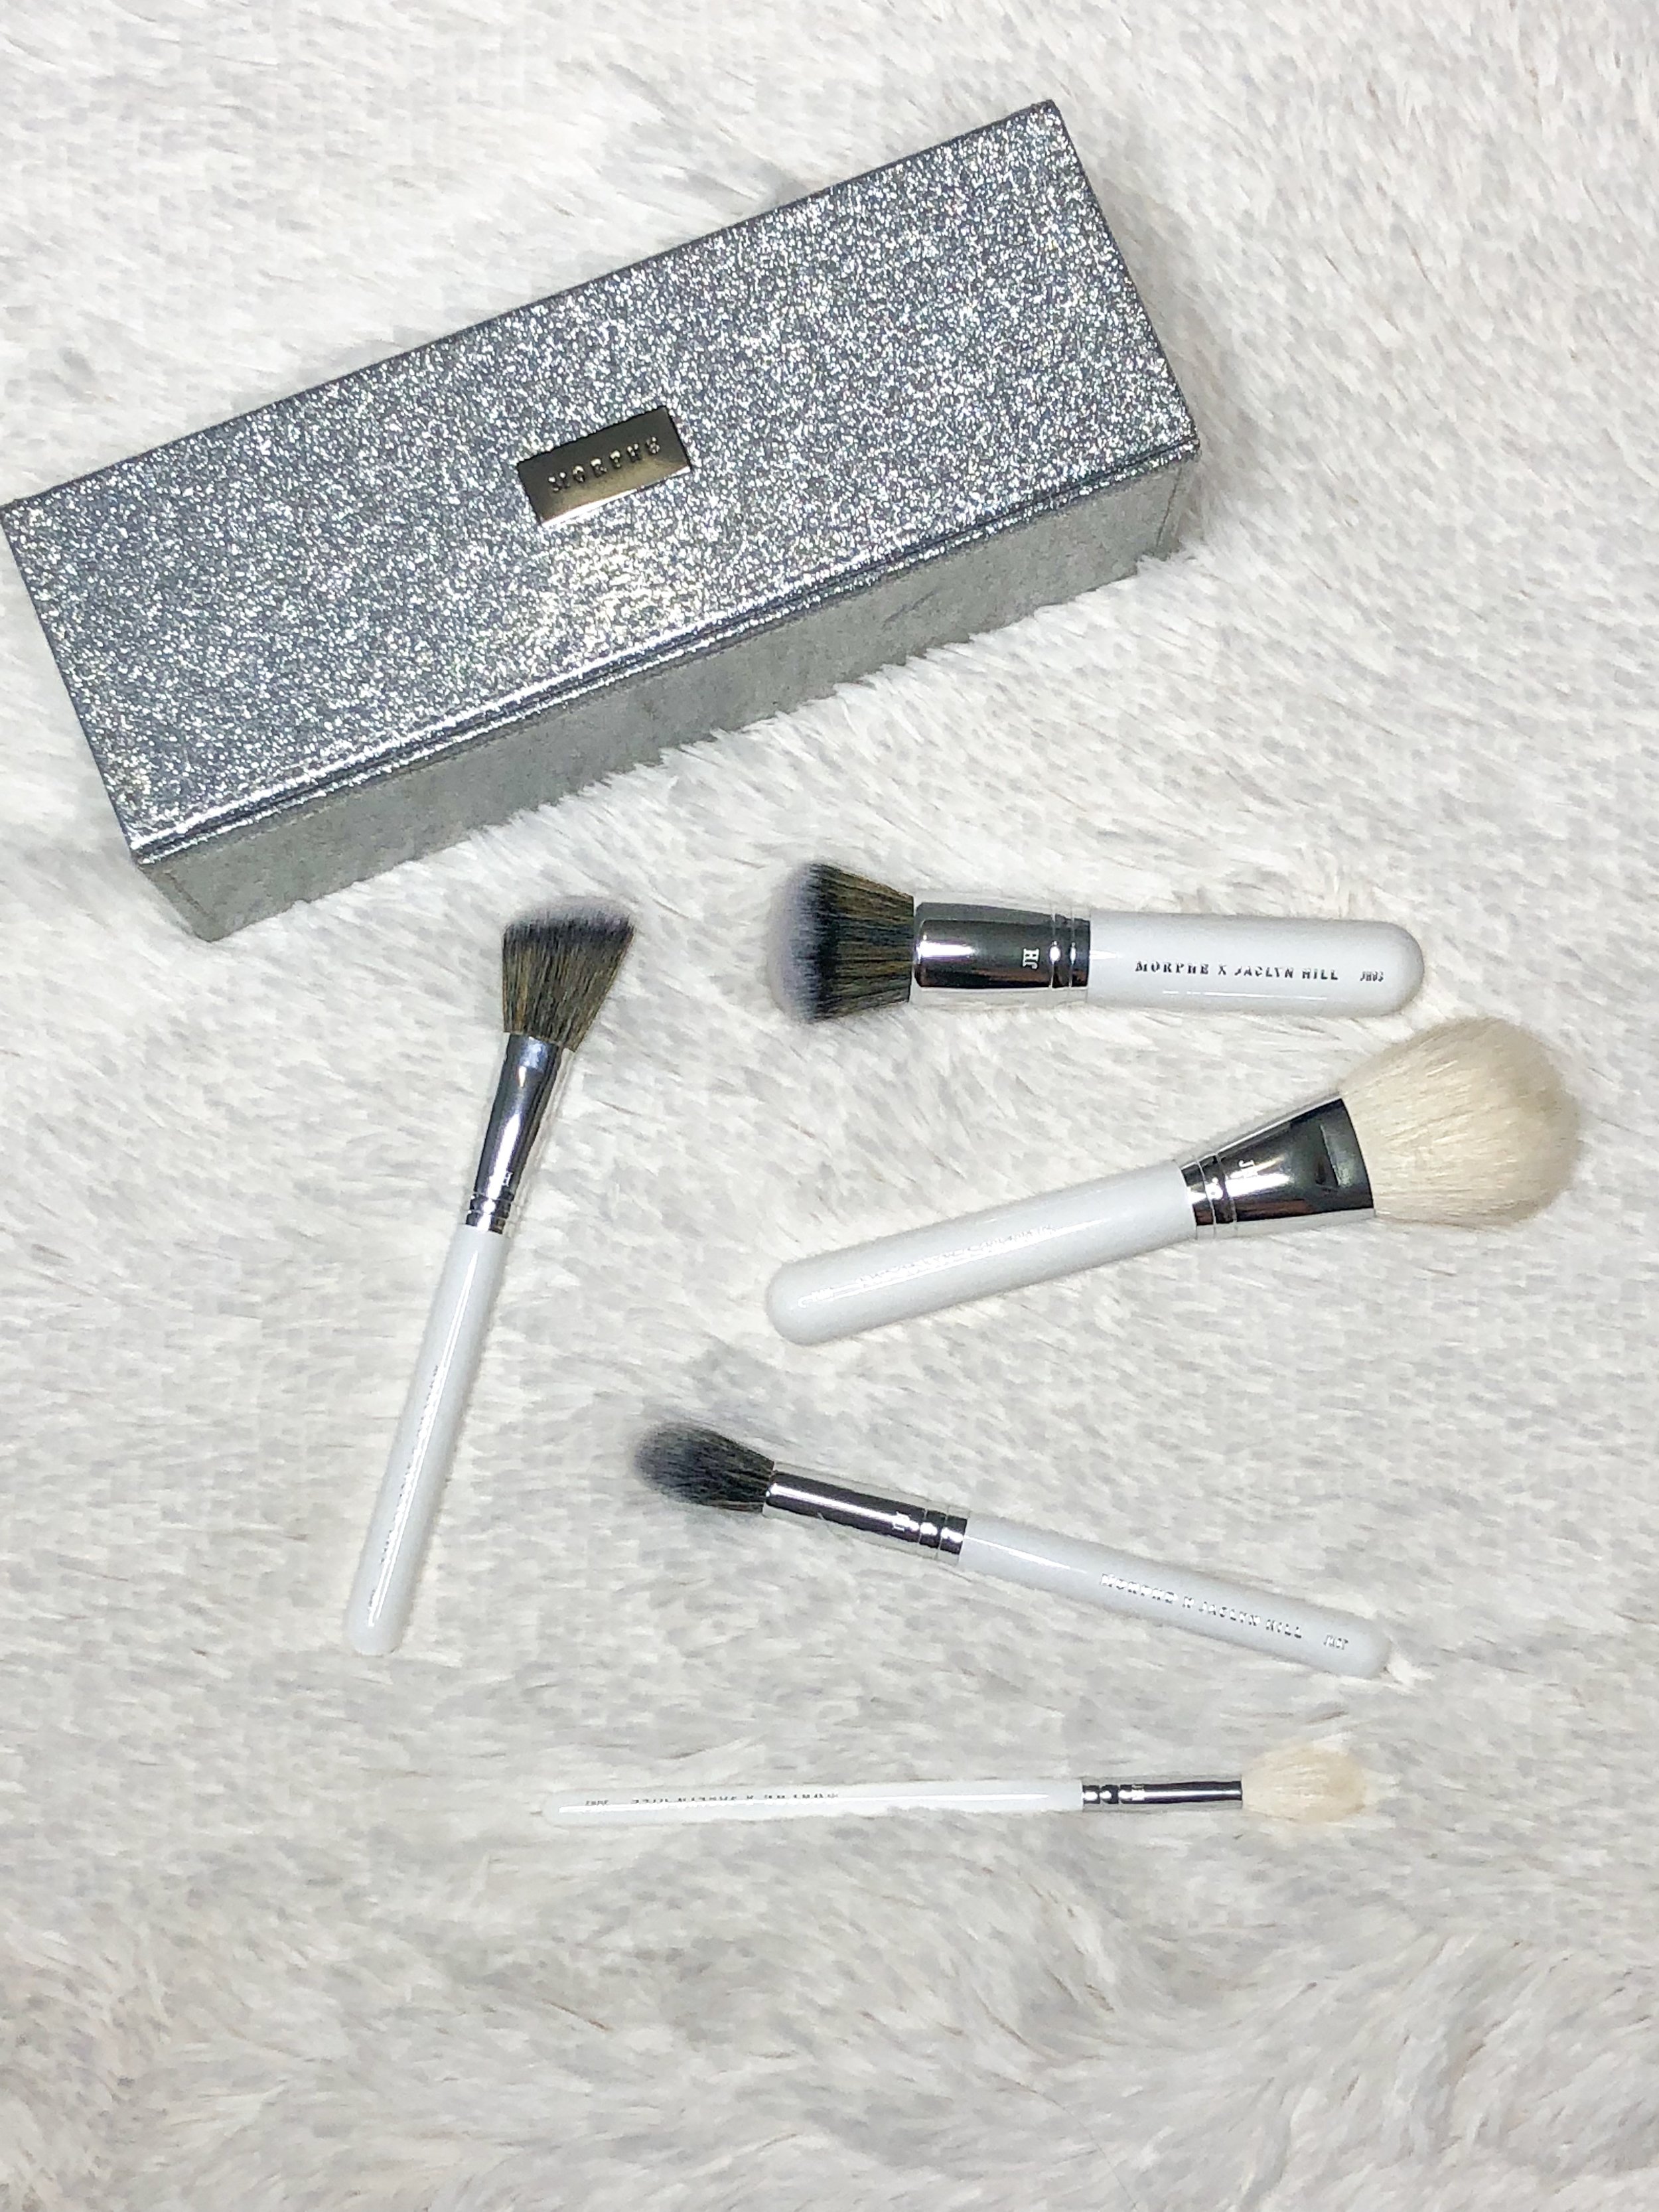
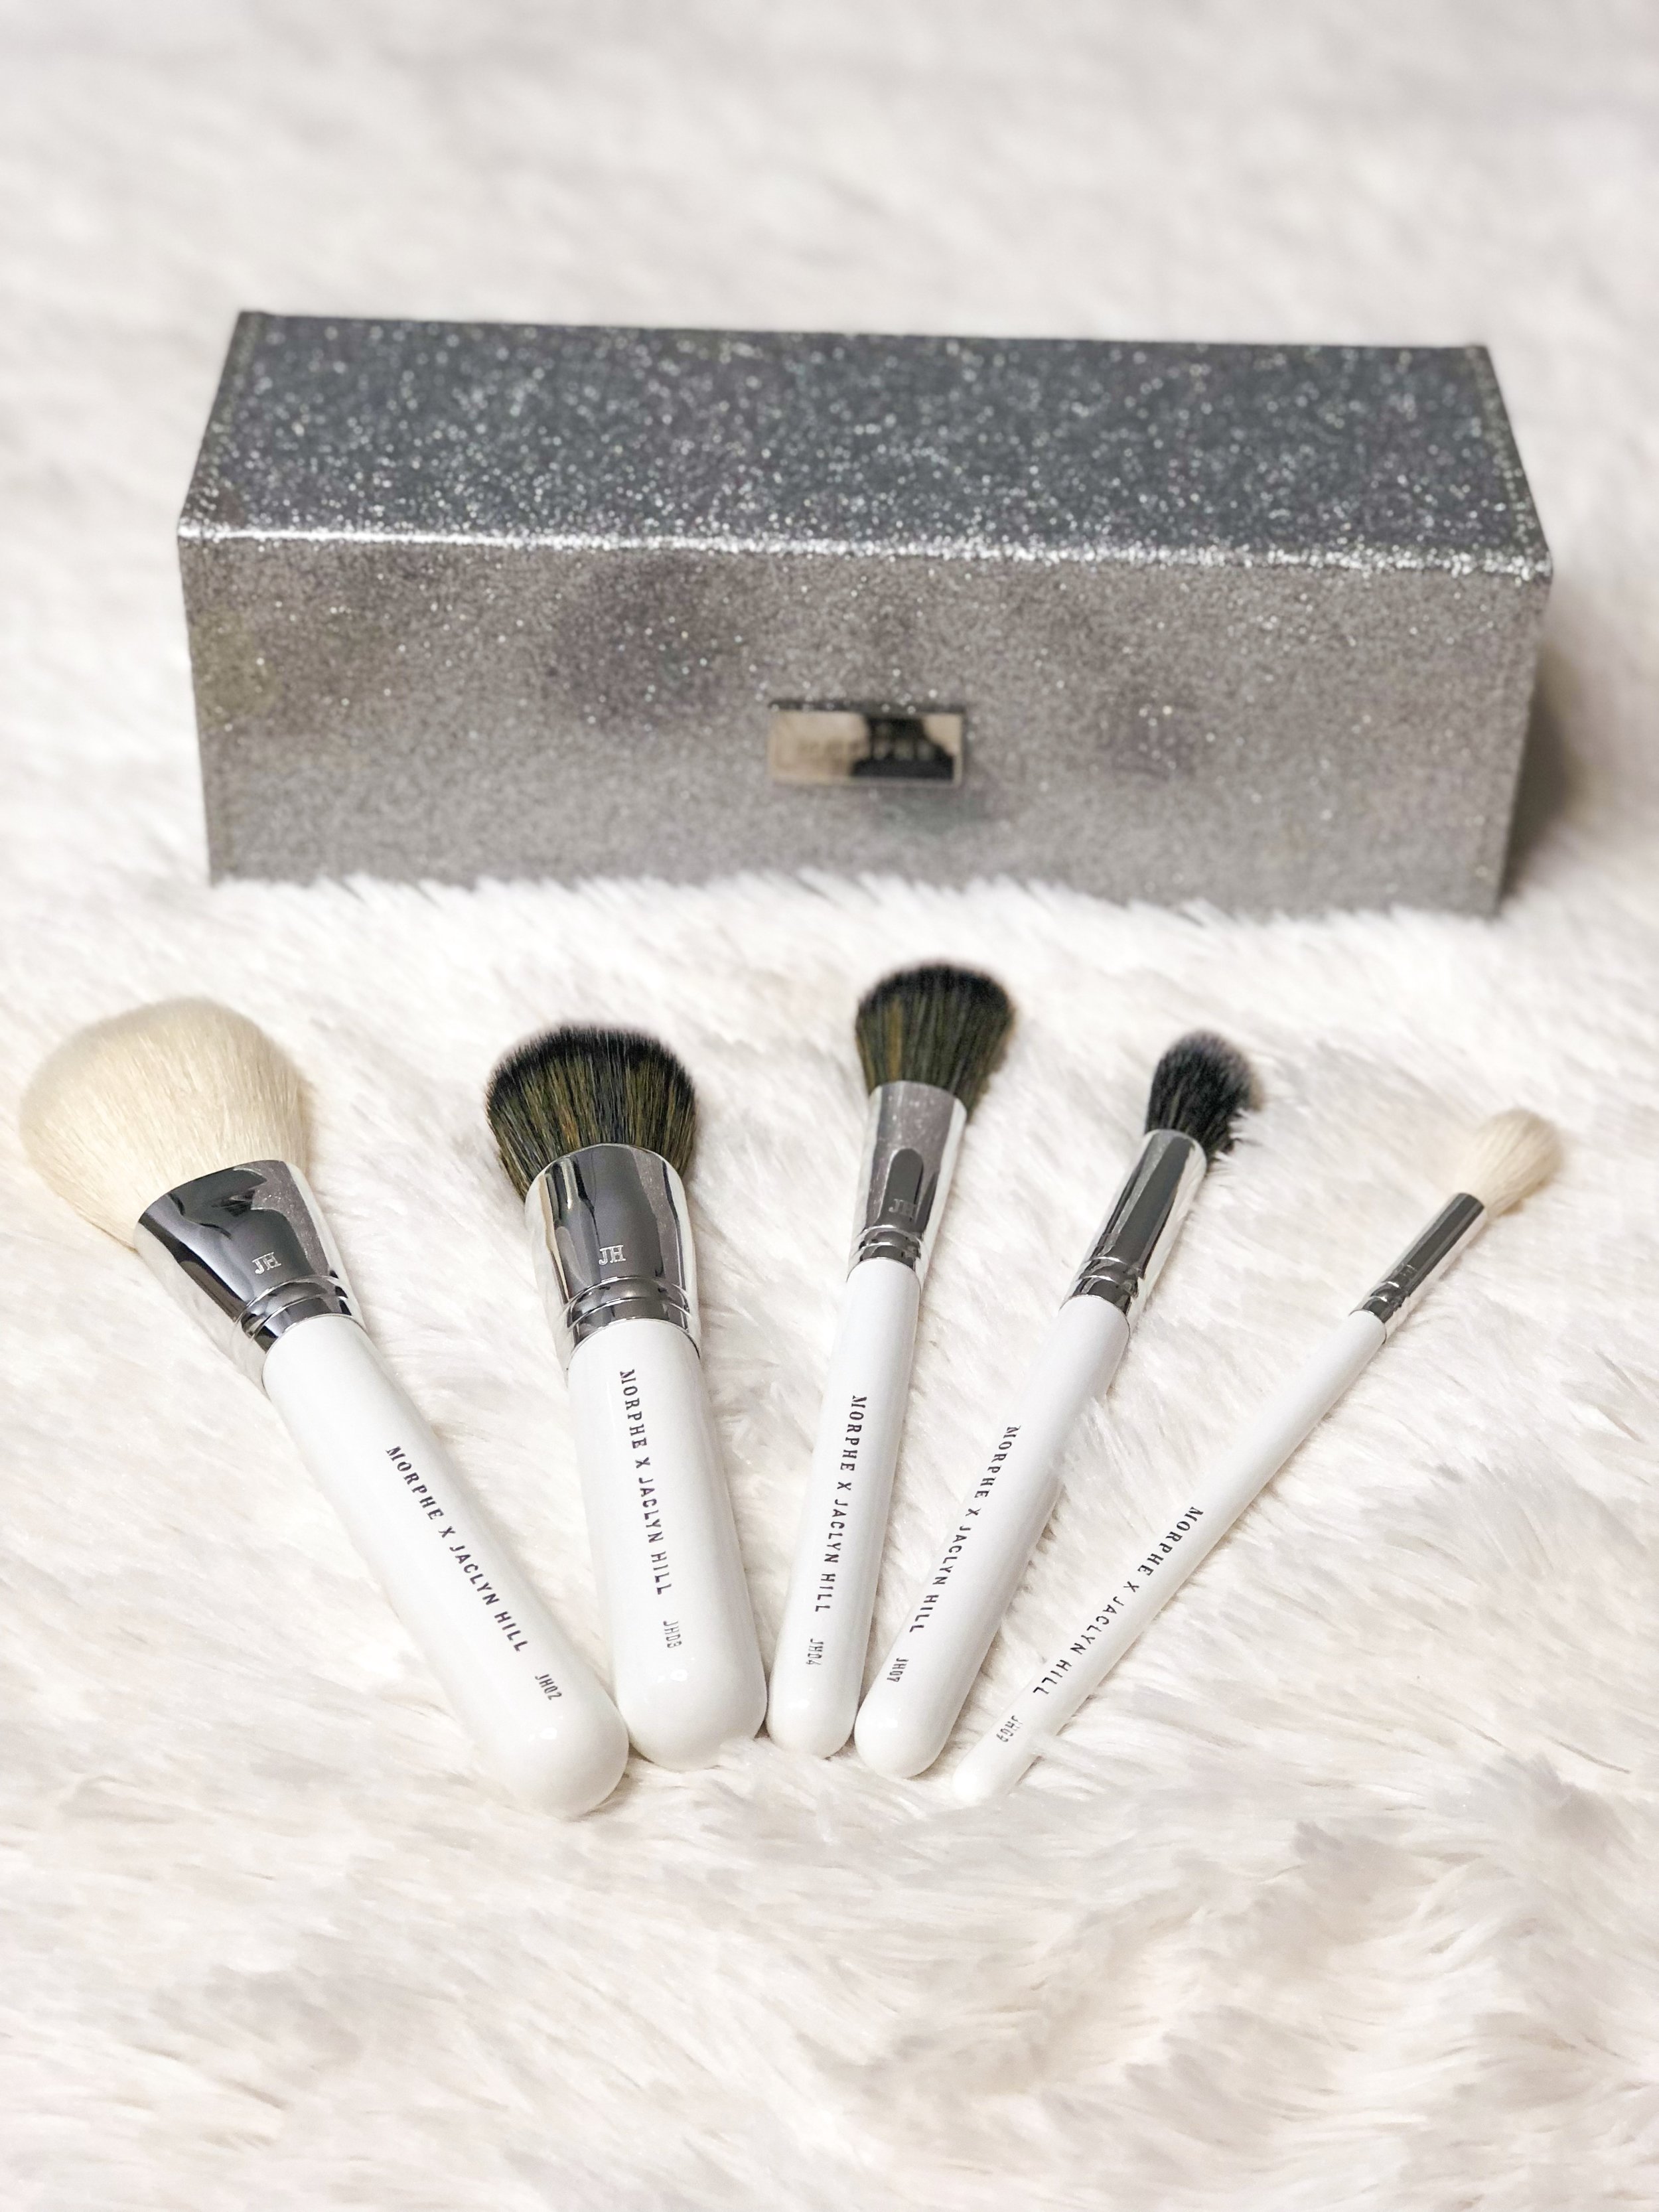
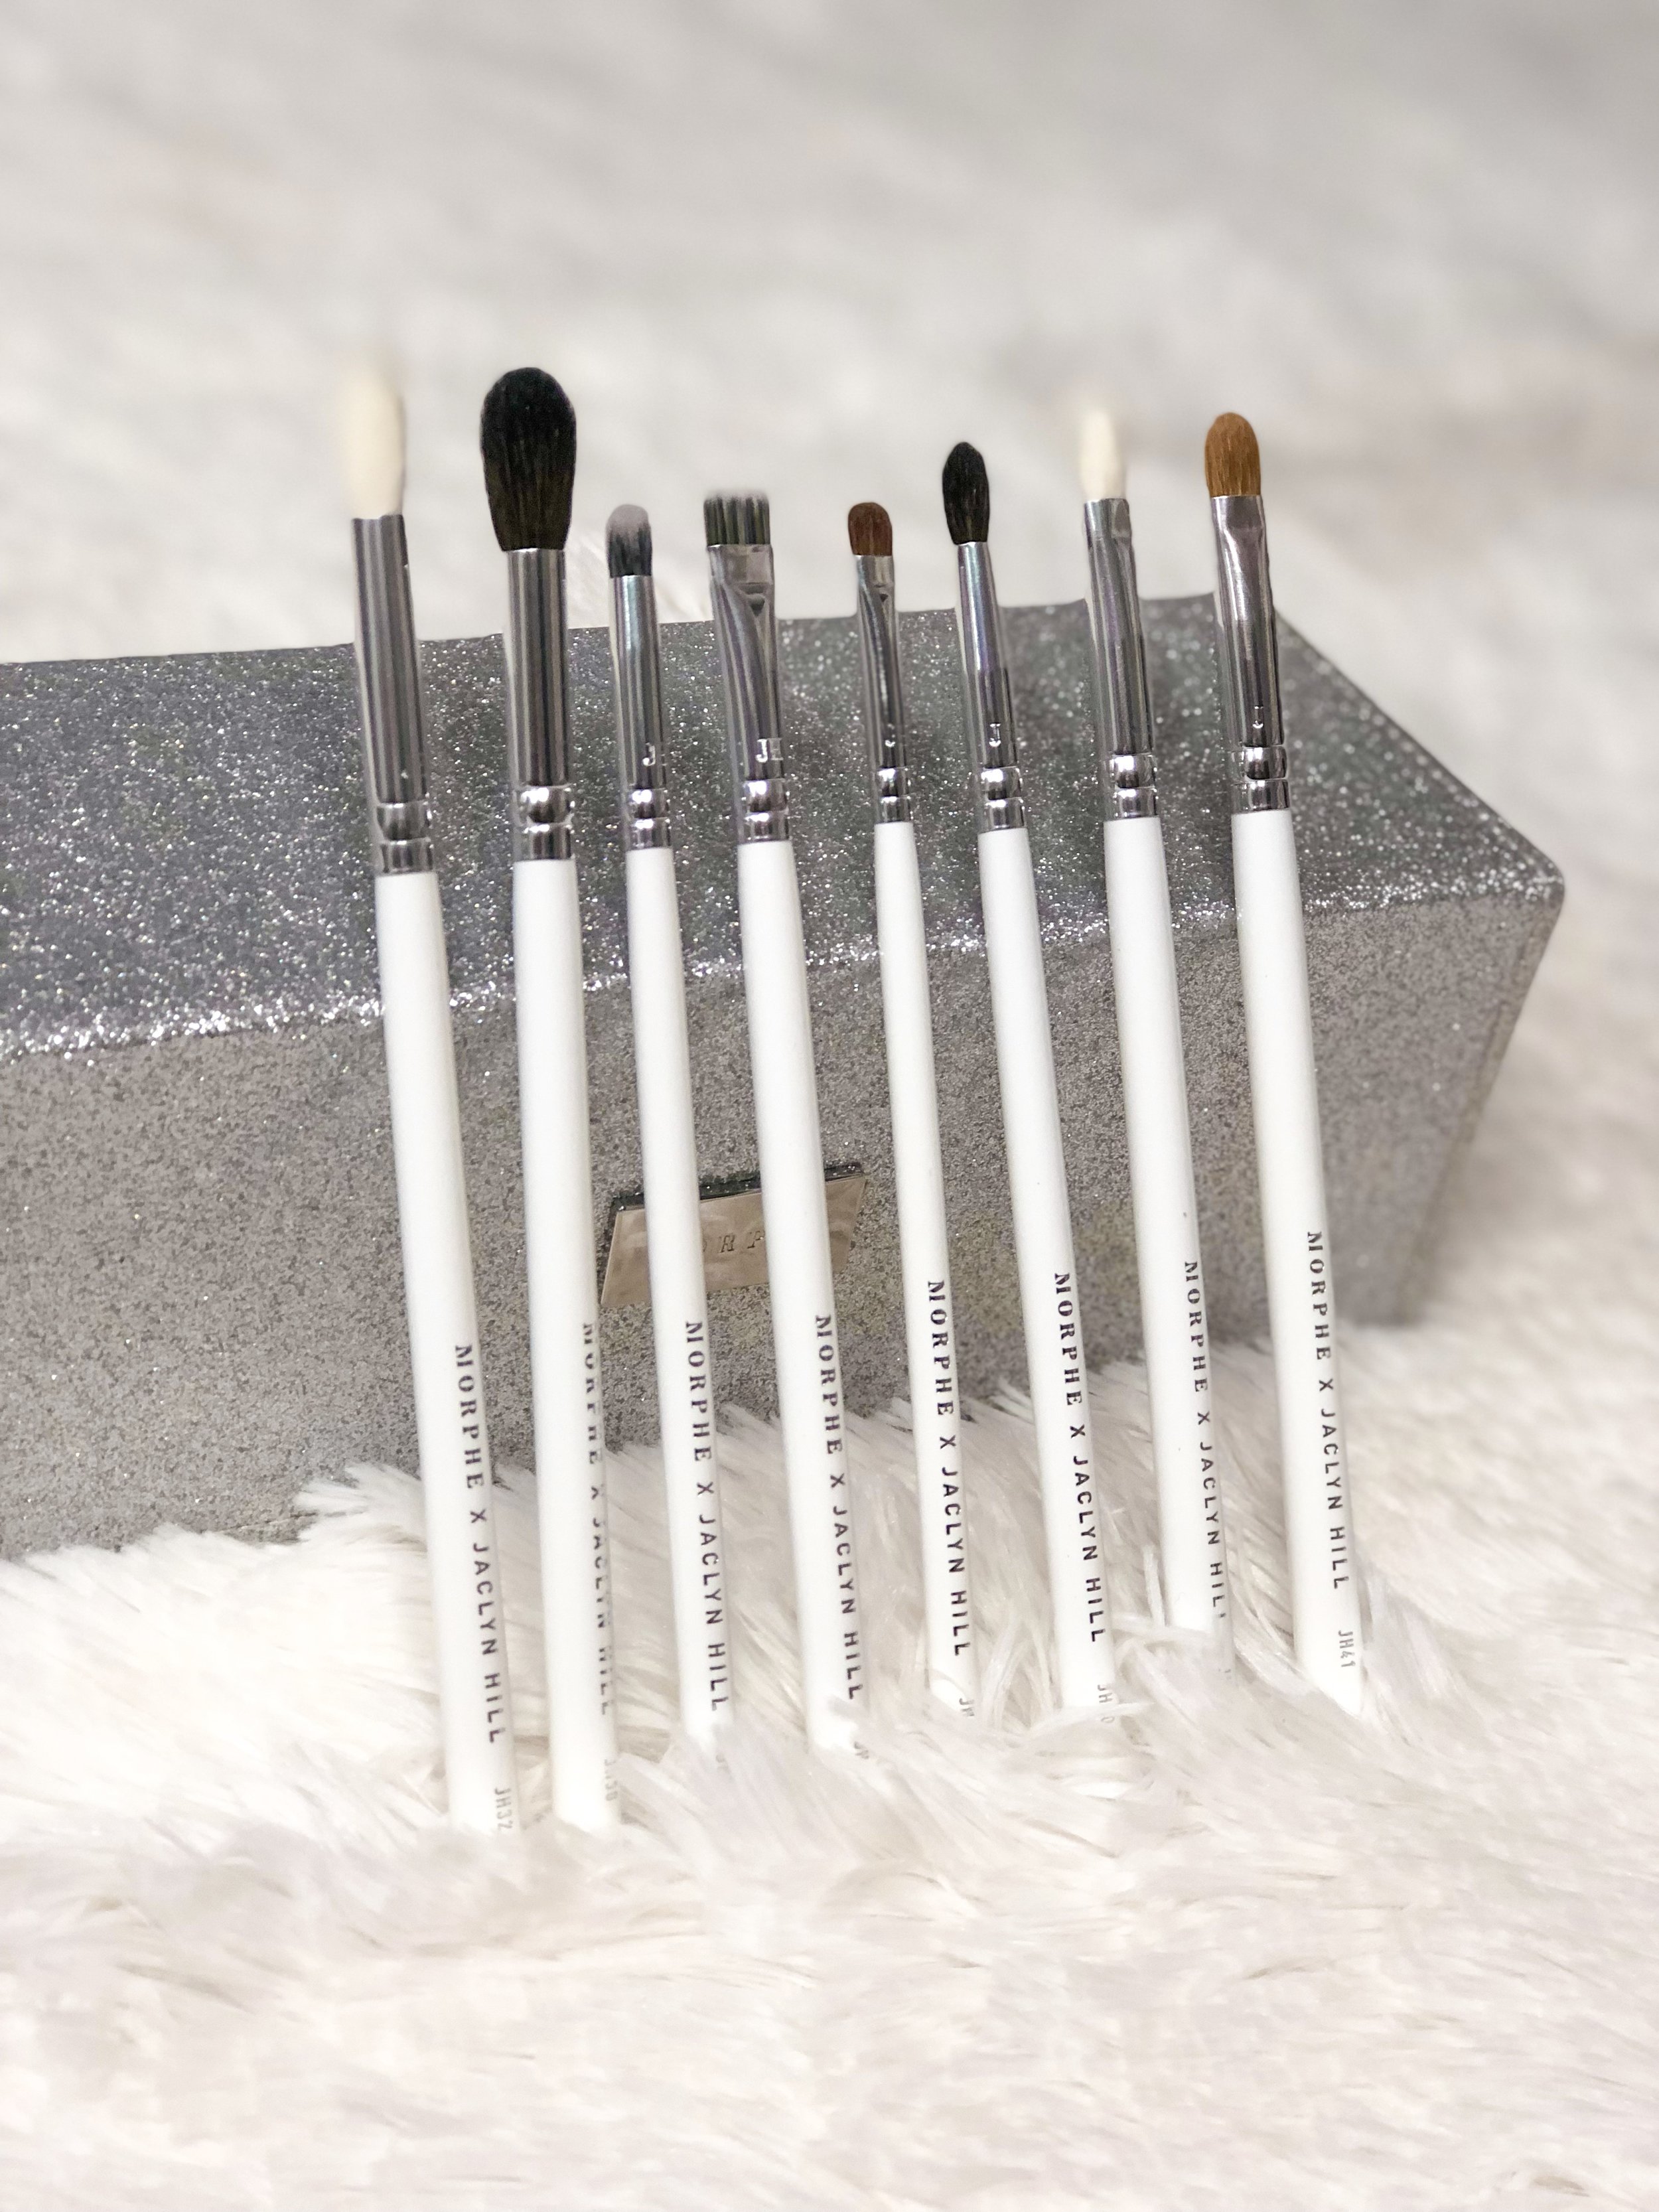
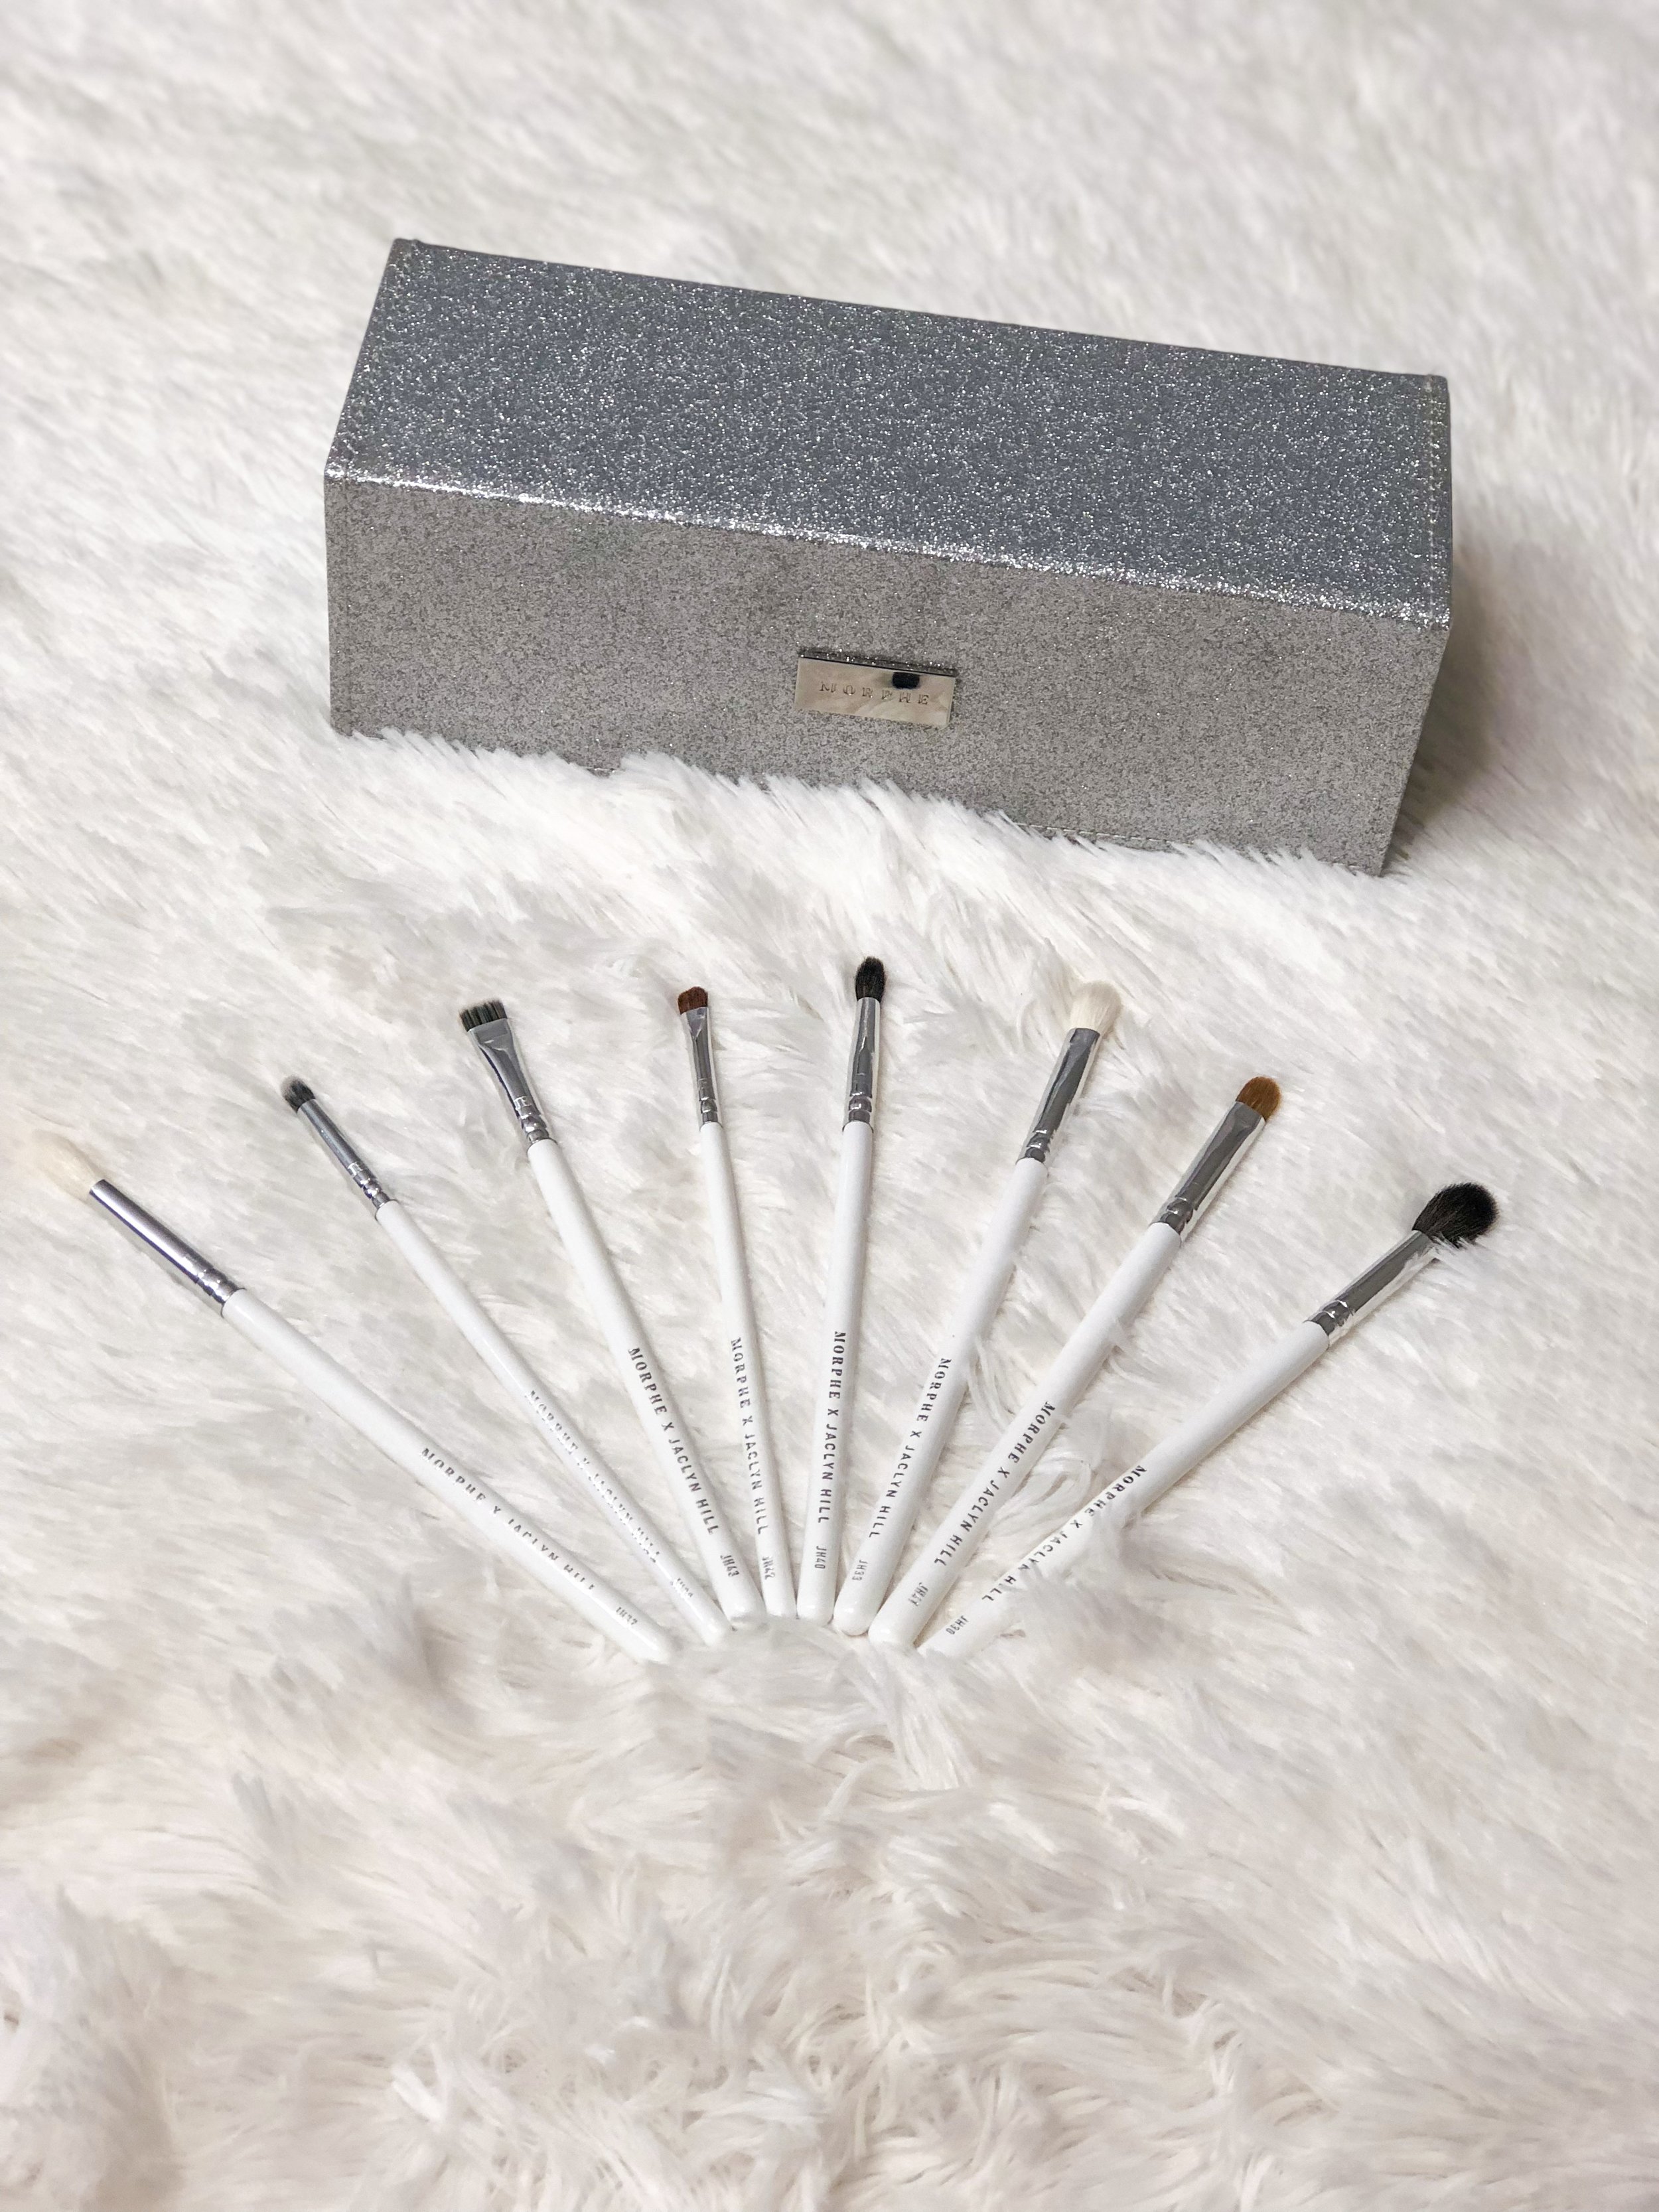
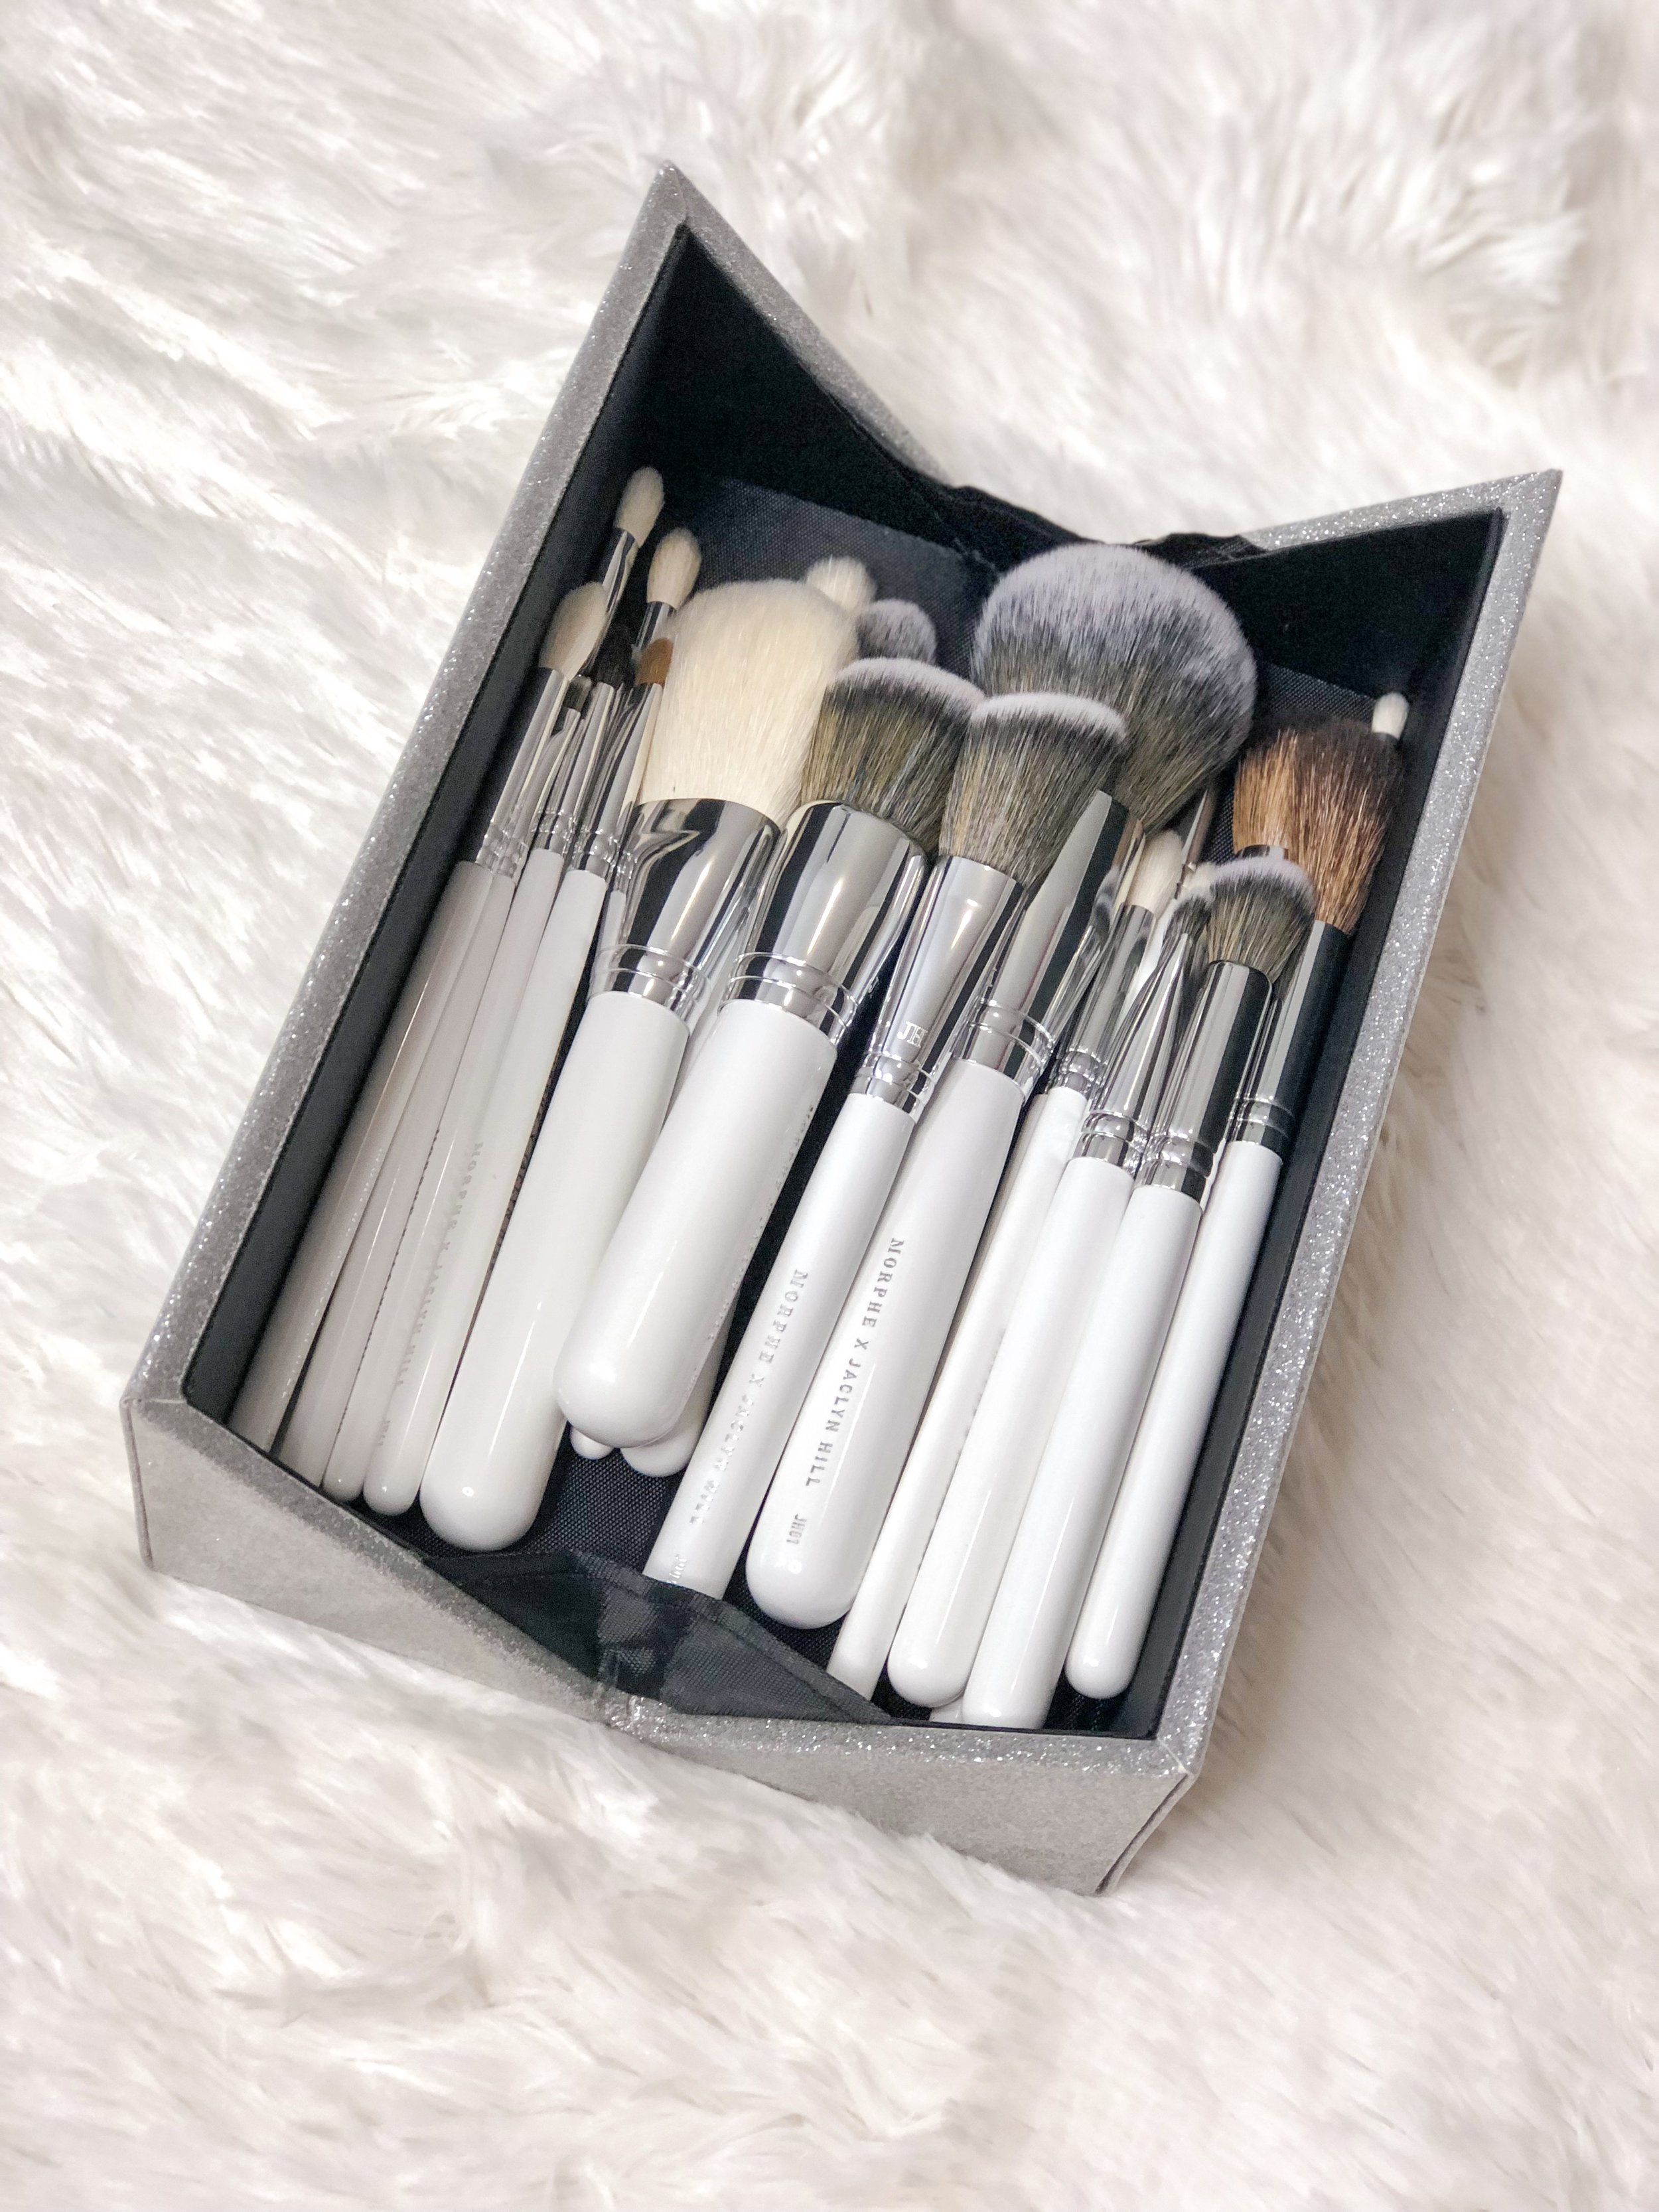
Jaclyn Hill x Morphe Brush Collection
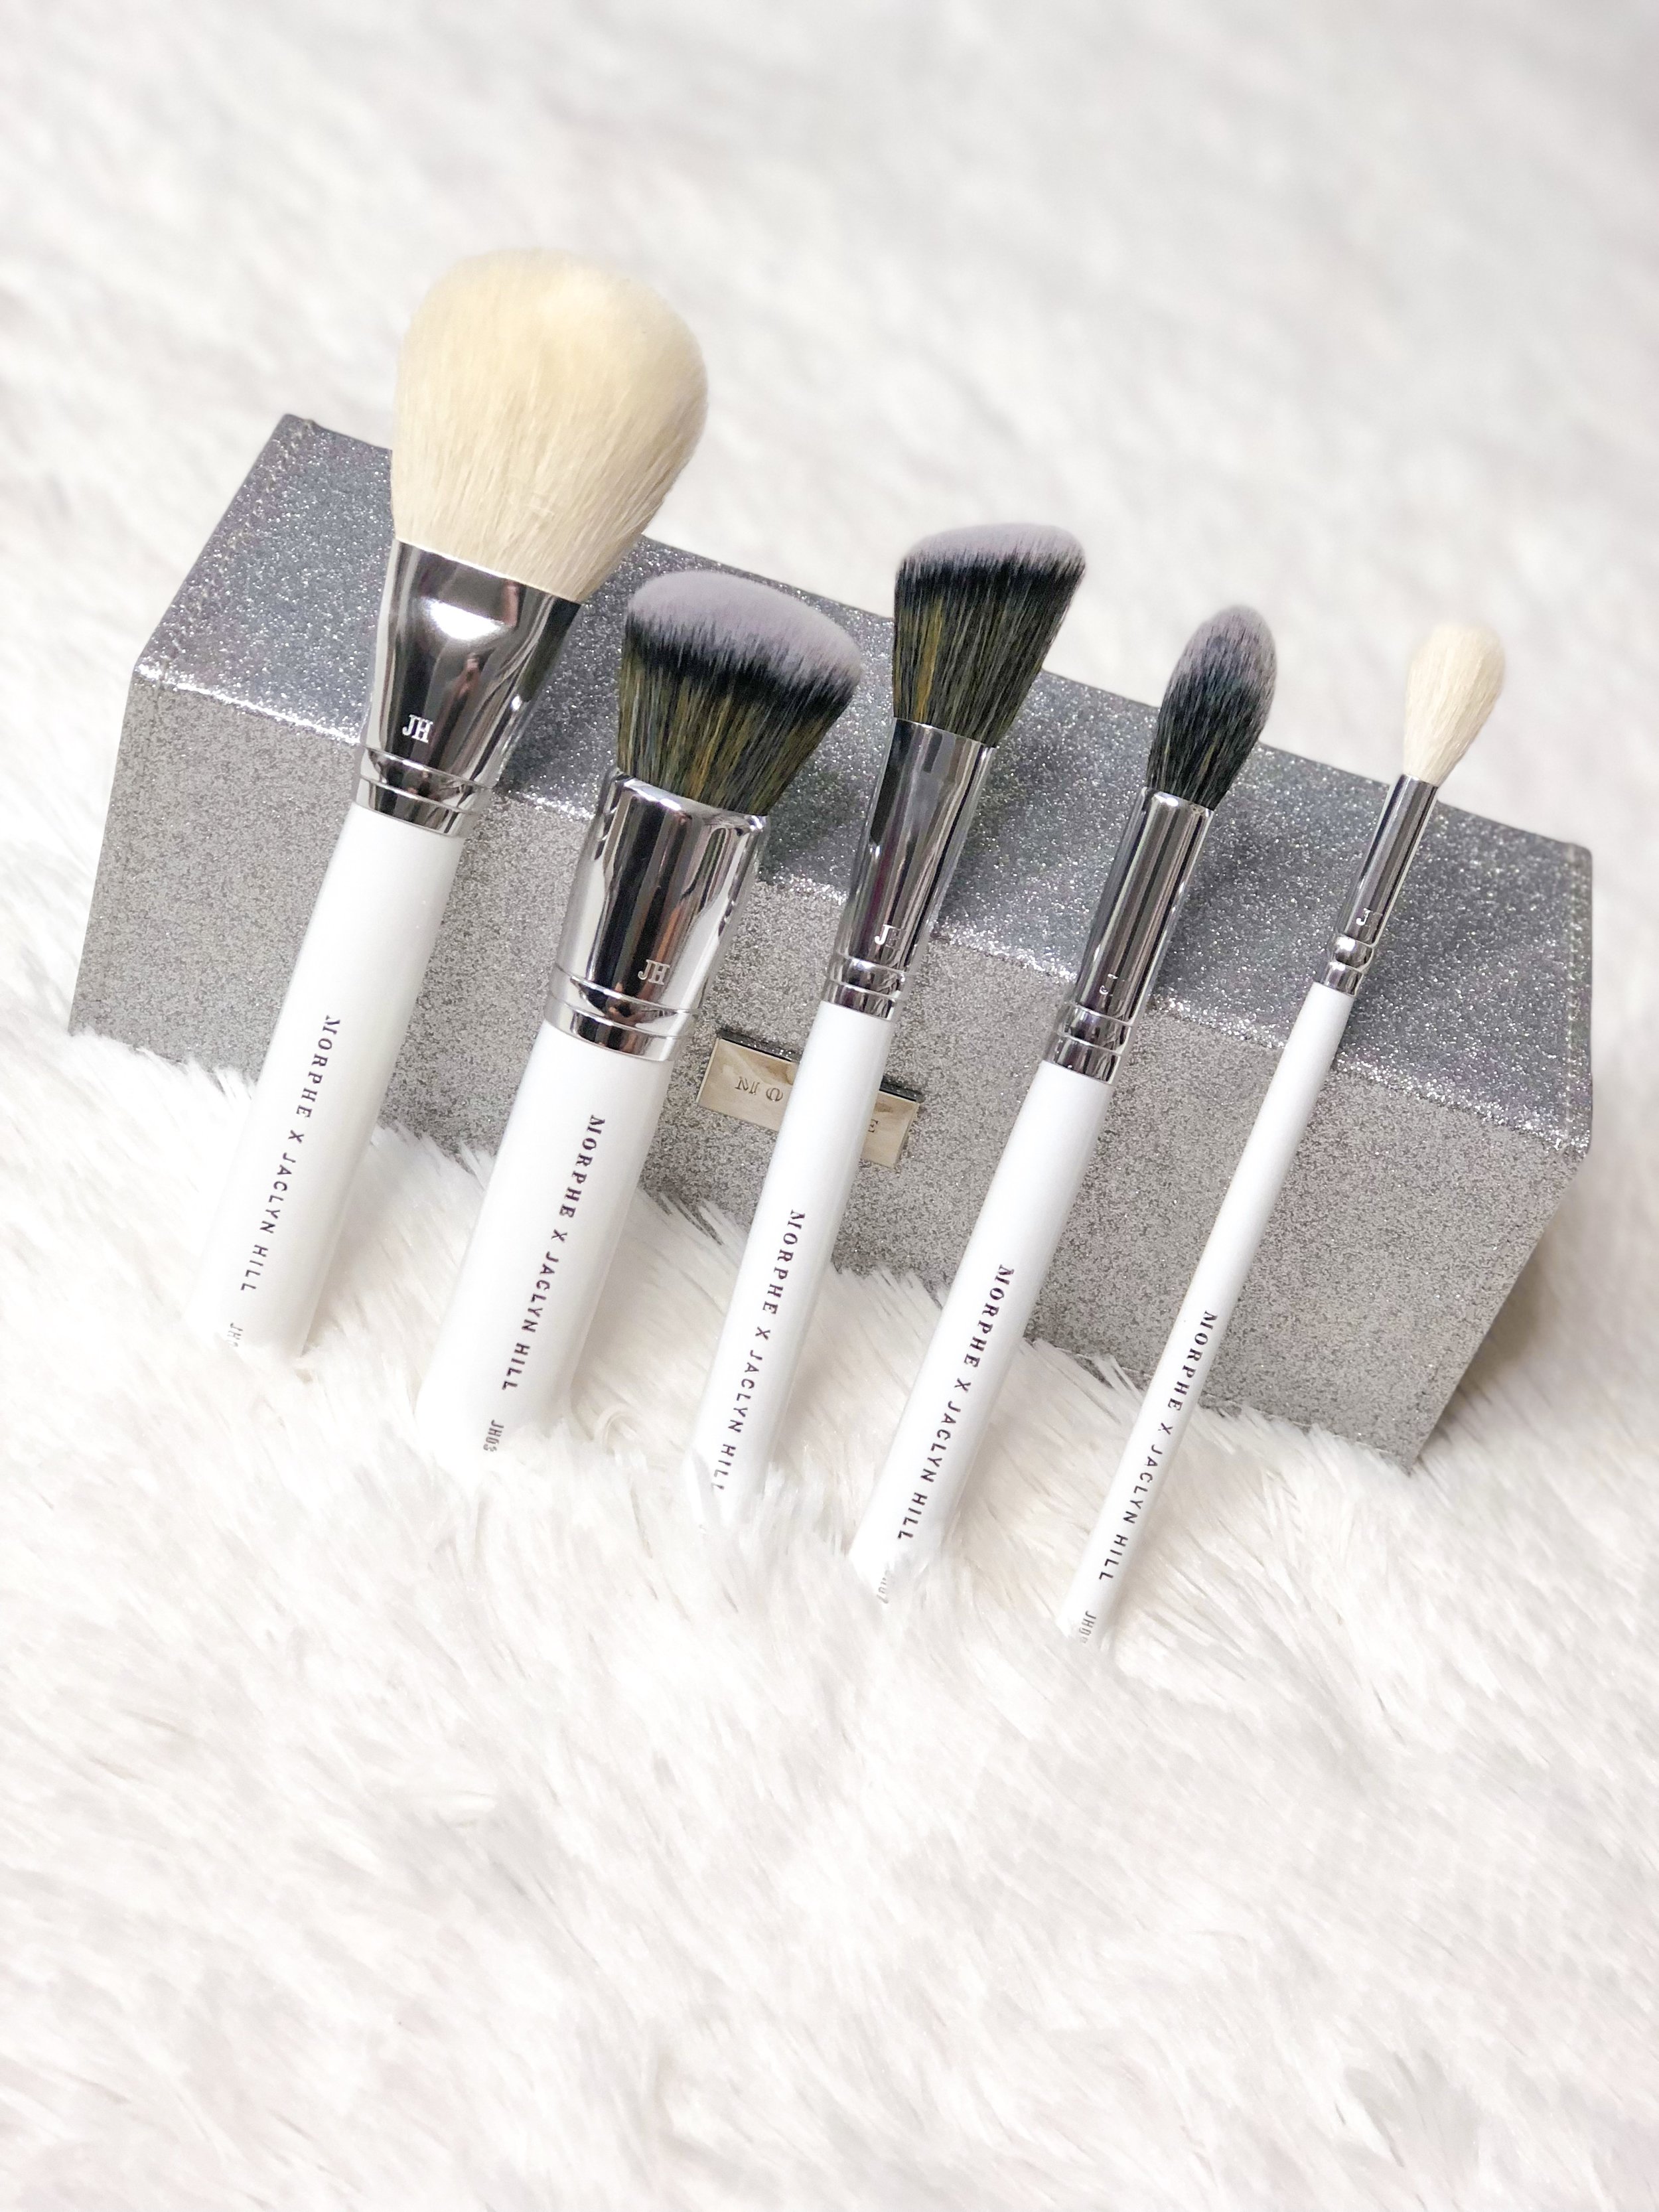
CommentIn all honesty I did not need this brush set, but I love Jaclyn Hill and I wanted it, haha. My amazing husband actually bought it for me because he is the best! I have most of these brushes already because I use to do the Morphe monthly brush subscription, and because these are brushes that Jaclyn loves so much. She mentions that most of these are brushes Morphe already has but she wanted them in her collections because they are her favorites. She has a YouTube video where she talks about every single brush and why she loves it and why she added it to her collection. I will link her video here for y’all. Since there are quite a few brushes I’ll go ahead and jump in. I will break down her eye collection, face collection, the additional brushes in the master collection, as well as tell you prices. You can buy each brush individually and the bags and brush case.
First I will break down the Face Master Collection. This collection is $58 and if you were to buy the bag and each individual brush it would cost $85. In parenthesis I will put if it is made with natural or synthetic brush hairs. Synthetic brushes are usually better for cream and liquid products because it doesn’t absorb as much makeup as natural brush hairs. You can click each picture to shop the collections.
JH02- Brozer Brush (natural) $24
JH03- Ride-or-Die Foundation Brush (synthetic) $16 - dense for full coverage.
JH04- Blush Brush (synthetic) $14 - not dense so you won’t put too much blush
JH07- Under-eye Powder Brush (synthetic) $10 - good to bake with
JH09- Glow Baby Glow Brush (natural) $9 - sheer highlight but can add layers to make it pop
*Master Bag Large $12
Next I will break down the Eye Master Collection. This collection is $42, and if bought individually including the bag it would cost $62.
JH30- Beast Mode Blender Brush (natural) $8 - the best blending brush for every day makeup looks
JH32- Transition Blender Brush (natural) $8 - good to use first for transition color
JH33- Universal Blender Brush (natural) $8
JH39- Inner Corner Highlight Brush (synthetic) $6
JH40- Precise Blender Brush (natural) $6 - great for more dramatic looks
JH41- All Over Lid Brush (blend of natural & synthetic) $8 - great for packing on glitter, loose pigments, cream, powder, anything. Similar to the MAC 242 in my opinion (that is JH favorite lid brush)
JH42- Brow Bone Highlight Brush (natural) $4 - great for brow bone and center of the lid
JH43- Eyeliner Smudge Brush (synthetic) $4 - great for buffing eyeliner or the lower lash line
*Master Bag Small $10
Last but not least, I will go over the additional 11 brushes that come in the Master Collection. You get a total of 24 brushes including the face master, eye master, plus the 11 extra that only come as a set in the Master Collection. You can buy the extra 11 separately though. It also comes with a hard case. This collection is $165, but if you bought the case and each brush individually it would cost $265.
JH01- Powder Brush (synthetic) $24
JH05- Perfect Contour (natural) $16
JH06- My Everything Brush (natural) $14 - good if you want a light blush or want a natural highlight or blush topper
JH08- Anything Creamy Brush (synthetic) $10 - great for cream bronzer
JH10- Snatch Your Edges Brush (synthetic) $10 - good for sharpening nose contour and cleaning up the edges of your eye shadow
JH31- Fluffy Blender Brush (natural) $8
JH34- Carve Your Crease Brush (natural) $8
JH35- Upper Crease Brush (natural) $8 - great for transition shadow
JH36- Eye Buffer Brush (natural) $8
JH37- Buffer Blender Brush (natural) $6
JH38- Perfect Pencil Brush (natural) $6
*Master Case $22
As you can see there are a lot of blending brushes, but she wanted to put a brush for everything in her collection. I love how may there are because some people have certain types of brushes they like to use for certain things. She wanted brushes for any type of look you would want to create, dramatic, natural, daytime, nighttime, anything. As I am writing this post the individual brushes are sold out, but the bundles are still available. I am hoping to have a makeup tutorial up this week using some go the brushes, so keep an eye out!
What do y’all think of the collection??
Ulta: 21 Days of Beauty
2 CommentsIt's that time again for Ulta's 21 Days of Beauty. They have this sale a couple times a year and there are so many deals that go on. During the 21 days there are sales called "hot buys" that are on sale the whole 21 days, then they have a daily beauty steal which is a deal only for that one day. Most of the time those deals go pretty quick because most of the products are 50% off and they are prestige items, which means "higher end." If you want one of the beauty steals I would get online in the morning and get them. If you go in store they have the daily beauty steal up front and those always sell out! To be safe and make sure you get them I would get to the store when it opens.
I will post pictures of the calendar below so you can see all the daily beauty steals, but I will only post about the hot buys I think y'all would like or I think is a good deal since there are so many of them. Like I said there are a lot of deals and specials going on so most brands have a gift with purchase too. You can see all those here on Ulta's website.
The best deal I think for the hot buys is Tarte's shape tape foundation. It is normally $39 and for the 21 days it is $23!! That includes both formulas, the matte and hydrating. I know I work for tarte but that is such a great deal and a great time to try it out if you have been wanting to. Two more products I think is a great deal and they are also tarte, but once again they are such a good deal is why I am sharing. The next item is the pro glow highlight and contour palette, normally $45 on sale for $27! This is definitely my favorite contour palette, so I highly recommend it. It has 1 cream bronzer, 1 powder bronzer, and 4 highlighters. Two of the highlighters could also be used as shimmer bronzers depending on your skin tone. I also love using them as eyeshadows. The last tarte product I will talk about is the poreless mattifying primer. Since I have an oily t-zone, I will use this primer there to help control oil as well as fill in my pores. It is on sale for $19, normally $32.
Y'all know I am always honest with you, so those are truly the only hot buys I would be interested in buying if I didn't already own them. There are really only two products part of the beauty steals that I may buy, and that is the Dermalogica cleansing gel which is on sale for $19 normally $38, and the CoverFX glitter drops and custom enhancer drops which are on sale for $21-$22, normally $42-$4. So both of those are super good deals. In all honesty I probably won't buy anything, haha.
I will be in Chattanooga on the days tarte has beauty steals, so if you will be in Chattanooga any of those days message me to see where I will be! What are y'all wanting to grab during the 21 Days of Beauty?
Nsale Review
11 CommentsNsale is short for Nordstrom sale in case you were wondering. I know y'all are probably still tired of hearing about it and don't want to anymore, but I wanted to update y'all on my purchases. I ended up returning one item and buying one more. Now that I have had some time to wear and use products I thought I would share my thoughts with y'all. I have already done a review on the white lace romper I got, so I won't go into too much detail on that. I will link that post here if you want to check it out. I think that is still hands down my favorite purchase ever.
If you didn't read my original Nordstrom Sale post you can read it here, but I bought a LED makeup mirror and that is the item I returned. It was a rose gold Impressions Vanity Co. light up mirror that came with a removable 5x mirror and a compact lighted mirror. I was most excited about the compact mirror because I thought it would be great to keep in my purse. I also loved that it was rose gold. Once I got the set in the mail I was very disappointed with it. The paint chipped easy and it felt very cheaply made overall. It was on sale for $51 normally $78, which is why I got it because of the great deal. I had also heard several people talk about it and say how great it was, but I just don't think it was worth even the sale price. I honestly didn't even need it in the first place because I already have a lighted mirror like this one, it just isn't rose gold, haha. So I definitely do not recommend this product.
The item I added was another pair of shoes. They are a leopard print mule by the brand Halogen. I am sooooo happy with these and I'm glad I got them. I wore them one day that I didn't plan on walking around as much as I did and they did not hurt my feet. That was my first time wearing them too, so that is a good shoe in my eyes. I didn't know if I wanted them because they were still pricey in my opinion for a shoe, but I am happy I got them. This is another item that a lot of people purchased, but once again I don't really care because I love them so much. I will post a picture of them down below and you can click on the picture if you wan to shop. They are no longer on sale though, so even more pricey now. You can click any of the pictures to shop each item.
Now I will talk about the items on my post that I purchased and have used, which is just two more pairs of shoes and a pair of leggings. The leggings I feel are just normal leggings. They are comfortable and don't thin out while working out, so that is always a plus. The shoes I got are both tennis shoes and I have actually only worn one pair because I still need to exchange the other. The pair I have tried is the Nike ones. I love wearing them during my Dance2Fit class, but I don't really like them for running. The back comes up a little high and it gave me a blister. I will say I think I have weird feet and it is hard for me to find good running shoes, so just because they didn't work for me running doesn't mean that won't work for you. The other pair is the Adidas and I need to exchange them for a half size bigger. Just trying them on they seem very comfortable though. I probably could wear the ones I ordered, but I think half a size up would be more comfortable.
Since I am always real with y'all, I did something the other night that I am a little ashamed of that I thought I would share. I saw this super cute cardigan during the sale but I didn't want to buy it for two reasons. Number one, everybody was buying it, and two it was expensive in my book for just a cardigan when I knew there would be a lot more cardigans cheaper that would be just as cute. So I ended up not buying it and the other day someone was trying it on and it looked so cute and I started wishing I would have just bought it during the sale, so what did I do? I bought it the other night NOT ON SALE. Like I said, I'm a little ashamed that I spent even more money on a cardigan, but it is super cute and I'm hoping it's as good quality as everyone says and it better last FOR-EV-ER, haha. That's why you always go with your gut people. Sometimes you just need to treat yourself........but not all the time........like I do, haha.
I hope you enjoyed my review of the sale items I bought. Hopefully you liked it even though most of you are probably so over the sale or don't even care about the sale. Let me know if you have any questions I didn't answer about my items or just Nordstrom or the sale in general.
Tarte Maracuja Oil: Ways to Use It
24 CommentsI don't know if y'all have ever tried Maracuja Oil by Tarte, but you need to! I call it the miracle oil because there are so many uses for it. I thought I would share all the different ways, but before I jump into it I want to tell y'all more about the actual product. The oil is cold-pressed from the maracuja fruit. It is naturally rich in vitamin C and essential fatty acids to protect and feed your skin. It also helps to balance out the skin, by providing moisture to dry skin and helps control oily and acne-prone skin. A lot of people with oily skin think they can't use an oil since they already have oily skin, and I used to be one of those people before I learned more about skincare. It doesn't clog pores either, so it is good for all skin types, even sensitive. Who doesn't want firmer, brighter, smoother skin?
I also made a YouTube if y’all want to check it out! I will link it here and below.
Now let's see all the uses for it.
For dry skin or during the winter months. You can put the oil under your morning moisturizer.
Use it as a nighttime serum under your night cream for the anti-aging benefits of vitamin C.
You can apply a few drops to your foundation for a dewy, radiant look. It looks really nice mixed with the Tarte amazonian clay foundation.
Press it onto the top of your cheek bones for more glow. Who doesn't love a good glow?
Use it for dry, chapped lips.
Use a drop to tame fly-aways and add shine to your hair.
It can also help strengthen split ends, which I have from always straightening my hair.
Apply some all over for a hair mask. I honestly haven't tried this one because I don't want to wash it all out, haha.
Put on your cuticles to condition and hydrate them.
If you want smoother hydrated skin you can put it on your hands before your hand cream at night.
Lastly, you can add a few drops into your body lotion.
Like I said, miracle oil. There are probably so many others that I just don't know about. It is also great if you have eczema or psoriasis because it is a natural anti-inflammatory. It has made some of my dark spots completely go away because of the vitamin C in it. I think it even helps my eyebrows grow! I know a lot of people who would like that! So you can buy Maracuja Oil at Ulta and on tarte.com. The travel sized bottle is $16 and the big bottle is $48. It is a little pricey, but you get more bang for your buck getting the big bottle because mine has lasted well over a year.
Have you tried the maracuja oil before? If so, do you love it or not crazy about it?


